Hello Everyone it’s been a while I updated my blog post. Today I have this fun technique to share with you which a lot of card-makers already know but maybe haven’t used in a while. But for someone new into card-making this can be a totally new technique. The technique of embossing with cover die. I am guest designing for The Flower Challenge #52 for the month of January and this month’s theme is Embossing.
And here is my card.
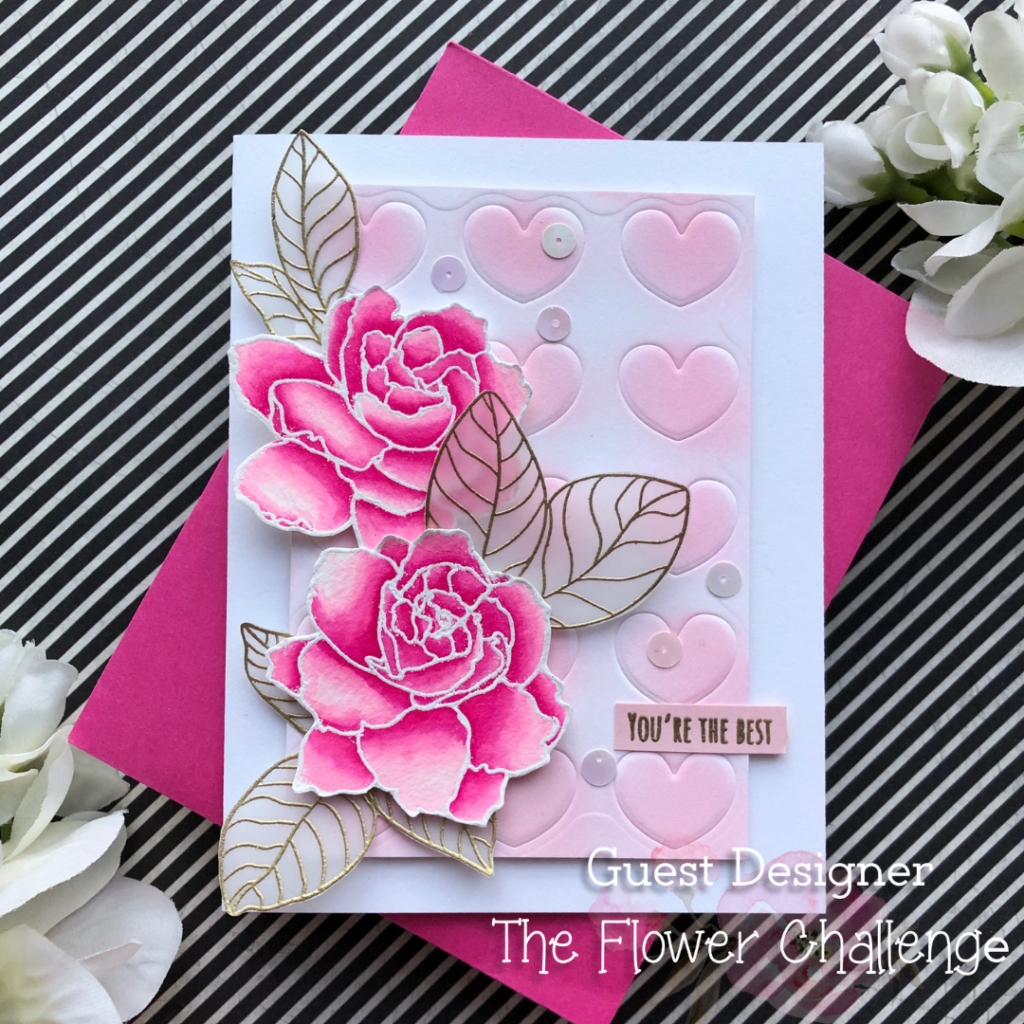
I got super excited when Simon Says Stamps released the Diecember Release this December. Yes I spelled it right it’s Diecember. So, Diecember is the release of all these beautiful dies from different companies. I picked a few fun ones. To create a fun background I used Chunky Hearts Cover die. this project to cis called
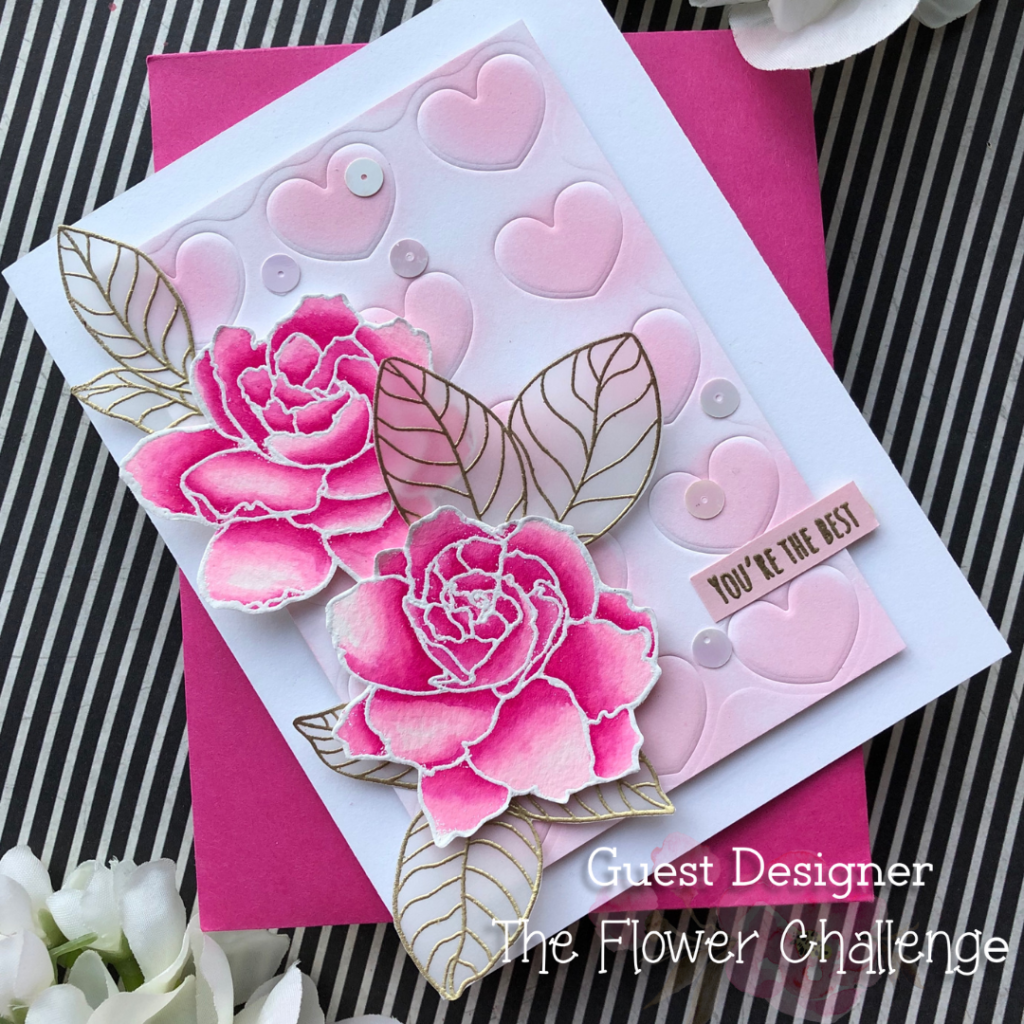
The Technique
The technique is using your metal cutting dies with the embossing sandwich in your die cutting machine. That is using the soft squishy mat instead of your regular cutting plates. With this technique the die does not cut through the card stock but just leaves an impression on it. I then cut the panel to be 3 and a quarter by 4 and a half inches.
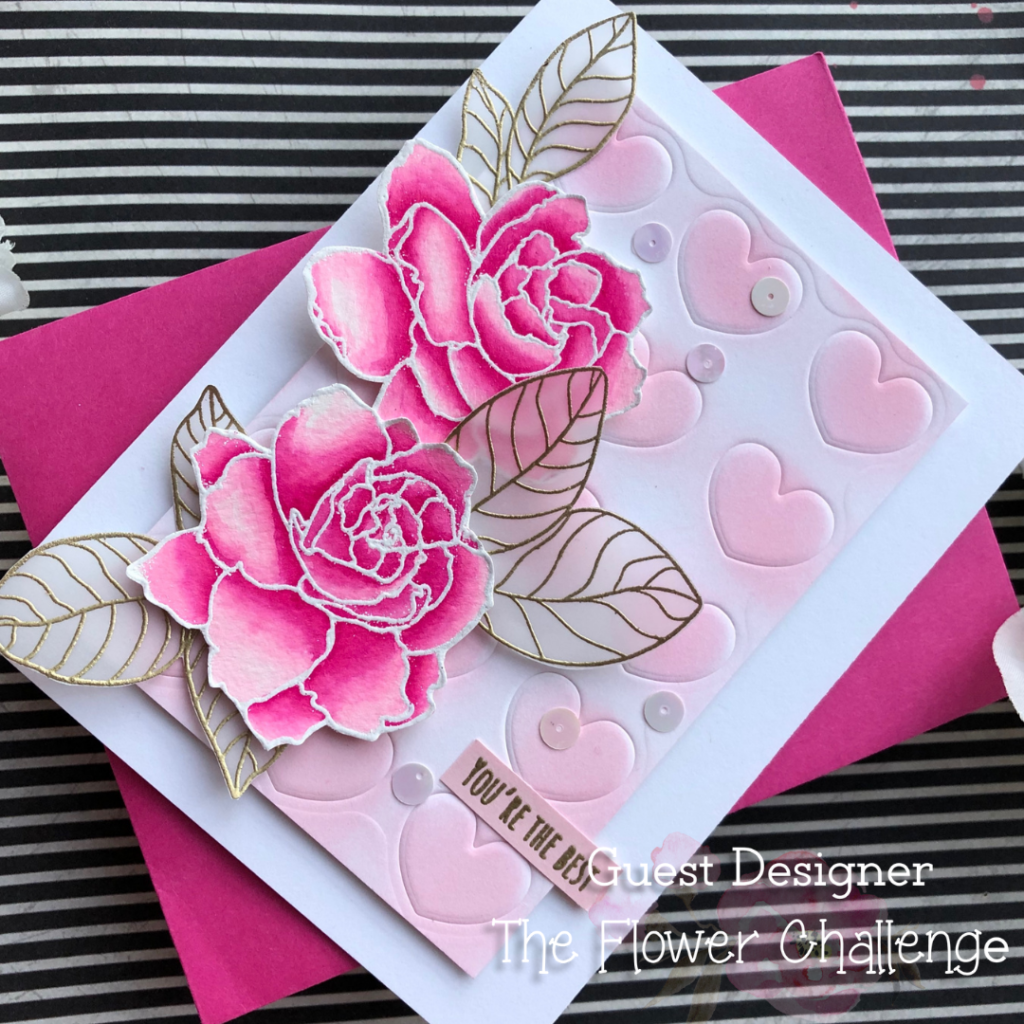
I then added color on the raised hearts with the help of Distressed Oxide ink in Spun Sugar and blending brush from Taylored Expression.
The Focus
Even though the background was extra special, I still wanted the focus of this card to be my floral clusters.
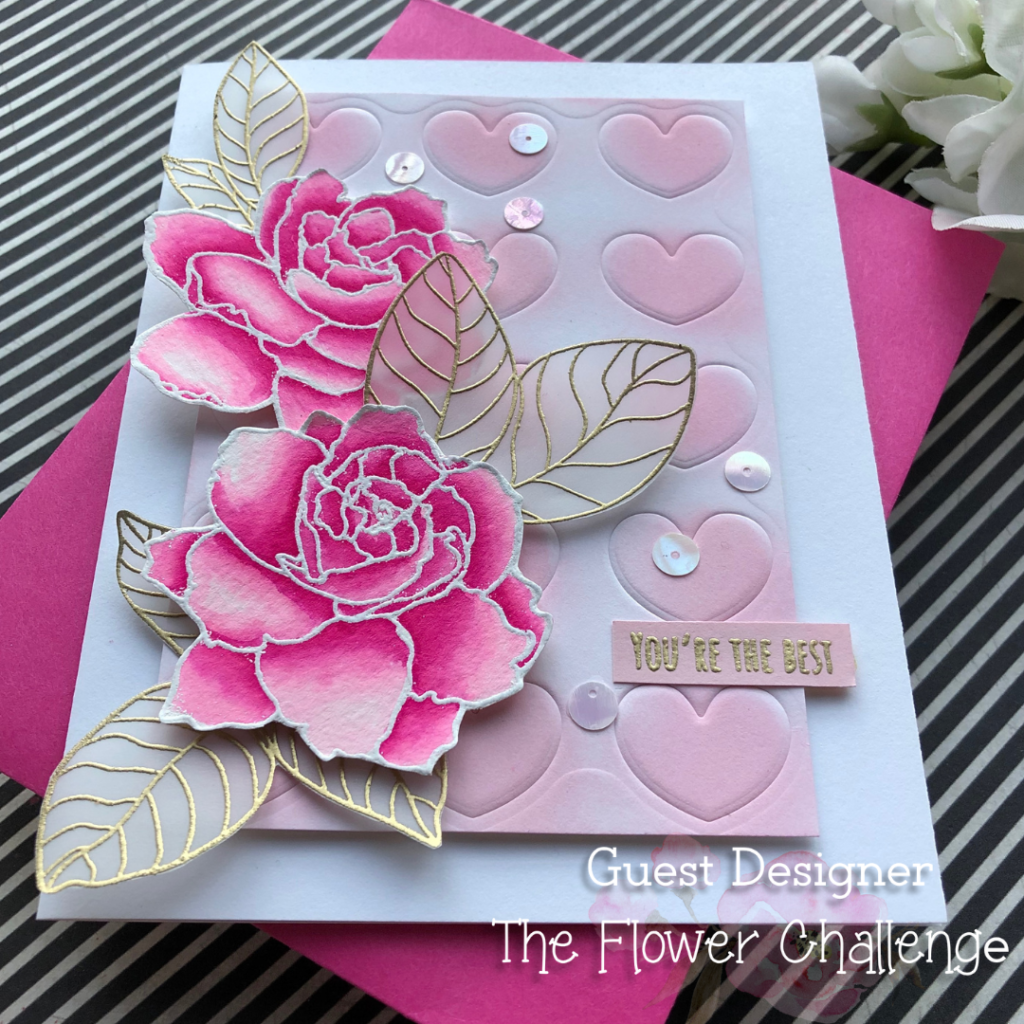
I stamped the two flowers from the Maker Forte stamp set designed by talented Alex Syberia on watercolored cardstock using Versamark Clear watermark in and embossed with Wow White Embossing Powder. This beautidul flowers are watercolored using Karin marker in color Cherise.
Then I stamped the leaves on vellum using the same sticky ink and embossed using wow gold embossing powder. I then fussy cut the flowers and the leaves with the help of scissors.
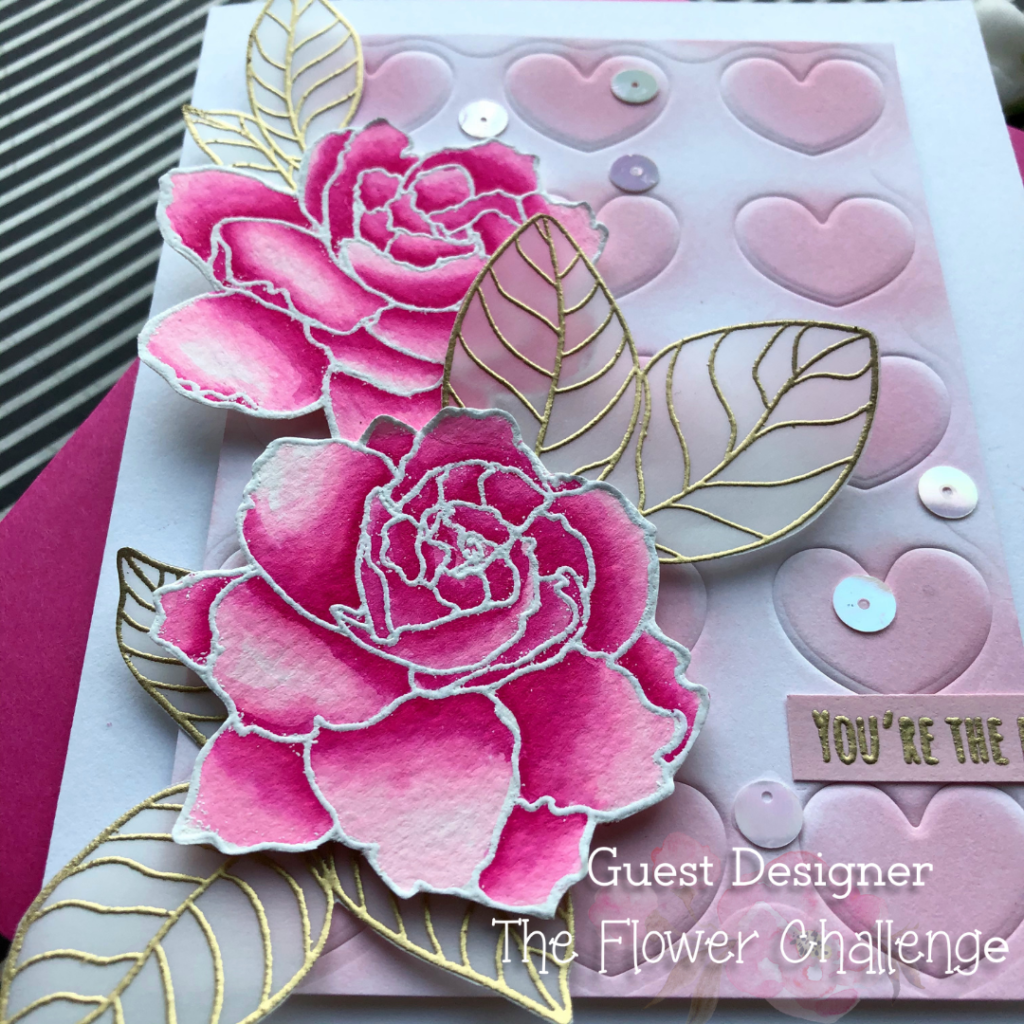
Since I love dimension on my cards, I popped some flowers using foam tape and some directly on the panel with liquid glue. Same with the leaves.
The Sentiment
For the sentiment of this card, I stamped one of the sentiment that reads “You’re the best ” which is included in the stamp set on a matching color card stock strip and embossed with the same gold embossing powder.
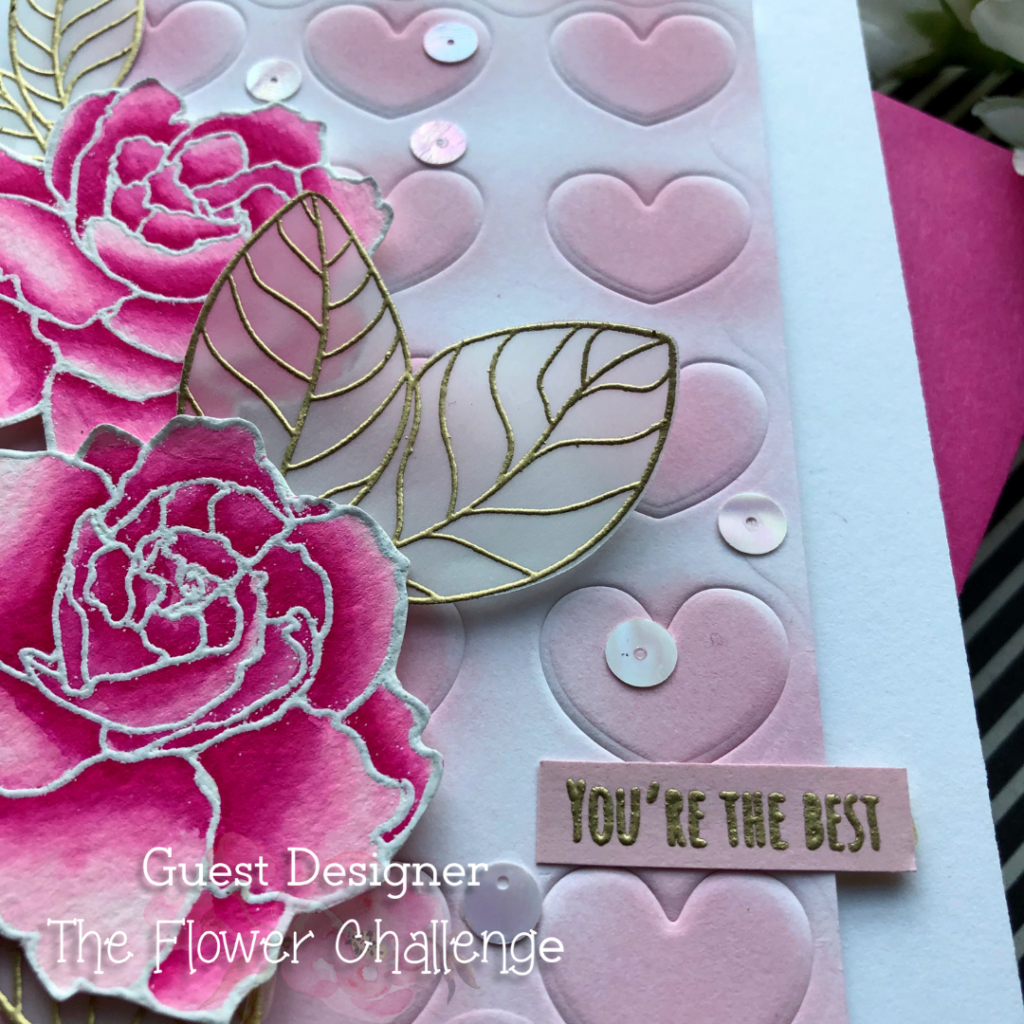
For the final finishing touch I added some pale pink sequins from my stash in the card.
I added this panel on an A2 card base using strips of 3M foam tape at the back.
This finishes my card. Hope this inspires you to create projects using your cover dies.
Hugs
Jyoti
Stunning creation Jyoti I love those flowers and the soft beautiful colour on the heart embossed background.
Gorgeous card and I love all the gorgeous embossing. Beautiful flowers are well! Thank you so much for joining is as a guest designer this month!
Such a gorgeous project, Jyoti! I love the dimension from the embossing and the vellum leaves! And, of course, your coloring is always spectacular! I loved seeing your card pop up when I checked out the challenge blog this month! Big squishy hugs!
Pingback: The Flower Challenge #52 – Embossing – Reminder – rainbow in november
I love the layers and dimension on your pretty card, Jyoti! The flowers are beautifully colored and arranged! Btw you have awesome fussy cutting skills! So happy to have you as our guest this month 😉 !
I love the soft color you added to the embossed hearts, Jyoti, and the flowers are beautiful. It’s great to have you as our guest designer.
STUNNING card Jyoti!! LOVE your embossed cover die background … so pretty with the sponged pink. Gorgeous watercoloured blooms along with those vellum skeleton leaves creates a winning combination. Thanks so much for being our Guest Designer this month at TFC!
Such a fabulous card Jyoti! loving the pink of course as it’s my favourite colour but I adore the beautiful flowers and vellum leaves too. Thank you so much for being such a great Guest Designer this month over at ‘The Flower Challenge’ 😉 hugs Viv xx
Thank you so much Vivien. Hugs