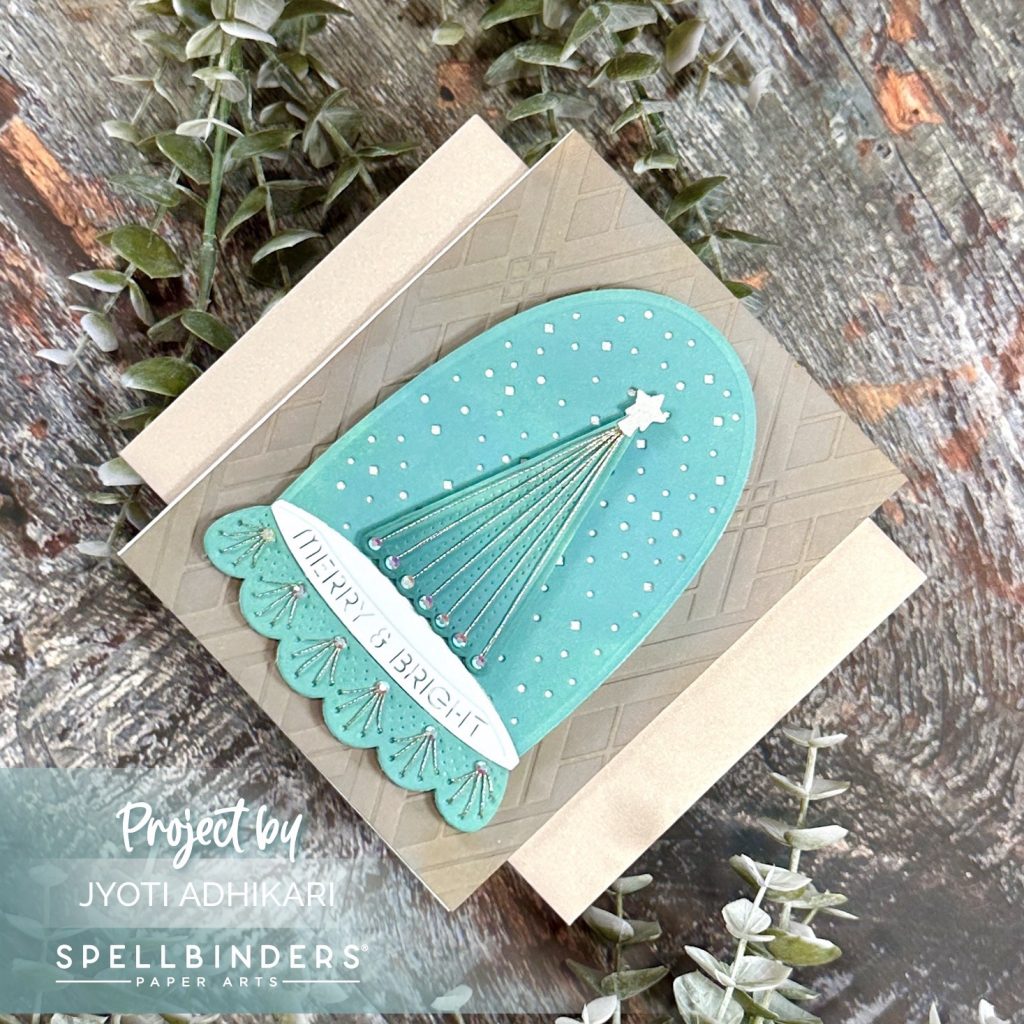
For my latest project, I decided to step away from the usual holiday hues and explore a more unique color palette. Using the Spellbinders October 2024 Stitching Die of the Month, which features a charming Christmas cloche design, I created a festive card that combines warm taupe and light emerald green with sparkling glitter white accents. Let me take you through the process!
Crafting with Unconventional Colors
When planning this card, I opted for a warm taupe and light emerald green color scheme, stepping away from the usual reds and greens. To achieve the warm taupe, I blended Distress Oxide ink in Frayed Burlap onto a white cardstock panel. For the light emerald green, I used Distress Oxide ink in Evergreen Bough. These soft yet rich tones helped me create a serene and stylish holiday card with a hint of elegance.

Building the Cloche
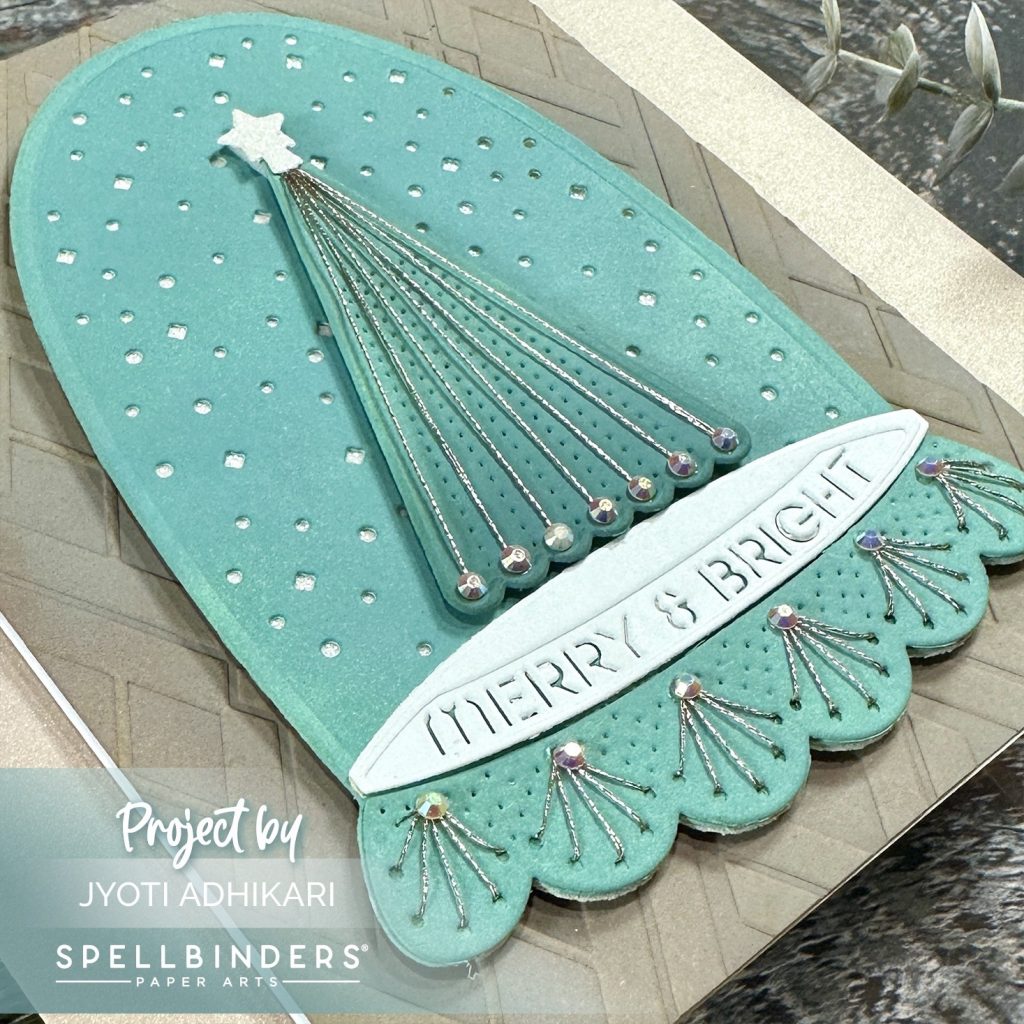
Next, I moved on to die cutting the cloche pieces. Using my light emerald inked panel and glitter white cardstock, I cut out the elements of the cloche. The light emerald green piece had star-like holes, and I carefully layered it over the glitter white cardstock so that the stars would sparkle beautifully. I kept the tree and the base of the cloche simple, cutting them from the same emerald panel to maintain a cohesive color scheme and avoid introducing too many colors.
Adding Sparkle with Stitching
Once all the elements were die-cut, it was time to add some texture and shine. I used champagne-colored metallic thread to stitch along the tree and the border of the cloche’s base. The metallic thread added a touch of shimmer that complemented the glittering white cardstock perfectly. After stitching, I assembled the layers to form the finished cloche, giving it dimension and intricate details.

Embossing the Background
For the card background, I used the Argyle Socks Embossing Folder to add texture to the ink-blended taupe panel. The subtle, geometric pattern provided a sophisticated backdrop without distracting from the snow globe centerpiece. Once embossed, I adhered the cloche right in the center, ensuring it remained the focal point of the card.

Finishing Touches with the Sentiment
To complete the card, I die-cut the sentiment “Merry and Bright,” which is included in the die set. I cut the sentiment from white cardstock and layered a light emerald panel behind it, allowing the green to peek through the letter cutouts. Then I added some white iridescent jewels on some of the stitching holes. This final touch brought everything together, tying in the colors and adding a festive sparkle to the card.
I hope you enjoyed seeing how I put together this non-traditional holiday card using Spellbinders’ Stitching Die of the Month! The color palette and metallic accents added an unexpected yet elegant twist to the classic Christmas cloche design.
Hugs,
Jyoti