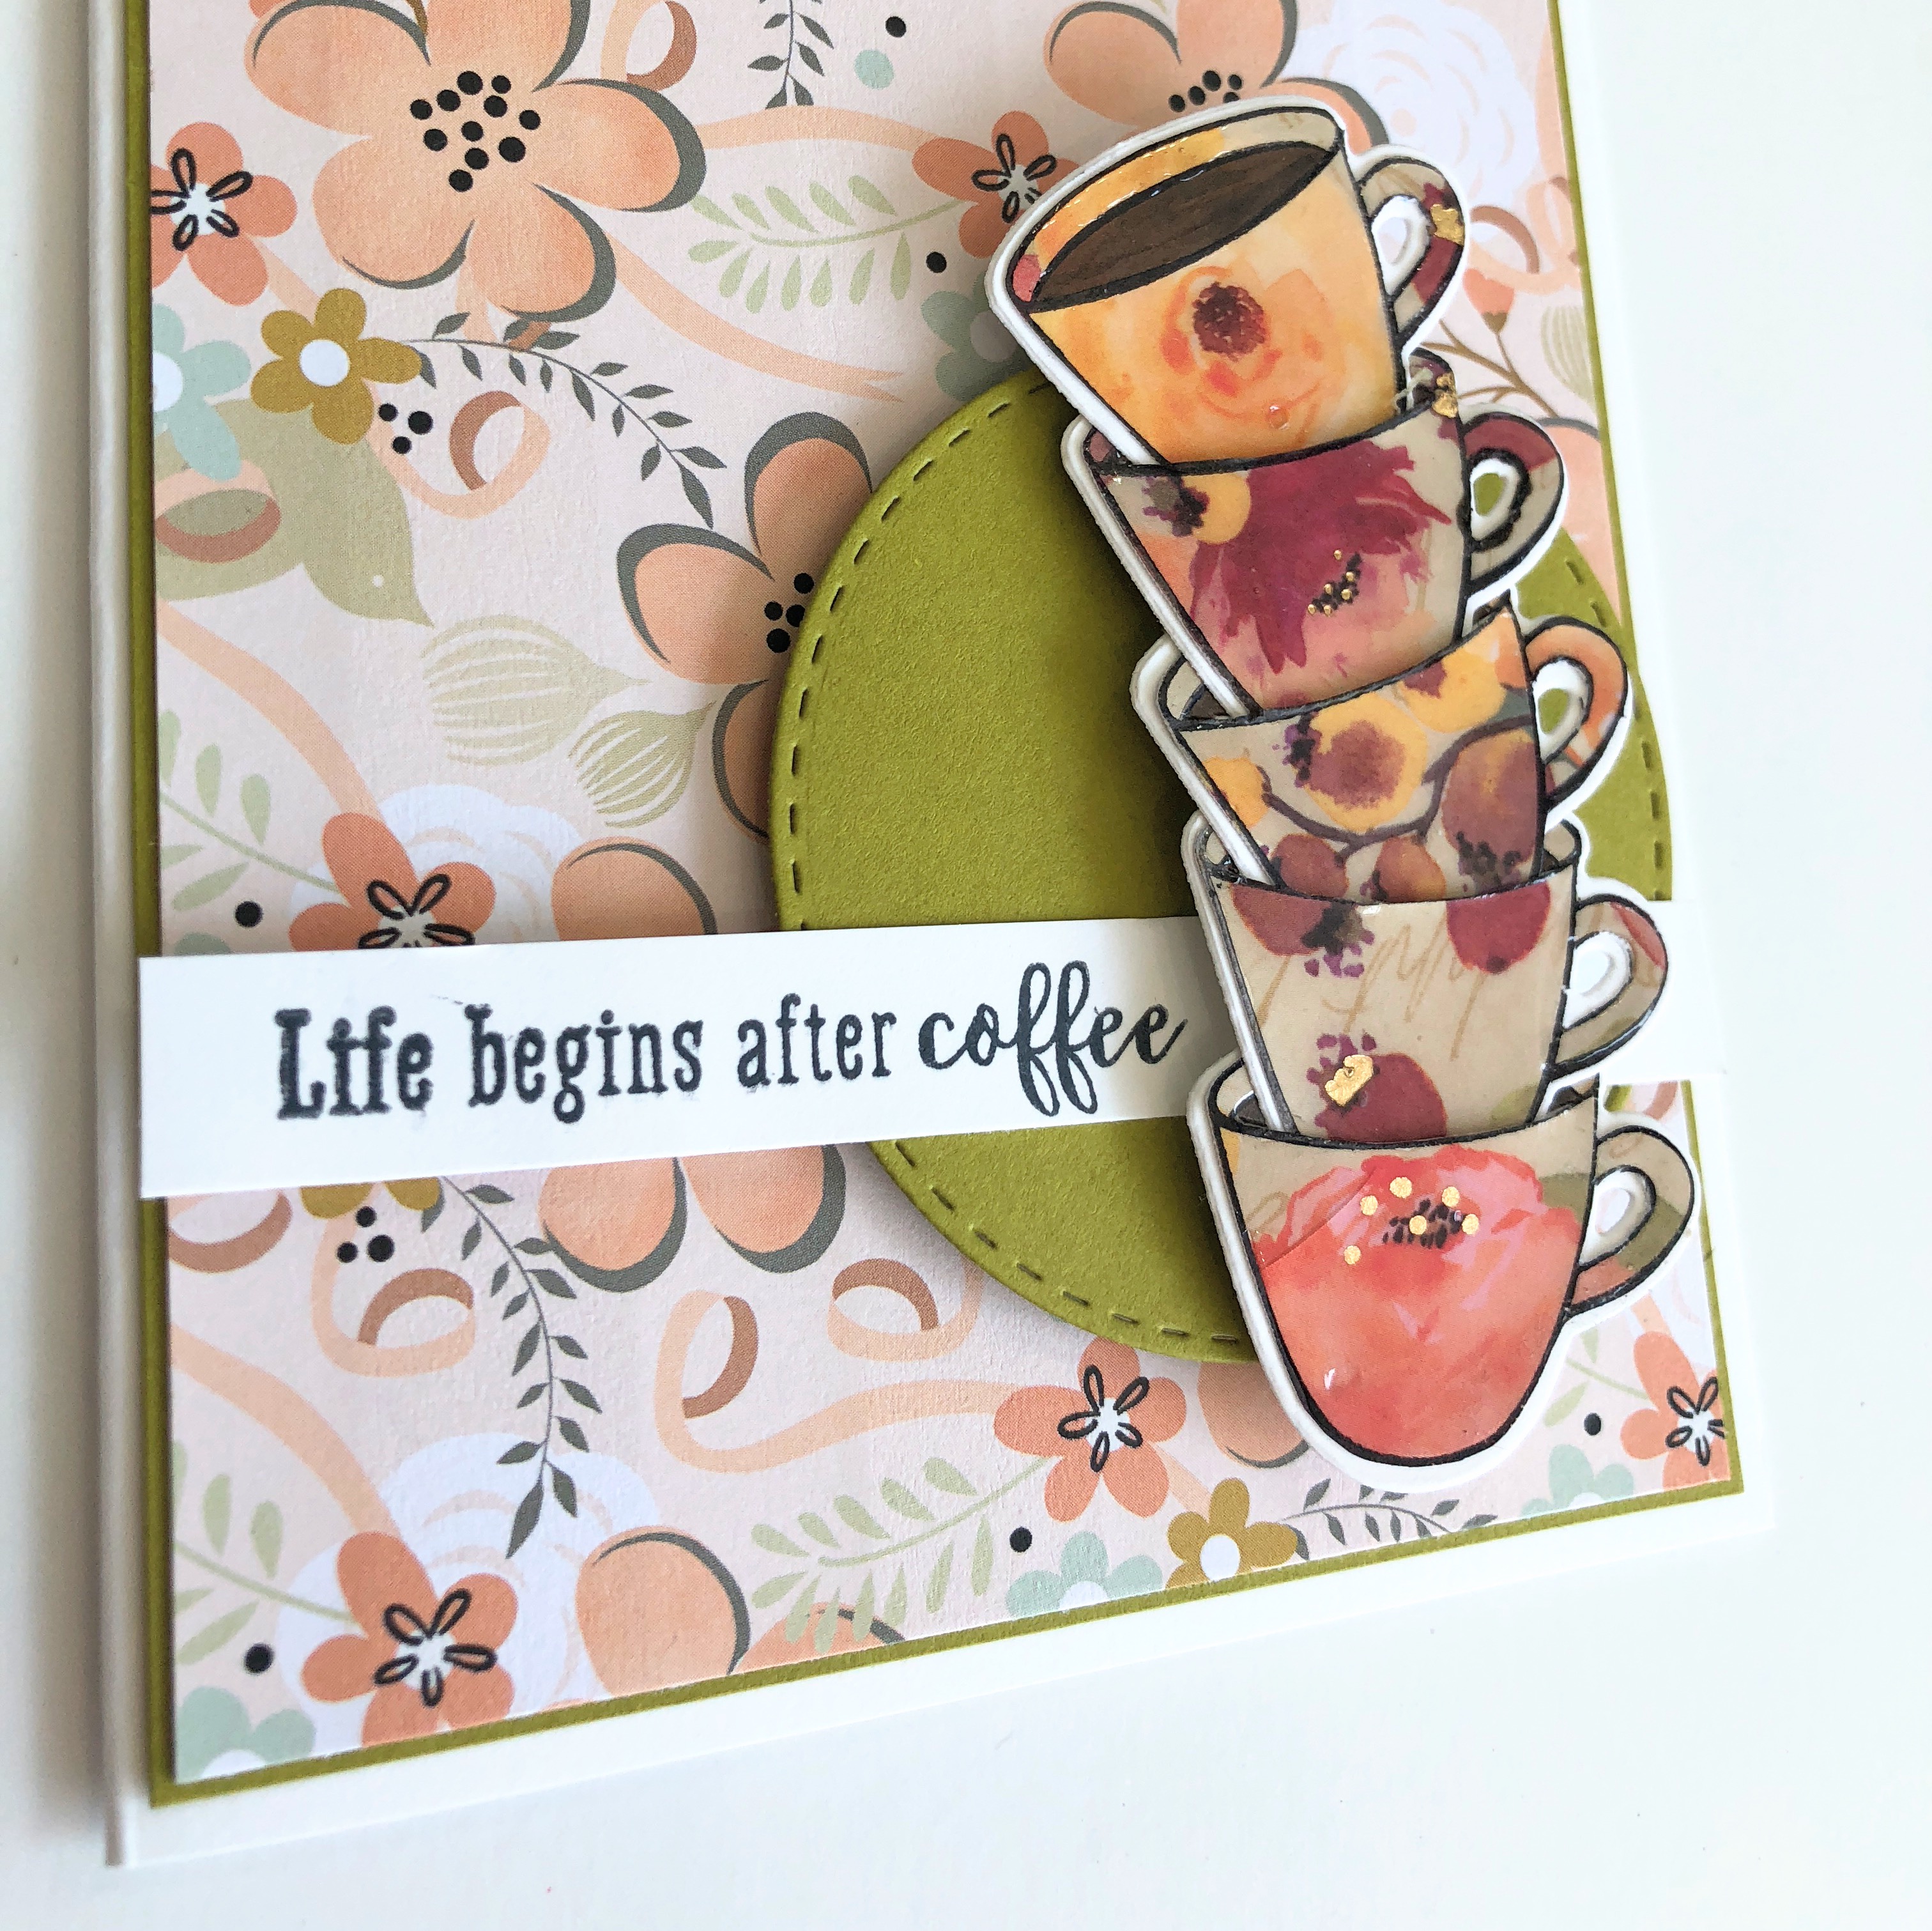
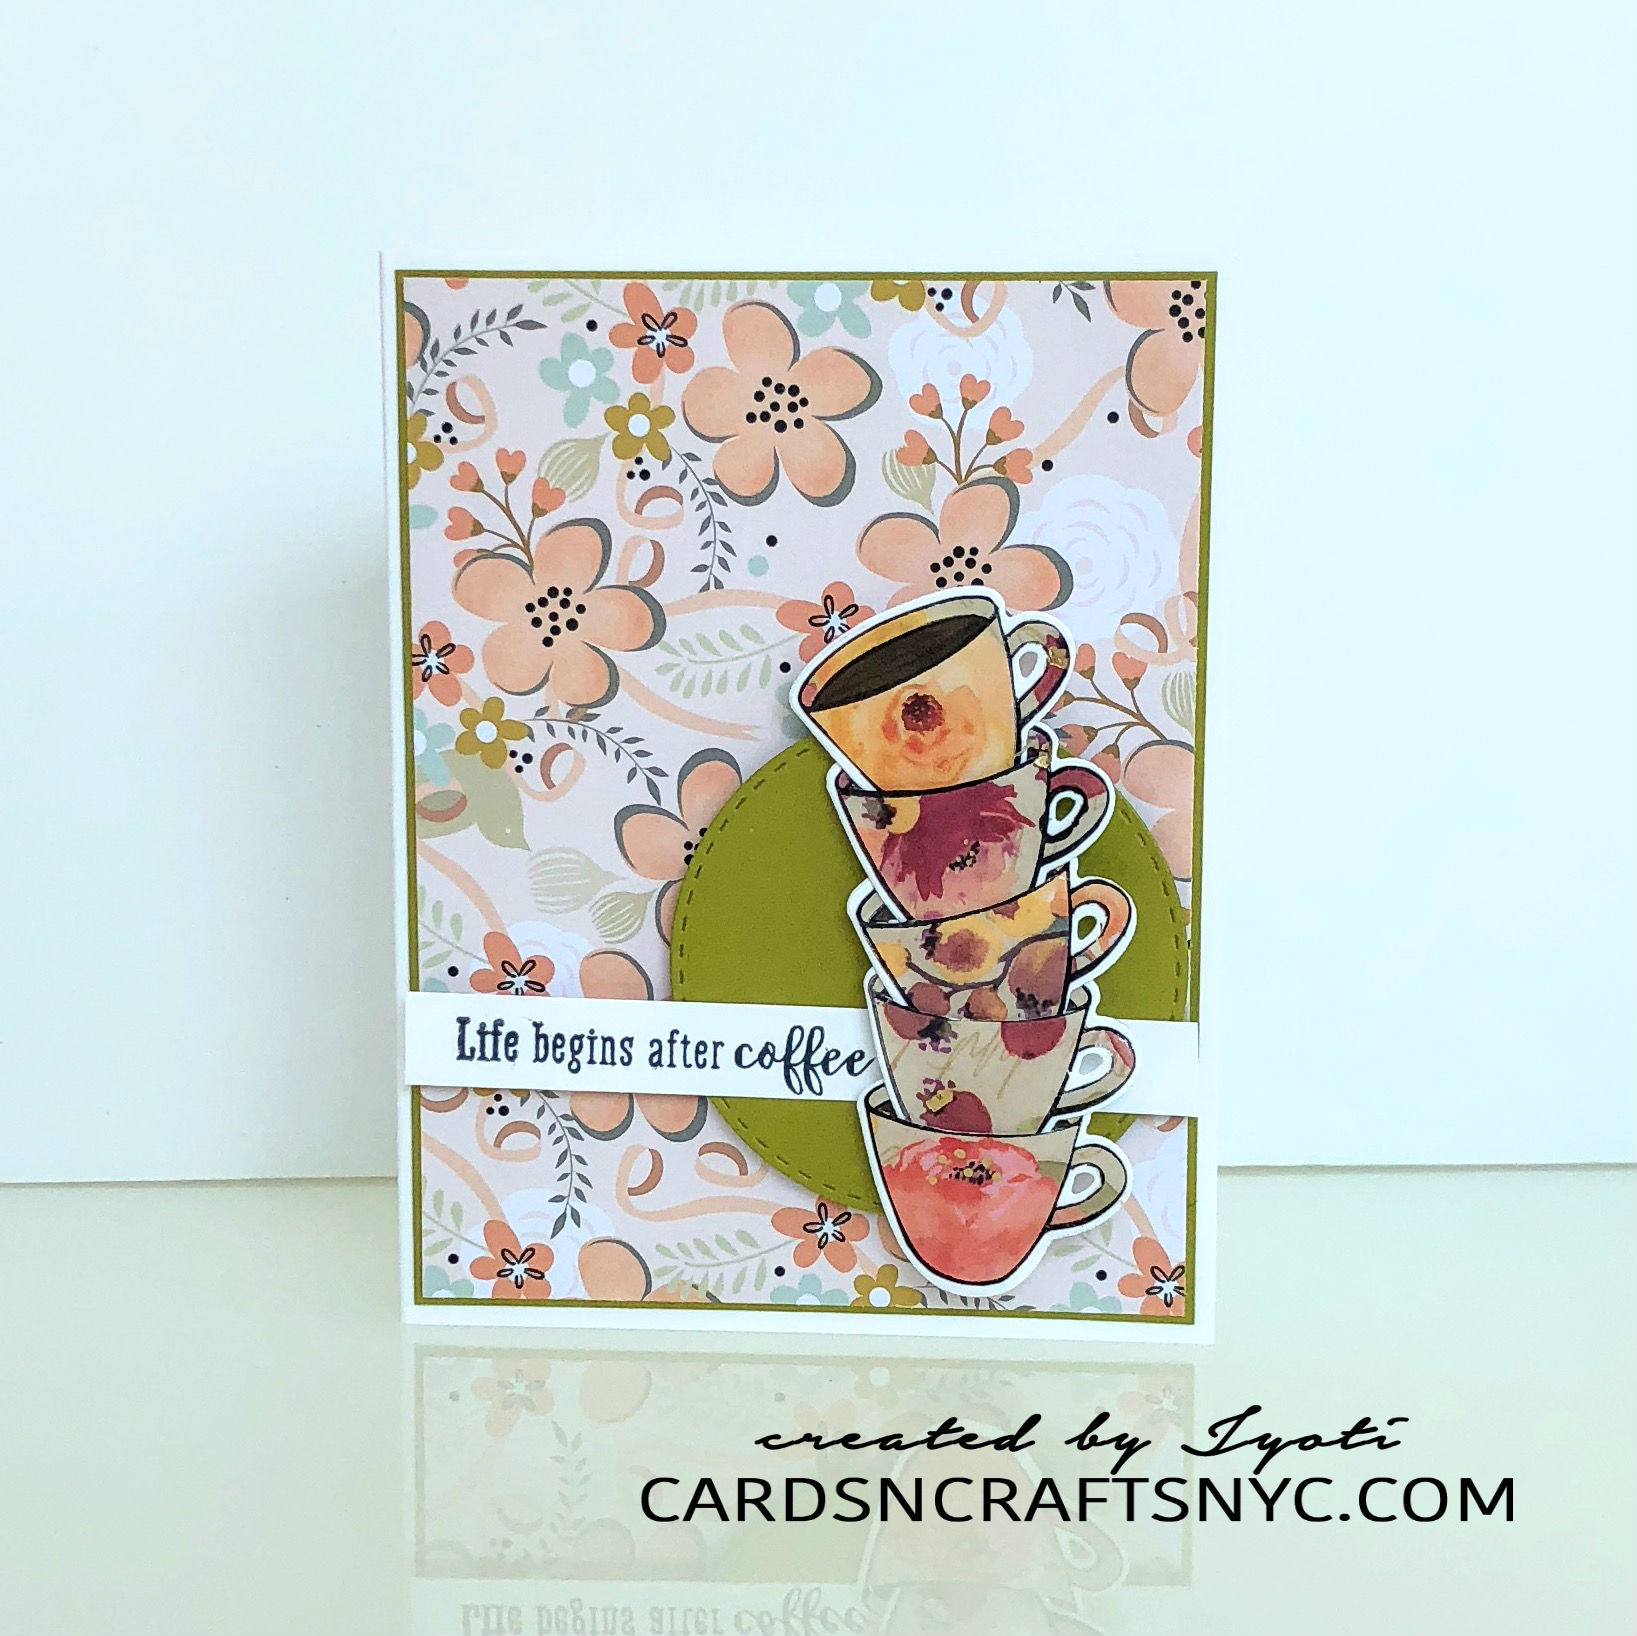
Hello friends! I just loved My Monthly Hero Card Kit from Hero Arts. The coffee cups are so adorable that I keep going back at it and keep making more and more cards.
Here is a different take on this card because this project uses a more tedious but fruitful result.
Here is my Card for today.


The Technique:
Any experts must have already guessed how I created this patterned coffee cups. But if you are wondering how I created these keep reading.

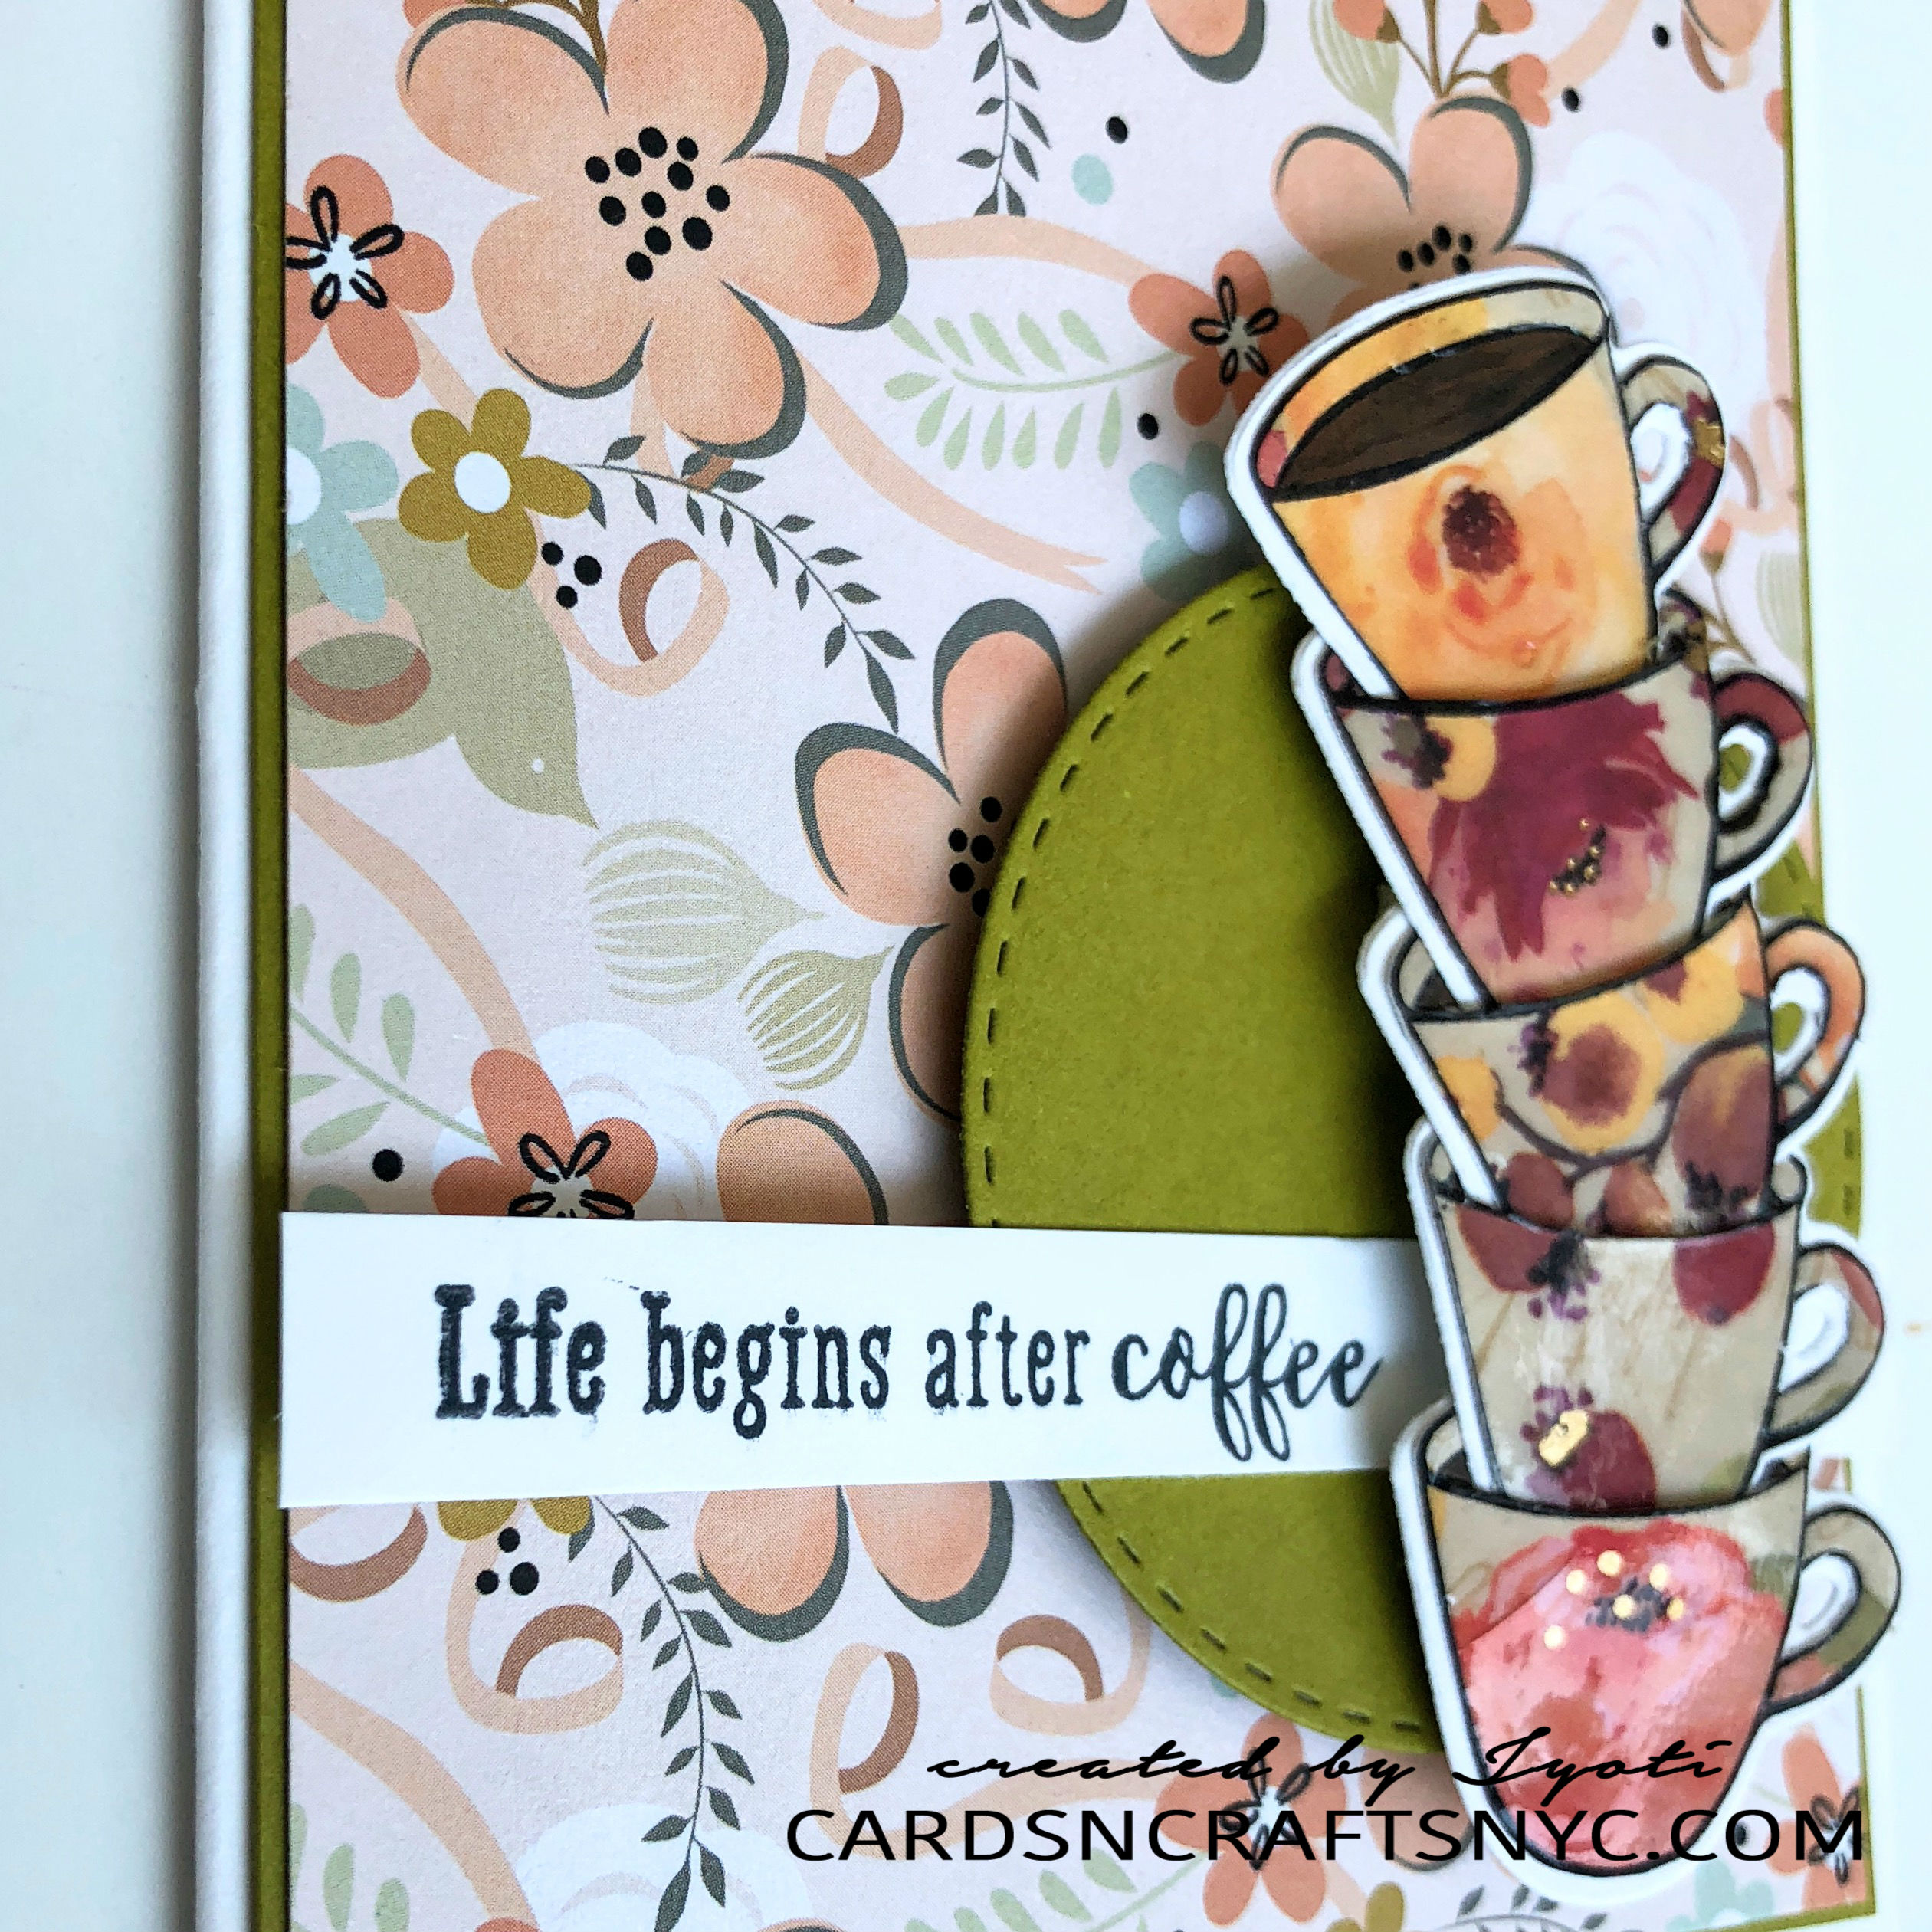
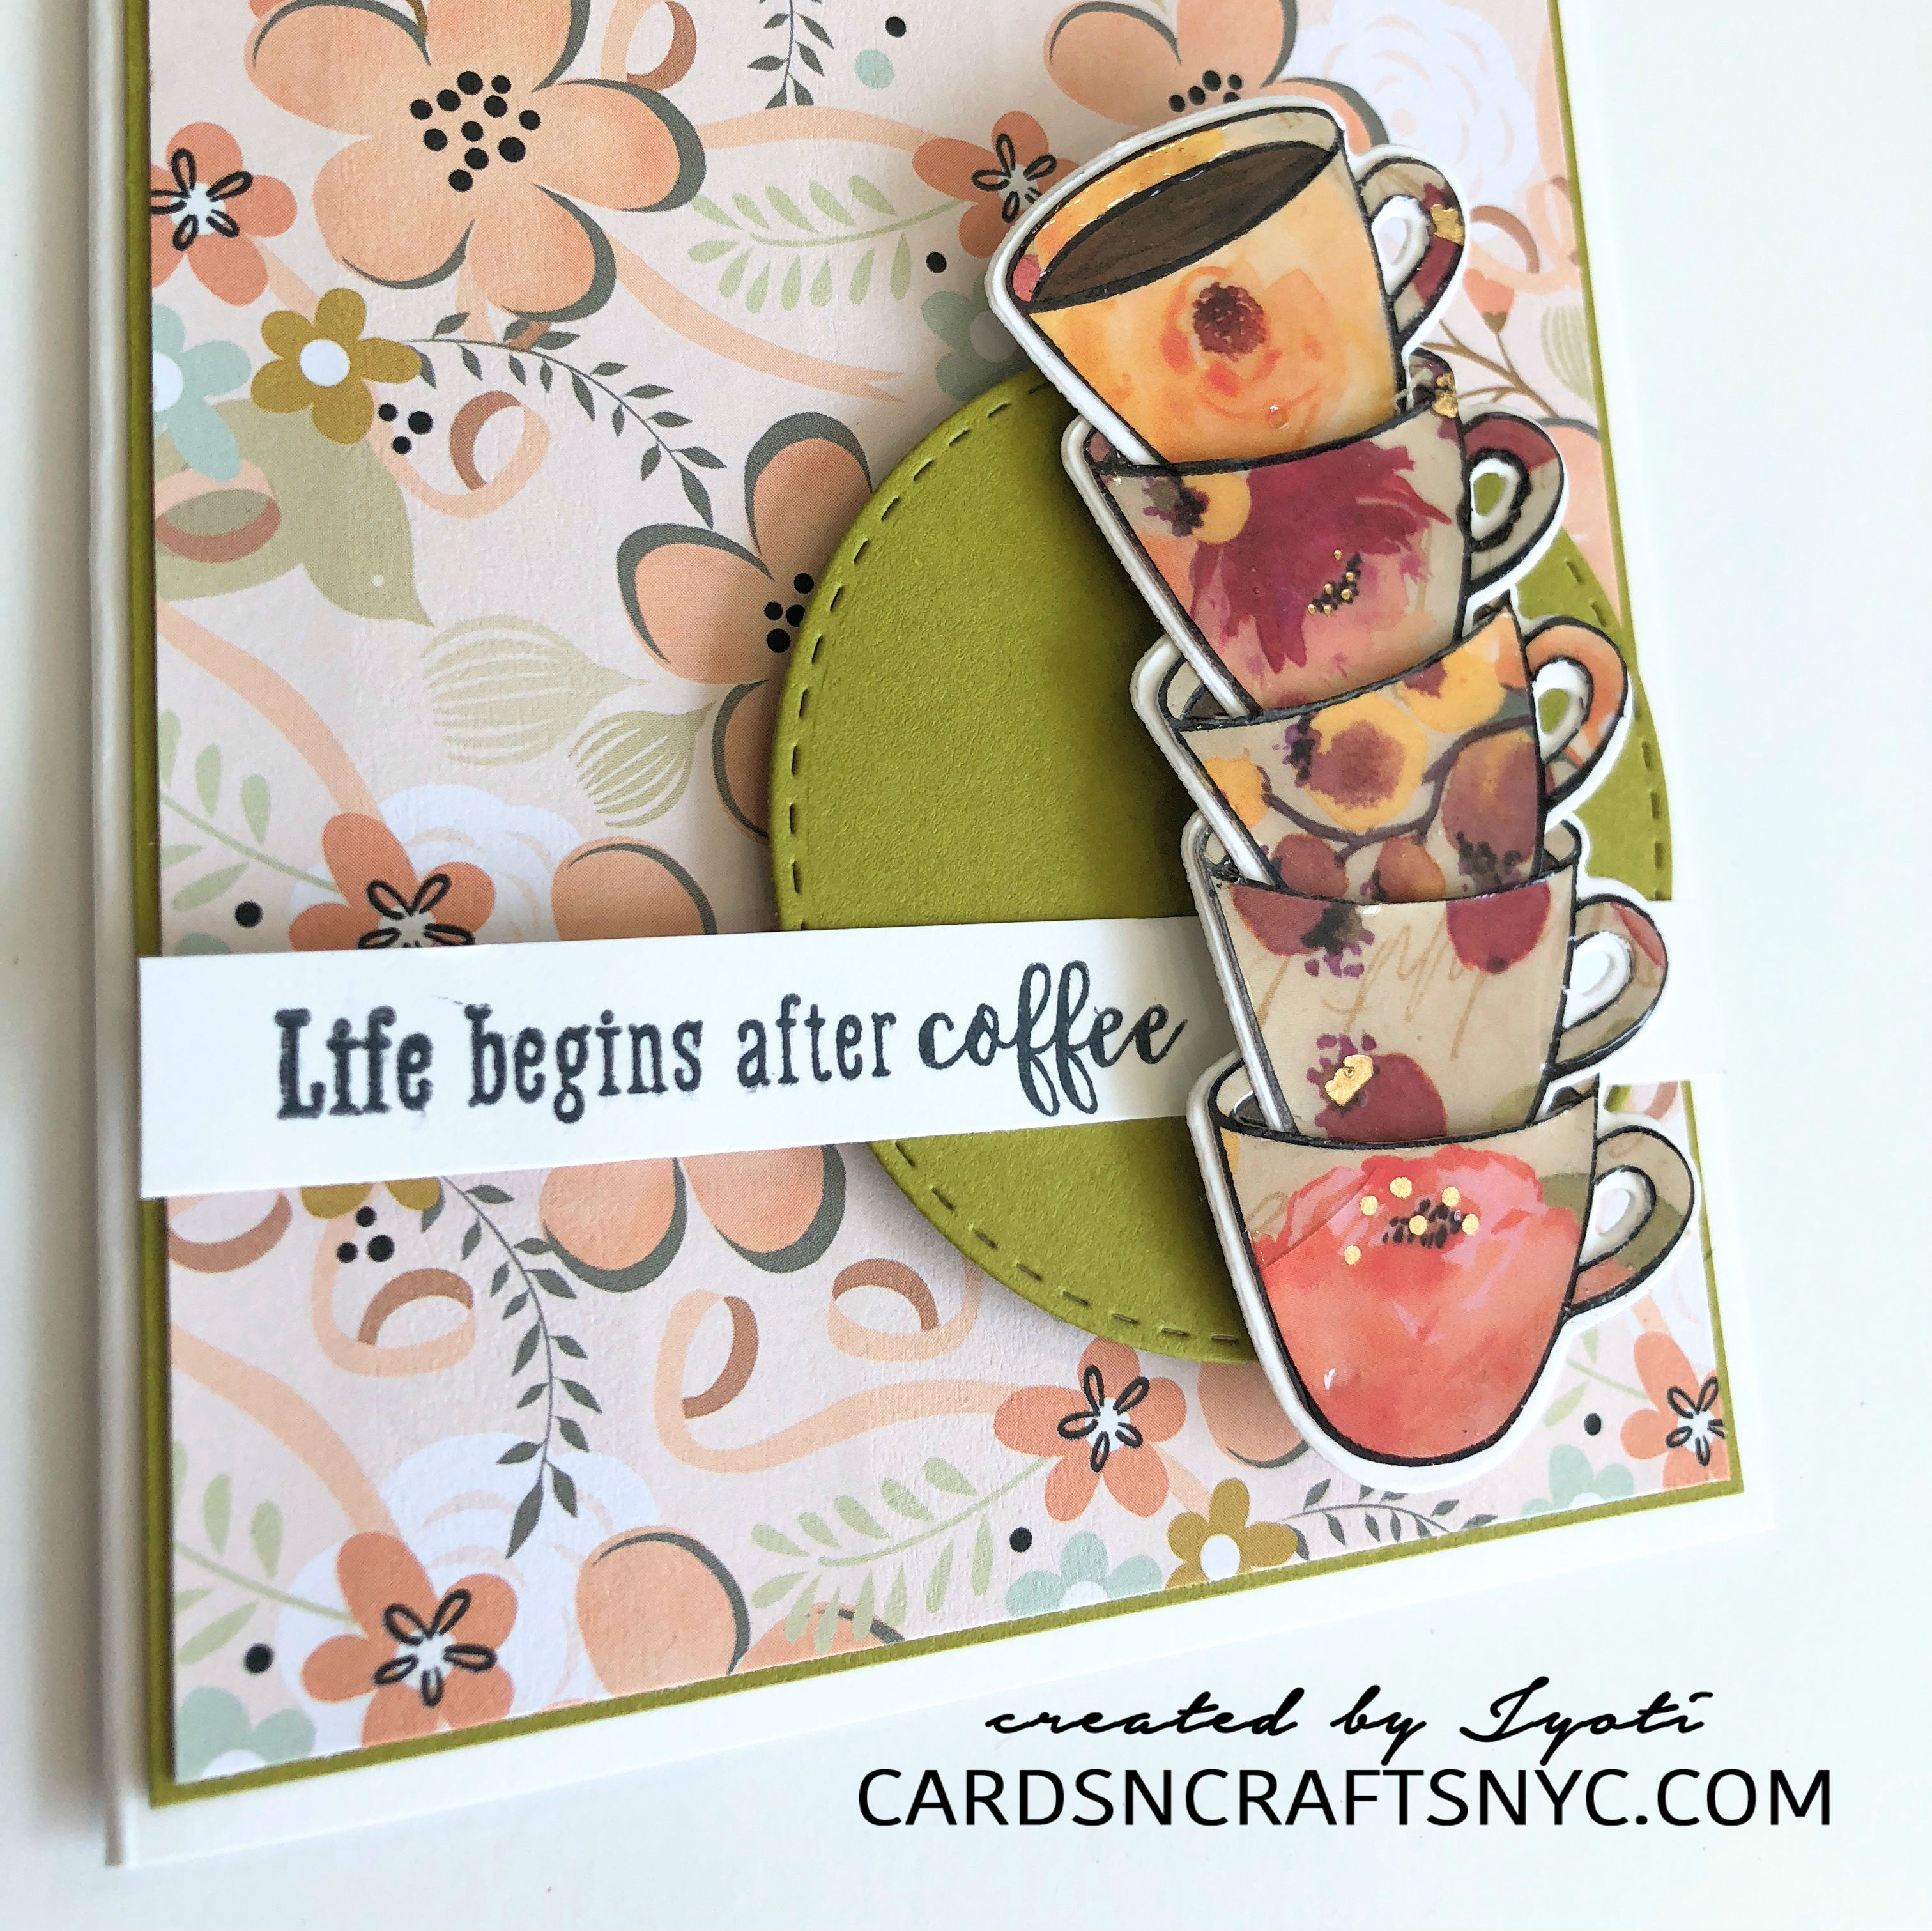
Do you notice the gloss and shine on the cups that look like real porcelain texture? And the print is just so unique, isn’t it?
Well, I first stamped the coffee image from the stamp set that came in My Monthly Hero Card Kit to stamp several images with Ranger Archival Ink in jet black on a pretty pattern paper with some gold foiled pattern. I made sure each stamp was on a different pattern on the same sheet of paper. Cut out the images just along the black outline using Tim Holtz scissors that is just great for fussy cutting small images like this. I also cut out the part where it is meant to be coffee using Exacto Knife carefully.

I then stamped a few of the same images on a white cardstock. I cut those out using the coordinating die that came in the kit. I adhered the printed cutouts of the cups on the die-cut cutouts of the cups to make it look like just the part inside the lines are patterns. It’s hard to explain in words but I am sure you got what I mean.
Then the part where it is supposed to look like coffee I colored with Copic marker. I cut a slit using Exacto knife along the rim of the cup so that I could slide another cup inside it to make it look like the cups are stacked on top of each other.
Embellishment:
The coolest part of it is I added Glossy Accents on the patterned part of the cups only to make it shiny like real porcelain cups.
I will make sure to explain in pictures showing steps next time I do projects like this. Then a piece of green cardstock was cut using Simon Says Stamp stitched circle die and This pattern paper I used on the background was one of Simon’s card kit a long time ago. Cut to 4 inches by 5 and a quarter inches in dimension and matted with the same green cardstock 1/8th inch bigger than it.
Then the stack of cups was added on the green circle with foam tape. I stamped the sentiment from the stamp set on a white strip of cardstock and added on the card.
The background:
The whole panel was added on a 4 and a 1/4 by 5 and a half top folding card base made using 110lb Neenah Solar White cardstock.
Hope you guys like this card and will get inspired by it to use this technique in your future projects. Please do leave me a comment down below.
I have used affiliate links to the products I have used in case you are interested in buying them. Please make your purchases through these links so I get a percentage of commision without any extra cost to you. Thank you for your support.
Also, check out my other post using this same card kit here
http://www.cardsncraftsnyc.com/cards-featuring-my-monthly-hero-card-kit/
I am participating in the Fusion Card Challenge. I am only using the card sketch though.
I am also participating in the Simon Says Stamp card challenge.
Hugs
Jyoti
What an awesome card, Jyoti! Love this beautiful design. The cups are so pretty and go well with the background floral patterns. Feminine and elegant design♡
Thank you for joining us at Simon Says Stamp Wednesday Challenge!
Marge
××
Thank You Marge.
Your patterned paper cups look amazing! What a wonderful job you’ve made of them. Gorgeous card! Thanks so much for joining us at Fusion.
Thank You Karren.