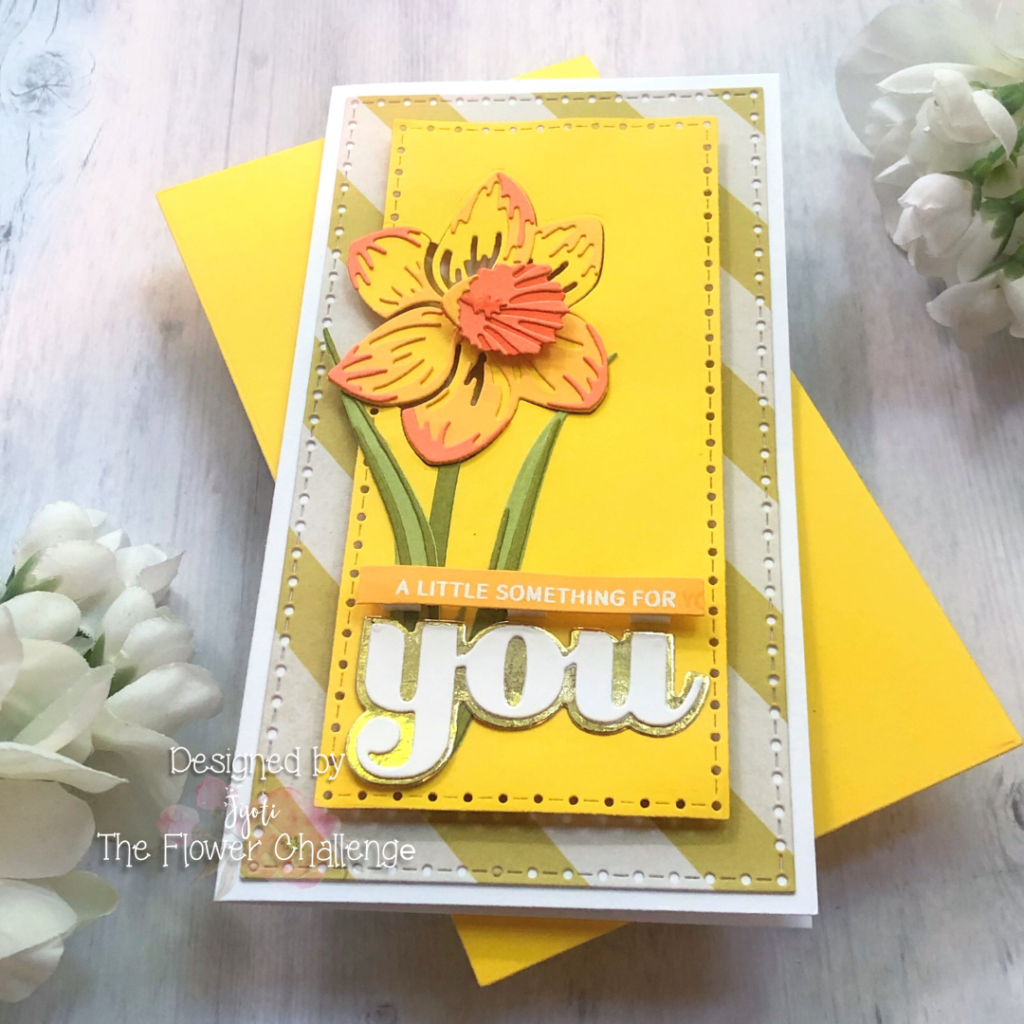
Die cutting is one of the popular process in card-making. I have created a die cut daffodil card to showcase this fun technique.
Hello Everyone!
Today I am participating in The Flower Challenge #59 along with the talented design team to share inspirations for creating die cut cards. This month’s theme is “Use A Die” (Option of a slimline card). I have incorporated both in my project today.
The Focus
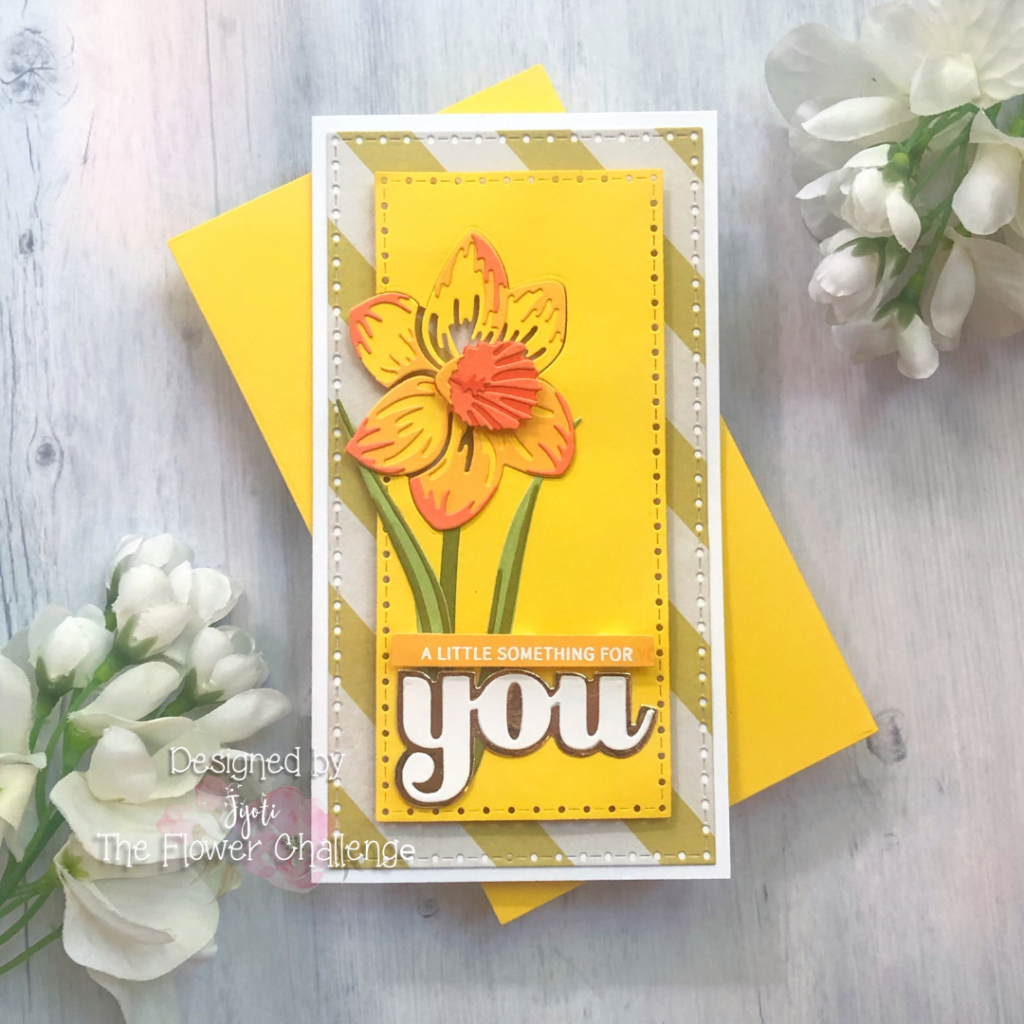
The main focus of this card is the die cut daffodil flower in the front. For my card today I have used this beautiful die set called Daffodil Layering Die Set from one of the Monthly Subscription that I have been ordering. These dies cut the different layers of the flowers so you can layer them to create a realistic looking flowers. The die package comes with the layering instructions so it’s easy to figure out the orientation of each piece.
I have used shades of yellows and oranges card-stocks from my stash for the flower and greens for the leaves and stem.
The Background
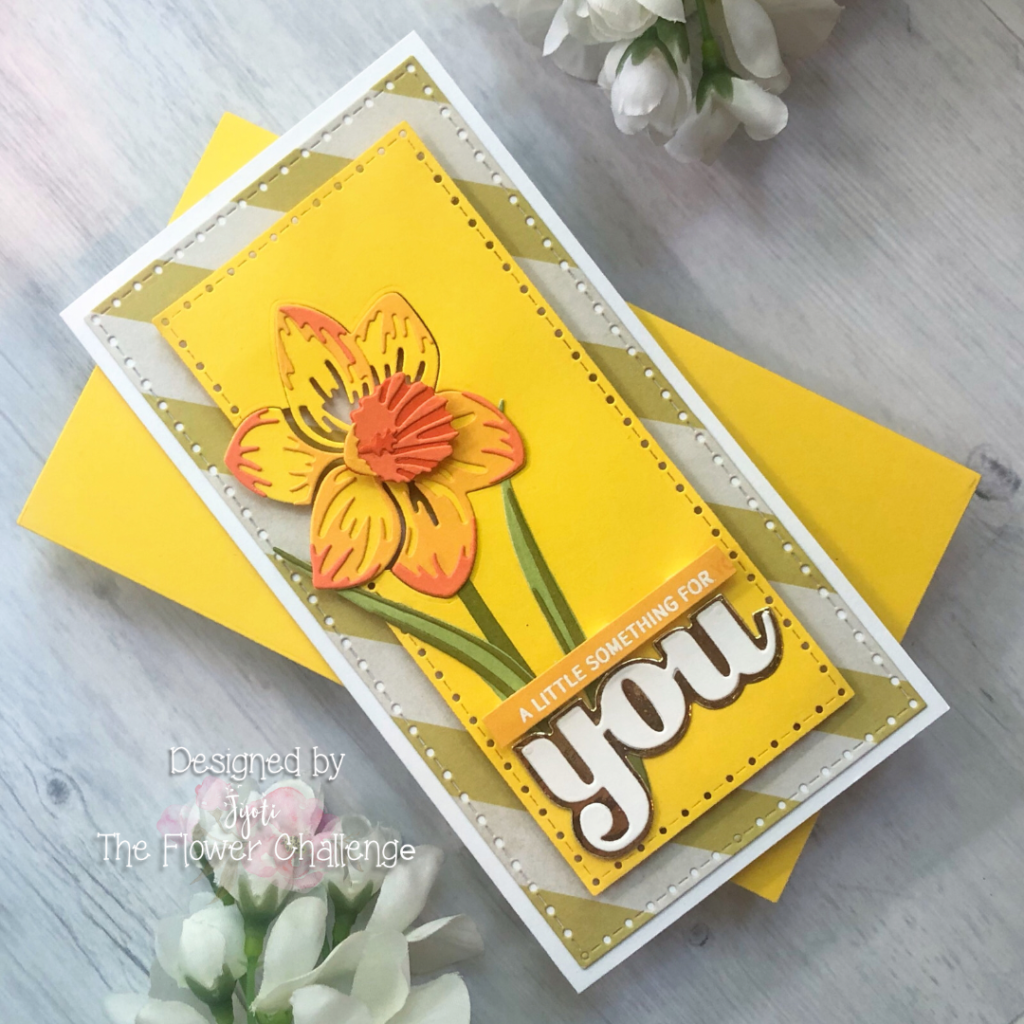
For the background I used the latest Spellbinders mini slimline die set that is also one of the monthly subscription. It is the large die of the month for the month of July. I had just received my order in the mail couple of days back. This month’s die is this pretty mini slimeline card layers along with some flower dies and an envelope die that is perfect for the mini slimline card. For those who don’t know what slimline is, it is a slimmer and more longer size of cards. Mini slimline usually measures 3 inches by 6 inches or 3 and a half by 6 and a half inches.
I die cut a lemon yellow stripe pattern-paper using one of the biggest dotted die and an yellow piece with the second dotted die. After that I also cut the yellow piece with the daffodil die in one side of it so that it will show the opening for the flower to sit on.
I adhered the yellow piece using foam tapes for dimension and the pattern 0paper piece directly on the card-base using liquid glue.
Then, I added the flower with foam tape so it is the same height at the yellow piece. The leaves are adhered directly with liquid glue.
The Sentiment
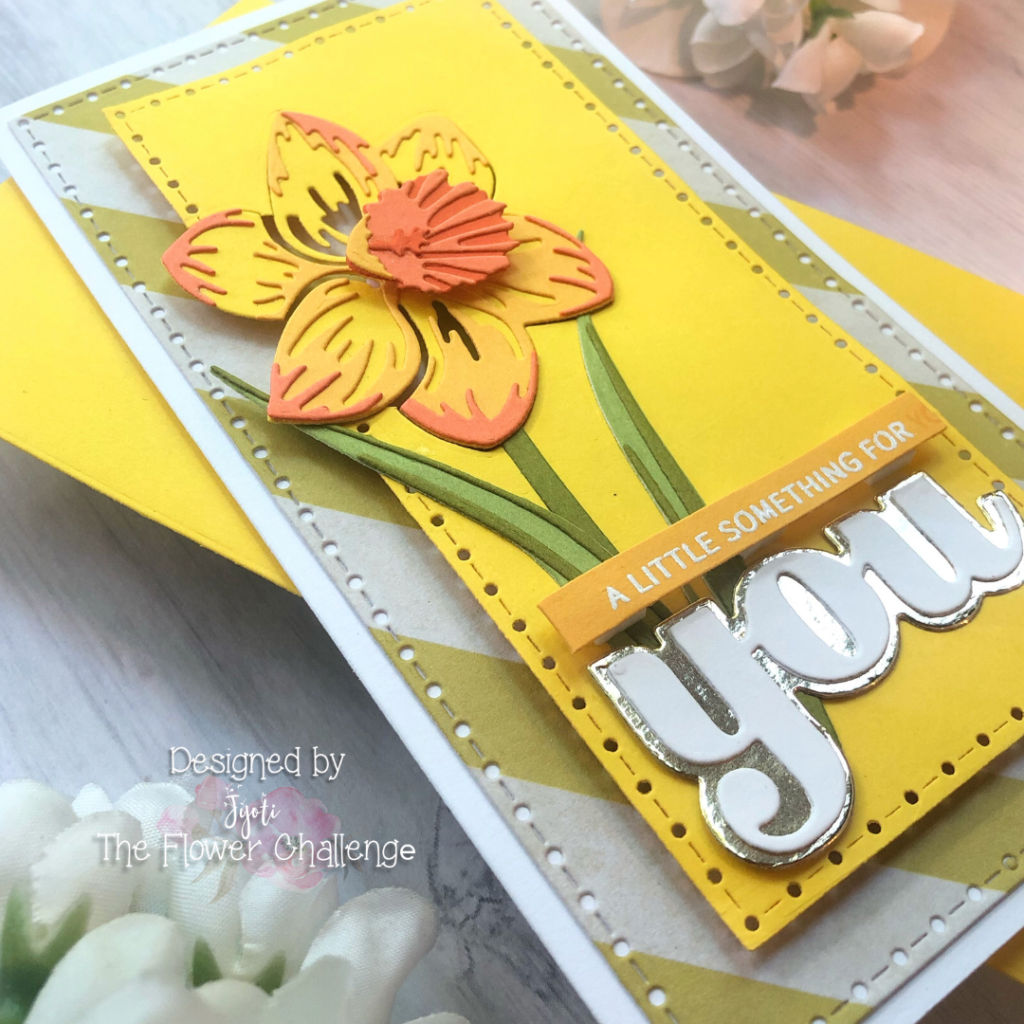
For the sentiment of this card I stamped and white embossed a sentiment on darker yellow card-stock. It read “A little soemthing for” and added the Birchpress Bold die that says YOU underneath to complete my sentiment. I cut off the you from this sentiment strip.
This finishes my card. Hope this inspires you and you will play along with us at the flower challenge. Don’t forget to checkout the other talented designer’s projects. Our Guest Designer this month is my favorite Therese Calvird from Lost In Paper. I have always admired her card-making style immensely.
Hugs
Jyoti
This is so bright and amazing.
Thank you so much dear. I appreciate you stopping by.
The layered die cut daffodil is beautiful but I really love all the elements you chose to showcase that daffodil, Jyoti! Beautiful design!
Thank you so much TaEYun for the lovely comment
What a fabulous card Jyoti! These CAF are also some of my faves from Altenew and this one looks amazing on your card design here!
Thank you so much Therese. I’m a big fan of your card designs and you visiting my post and commenting is such a huge honor for me. I really appreciate it. ❤️❤️❤️
The layered daffodil is beautiful, Jyoti, and I love those die cut frames behind it.
Thank you so much Bobby. I appreciate you visiting.❤️
Beautiful and bright daffoldil that looks amazing on the striped background Jyoti! xx
Thank you so much Loll fir the lovely comments. ❤️❤️
Such a gorgeous daffodil, Jyoti! I adore layering dies!
=]
Thank you so much Michelle. I love them too so I have subscribed to the craft a flower monthly subscription that way I don’t miss any of these beautiful dies.❤️
Gorgeous card Jyoti!!! Love all the layers and details!
Thank you Sandhya. I appreciate you stopping by and taking time to comment.❤️