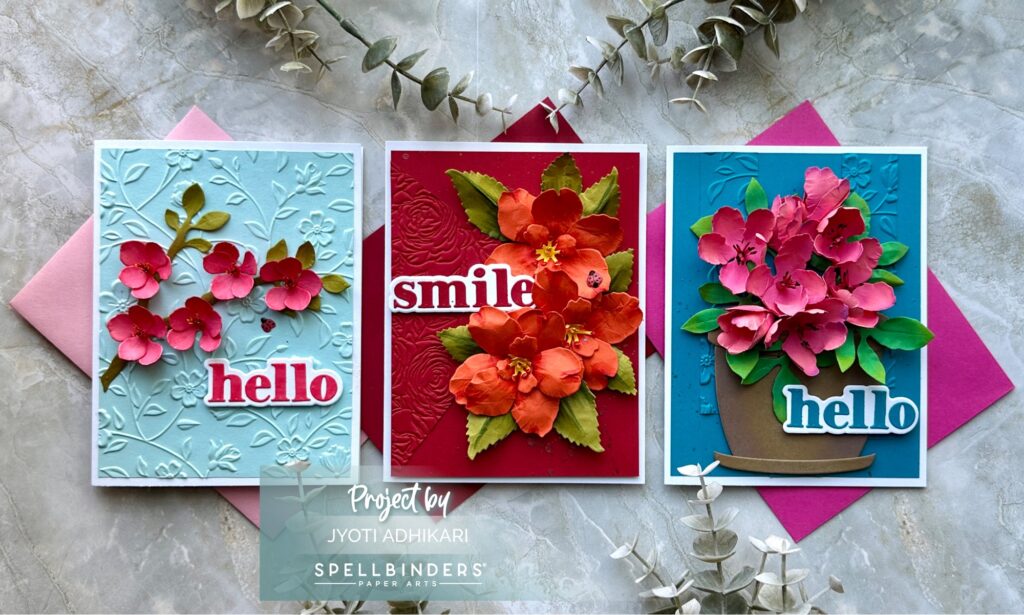
Creating floral cards is a delightful way to bring a touch of nature’s beauty into your handmade projects. Today, I am excited to share three bright and dimensional floral cards I made using Susan Tierney’s Nature’s Botanical Garden collection from Spellbinders. Each card features intricate details, vibrant colors, and a little bit of whimsy. Let’s dive into the details of each card and how they were crafted!
Radiant Rose
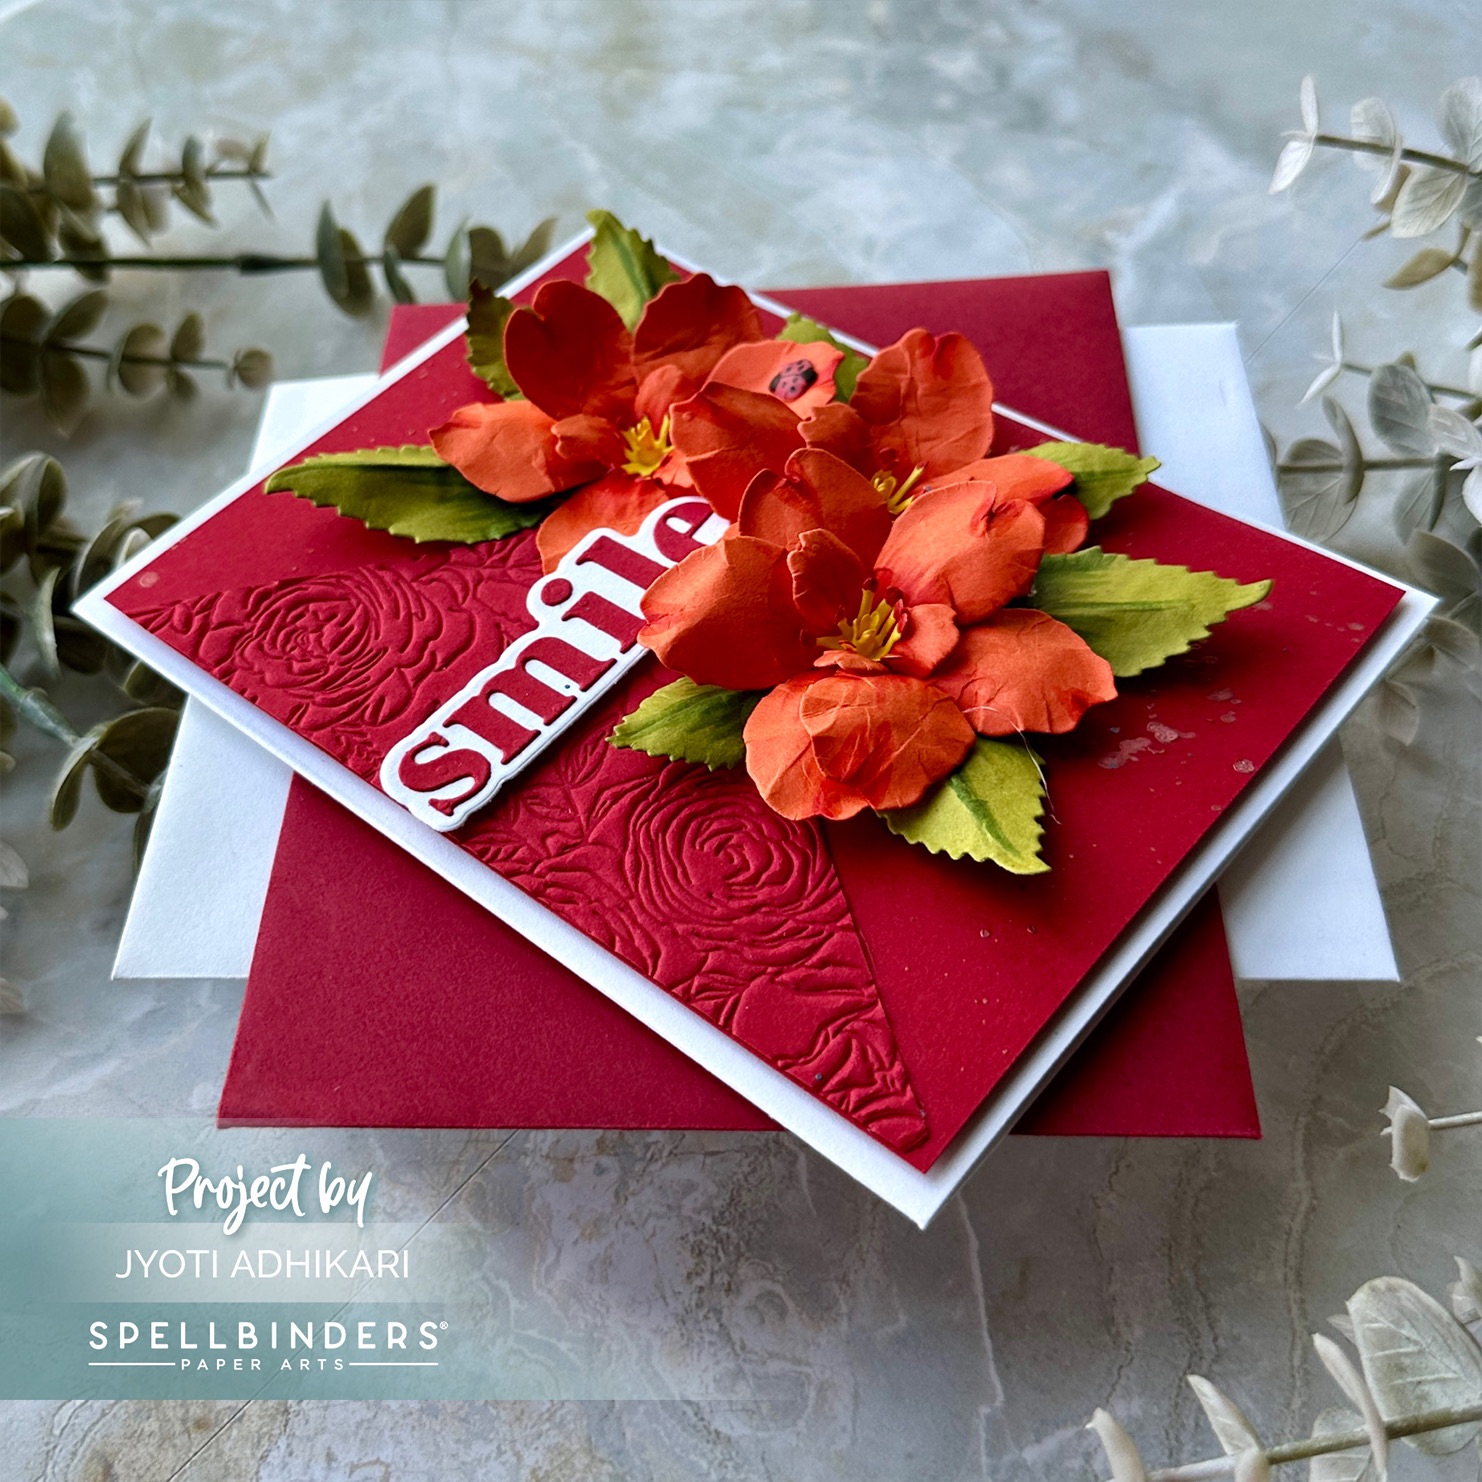
Creating the Landscape Rose
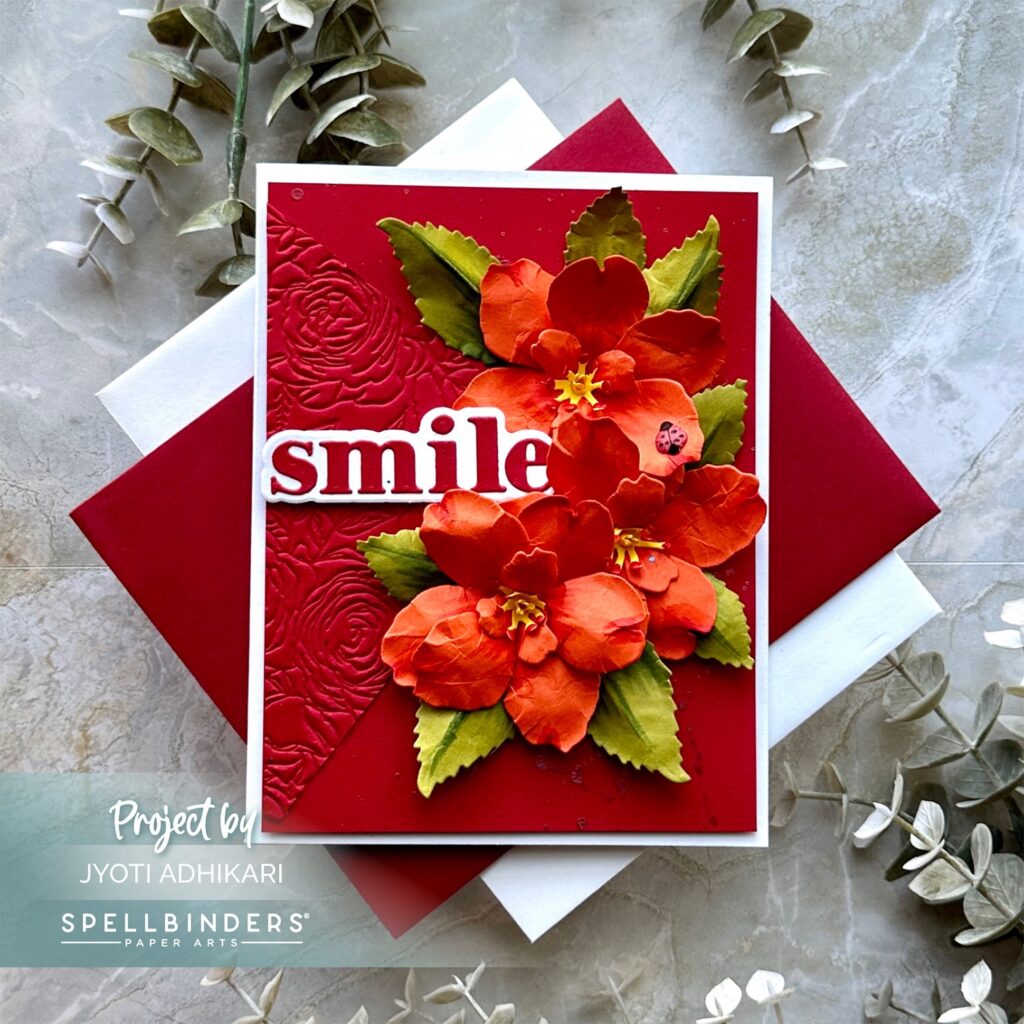
My first card features the Landscape Rose Etched Die. To start, I die cut the pieces of the flowers using orange cardstock and the leaves with green. Adding a little bit of shading to the pieces with Copic markers gave them more depth and realism. Shaping and assembling the flowers brought them to life, making them ready to be the star of the card.
Designing the Background
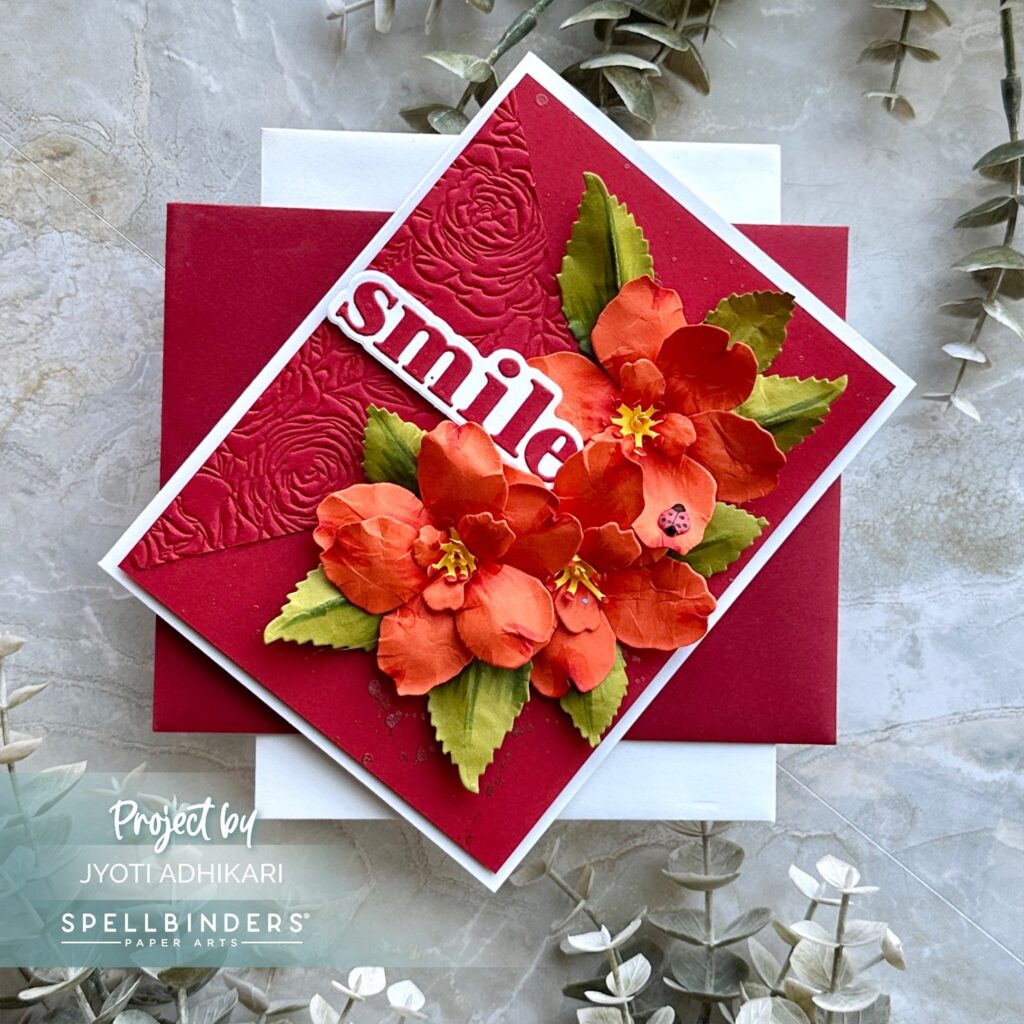
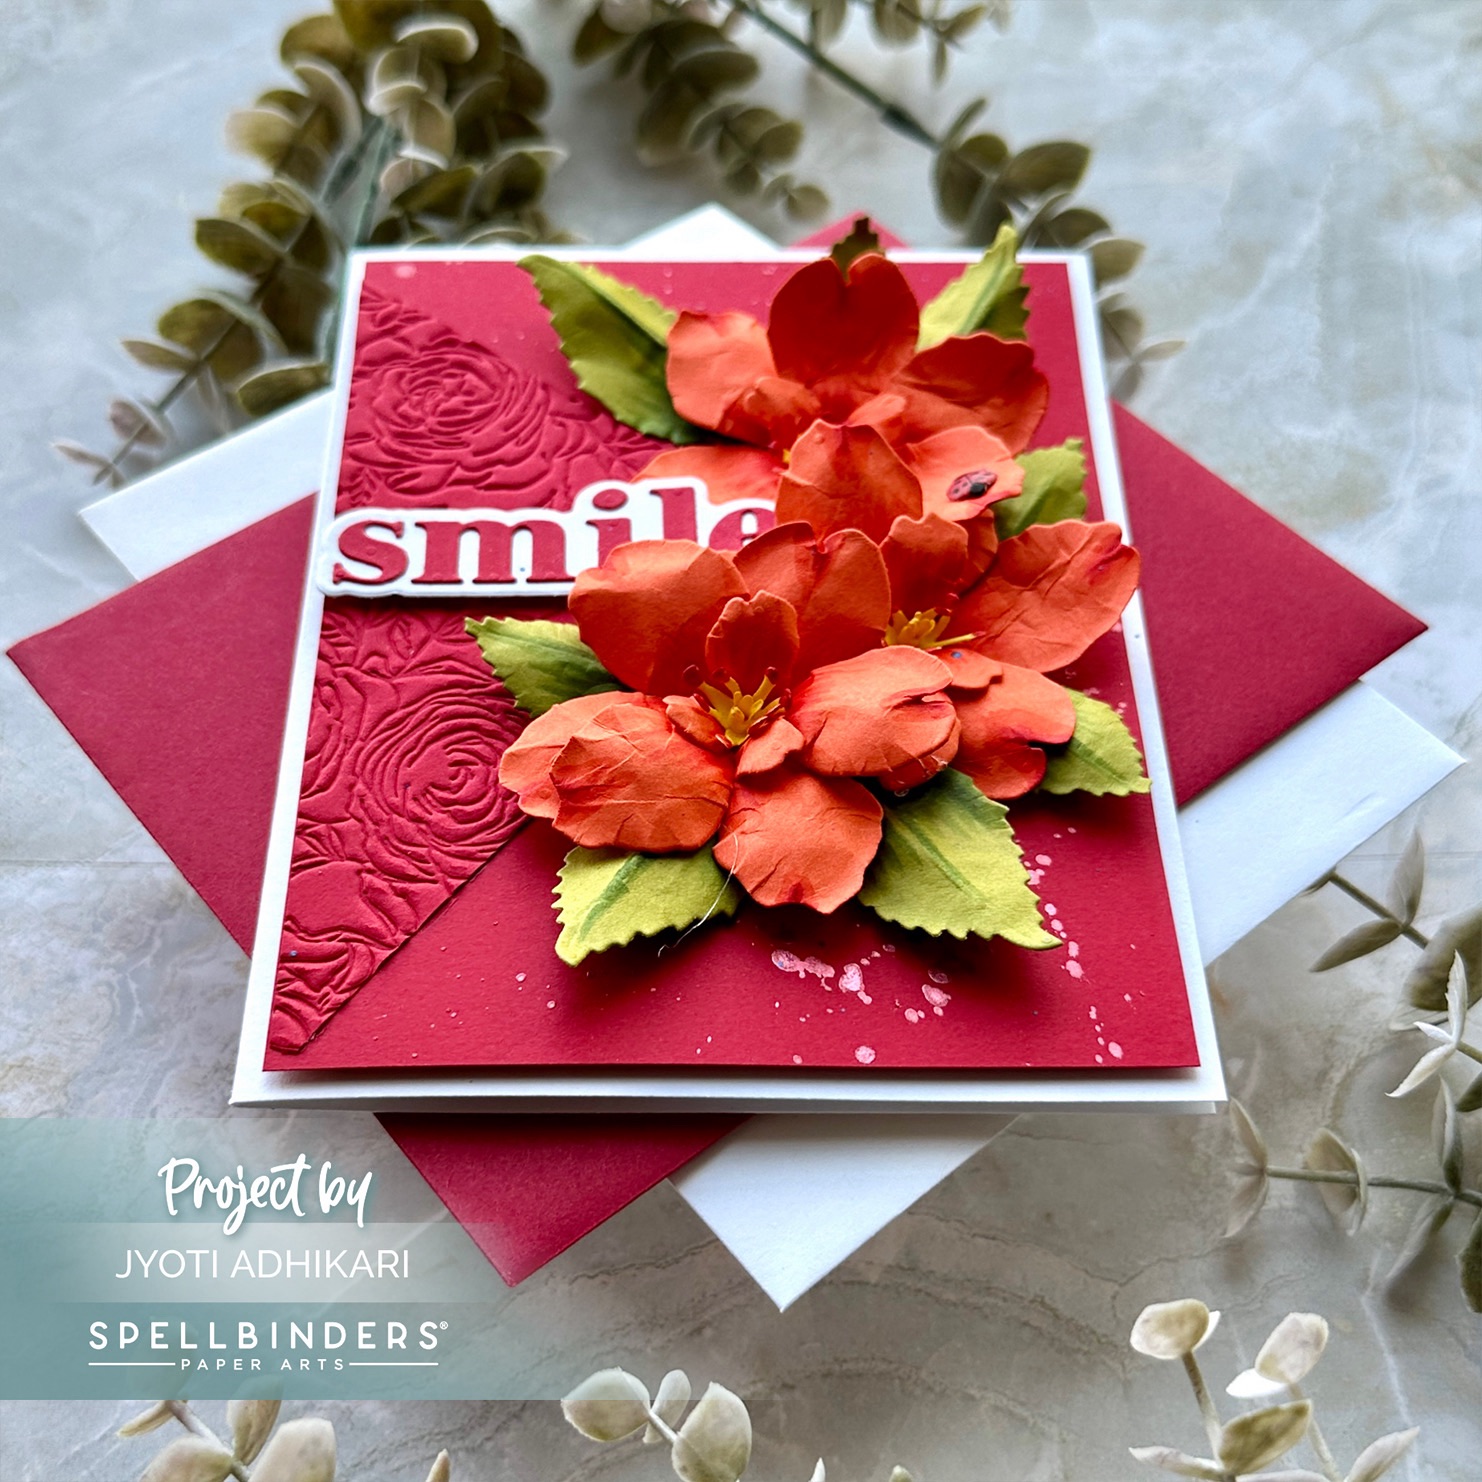
For the background, I chose a vibrant red cardstock and splattered some iridescent red paint to add a touch of sparkle. Using the Winter Rose BetterPress plate, I dry embossed another triangular piece, which added a unique texture. It’s fascinating how you can dry emboss with the BetterPress plate using the 3D embossing sandwich on your Spellbinders Platinum die-cutting machine! I placed this embossed triangle on the left side of the card to create an interesting visual balance.
Bringing it All Together
Arranging the flowers and leaves on the right side of the card created a beautiful contrast against the textured background. A small ladybug nestled on one of the flowers added a playful touch. To complete the card, I die cut the word “Smile” created with Hello Smile Die in red on white cardstock and placed it along the center left. This sentiment perfectly captured the cheerful essence of the card.
Blushing Azaleas
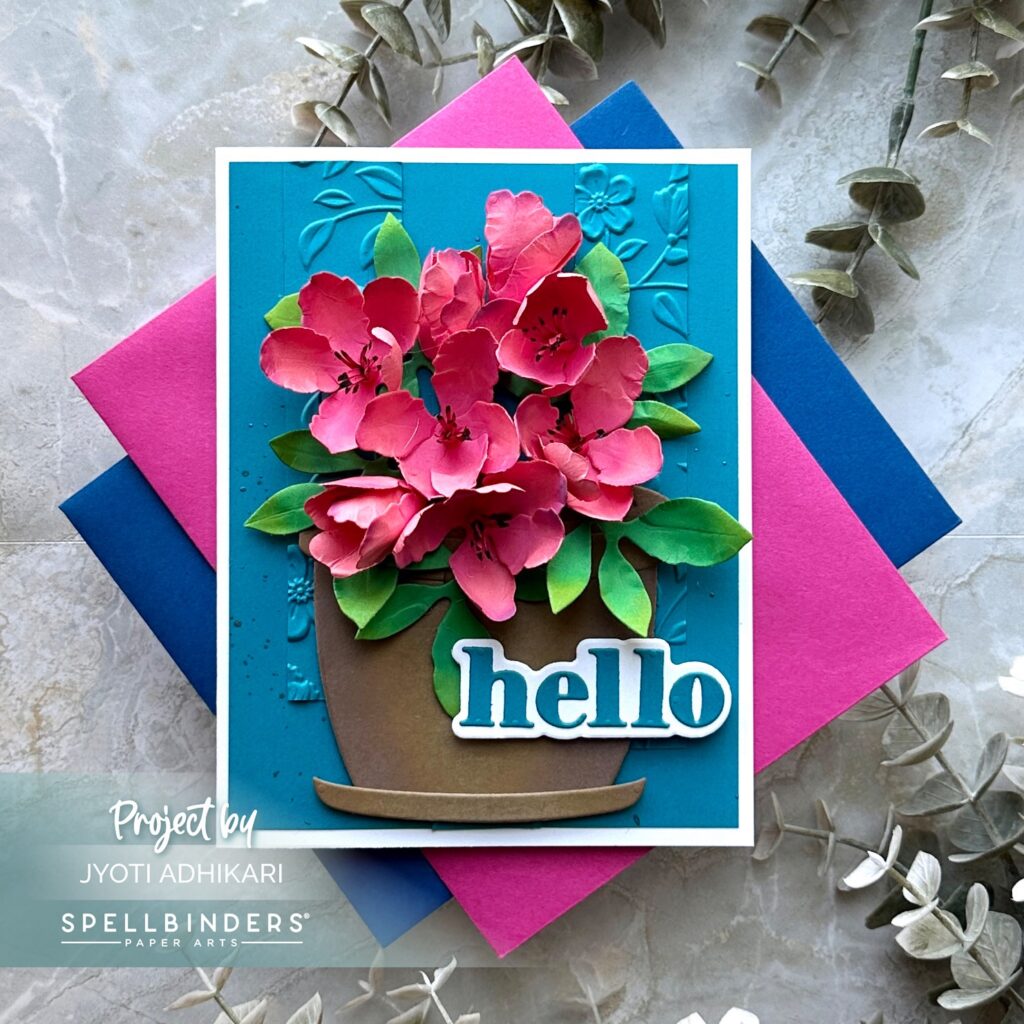
Crafting the Azaleas and Garden Pot
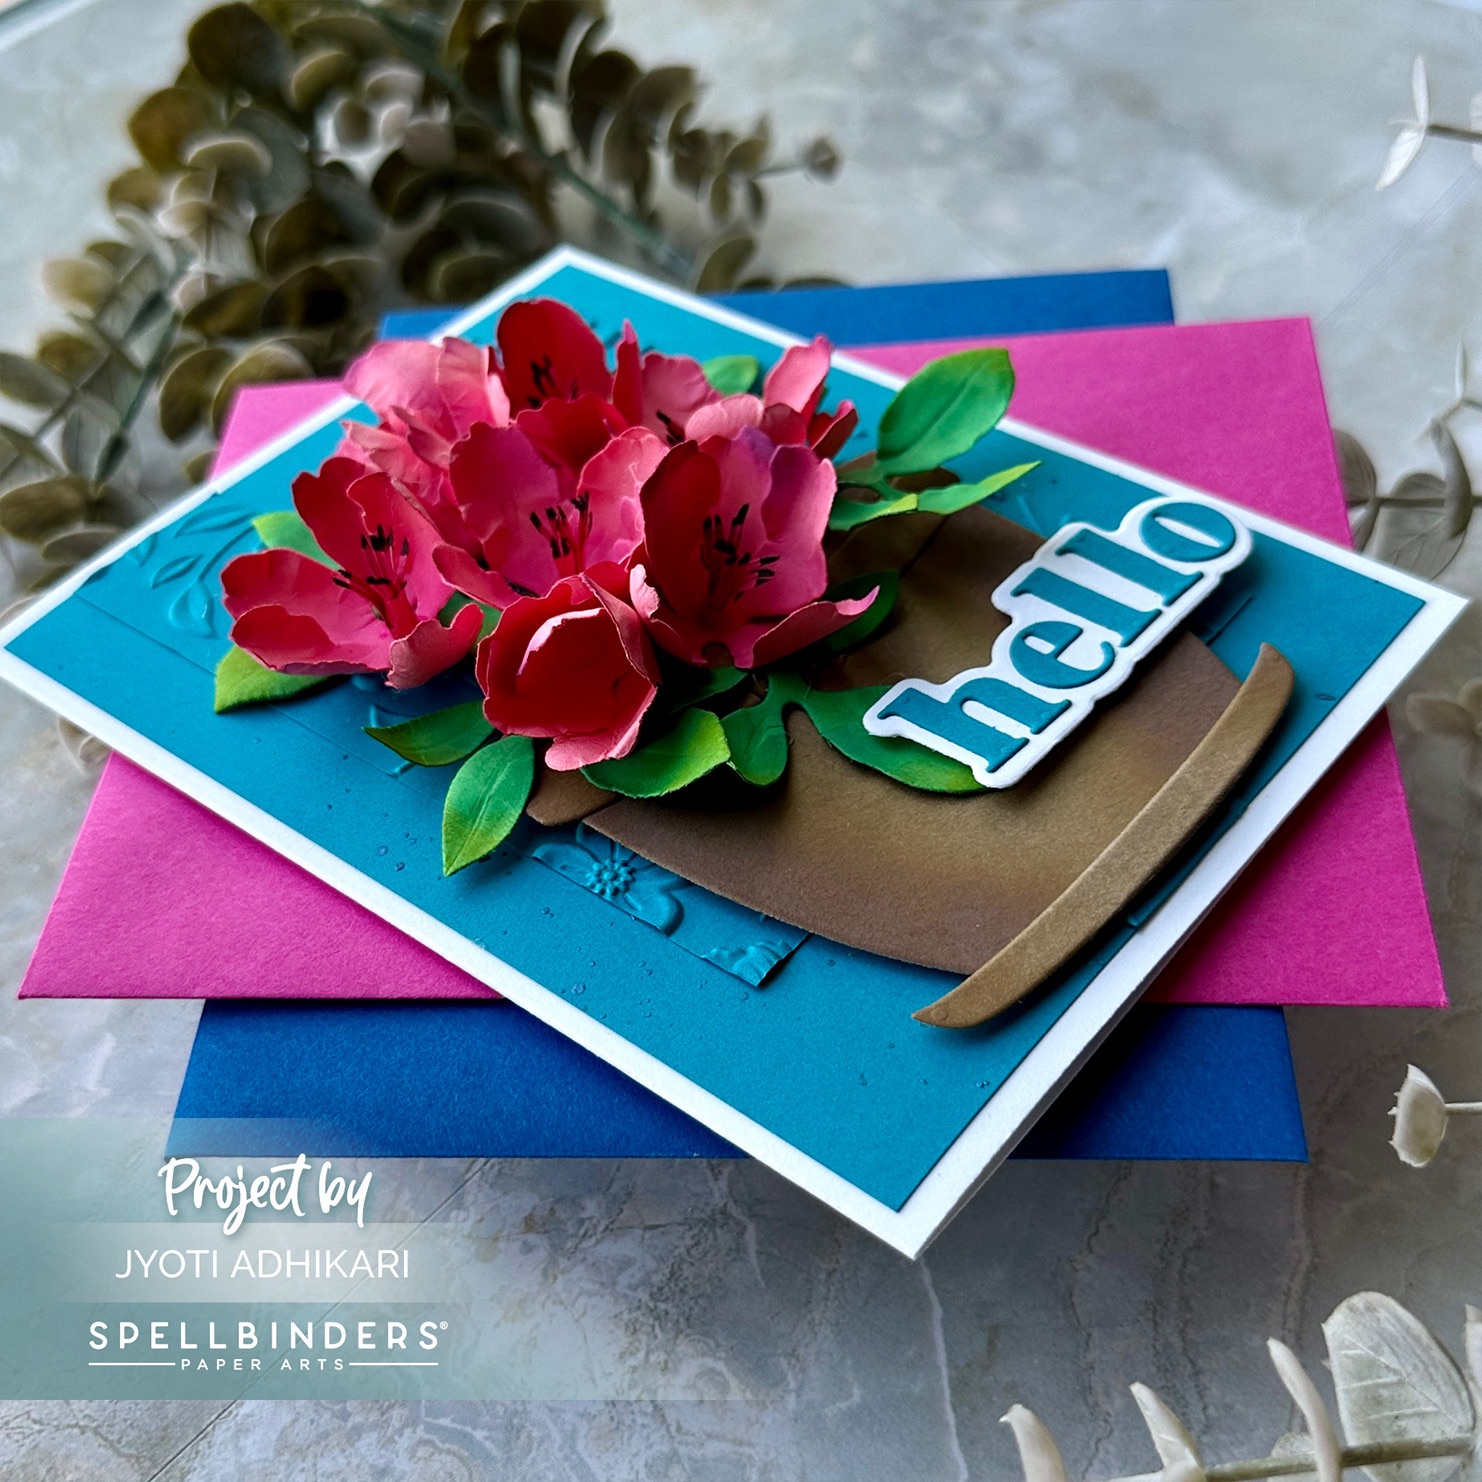
For the second card, I used the Azalea and Garden Pot with ladybugs die. The flowers were die cut from pink cardstock, the leaves from green, and the pot from brown cardstock. A touch of shading using Distress Oxide inks added depth and dimension to the pieces. After shaping and assembling the azalea flowers, they were ready to adorn the card.
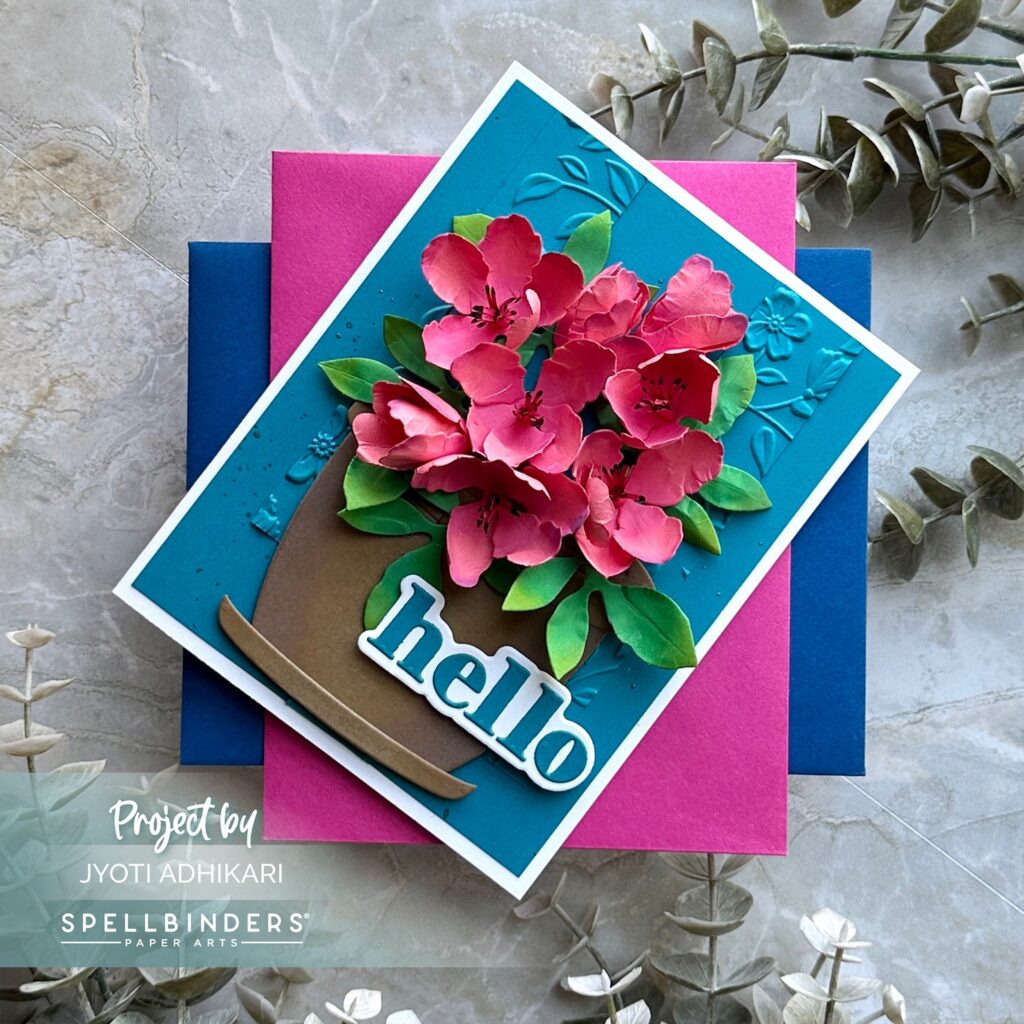
Background and Texture
The background was created using blue cardstock, which I also die cut into strips and embossed using an embossing folder. Adding these strips to the background gave it an interesting texture and depth, complementing the central floral arrangement.
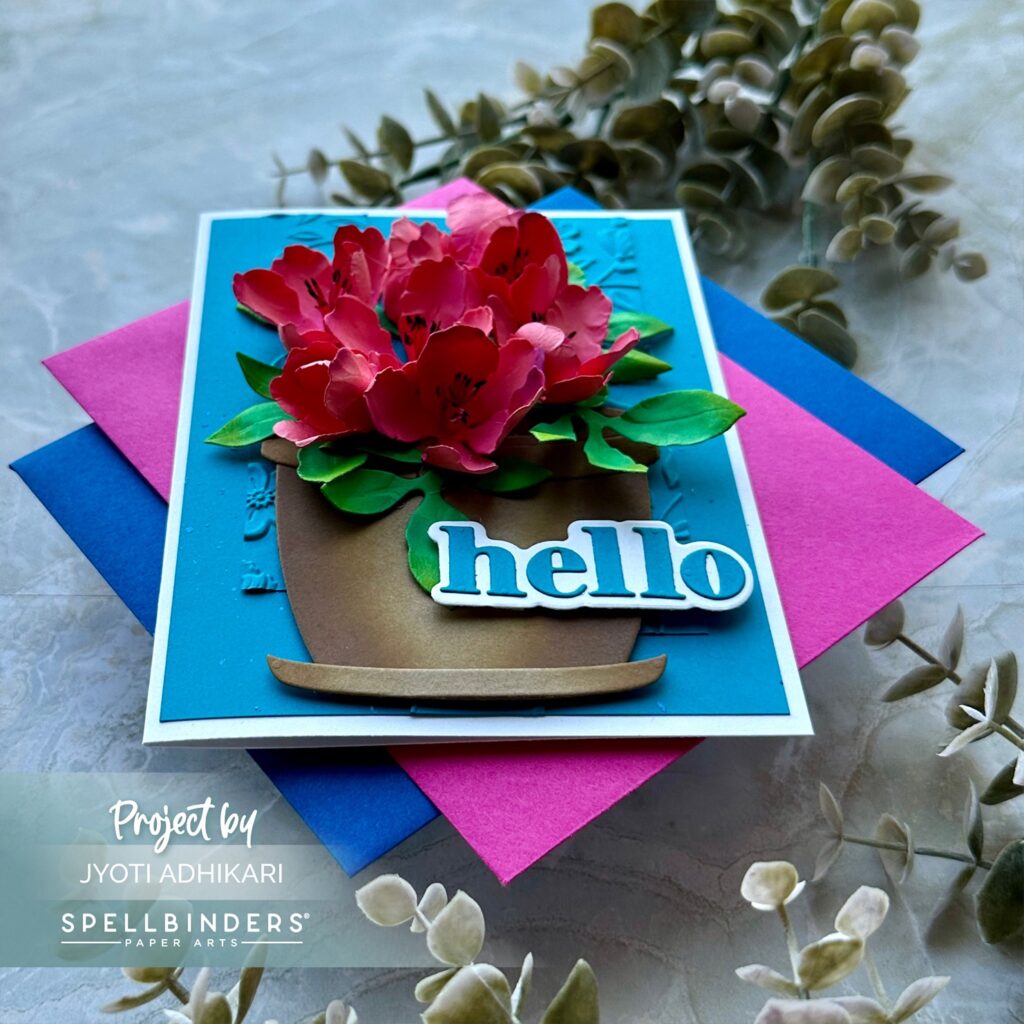
Final Assembly
Placing the flowers and the pot in the center of the card created a beautiful focal point. For the sentiment, I die cut the word “Hello” from Hello Smile Die and positioned it along the bottom right, adding a friendly and welcoming touch to the card.
Blooming Quince
Creating the Flowering Quince
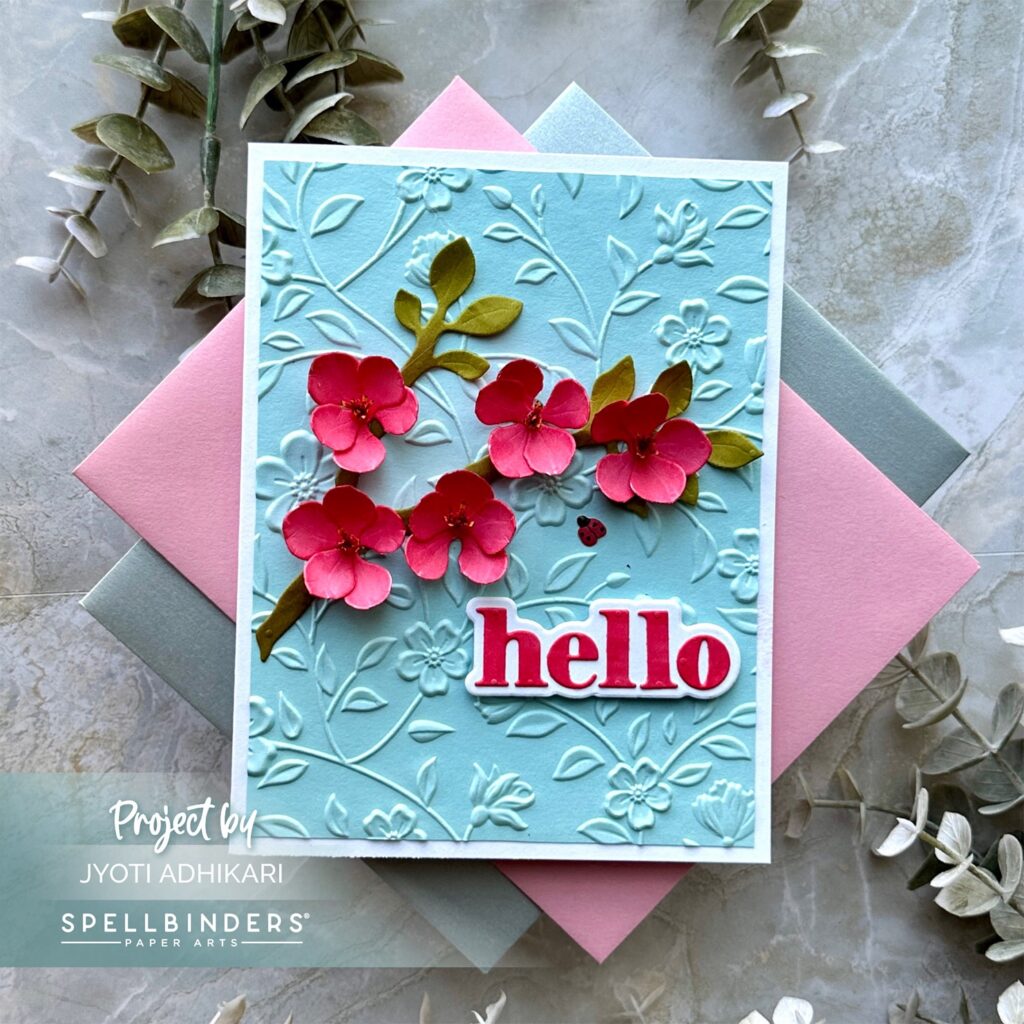
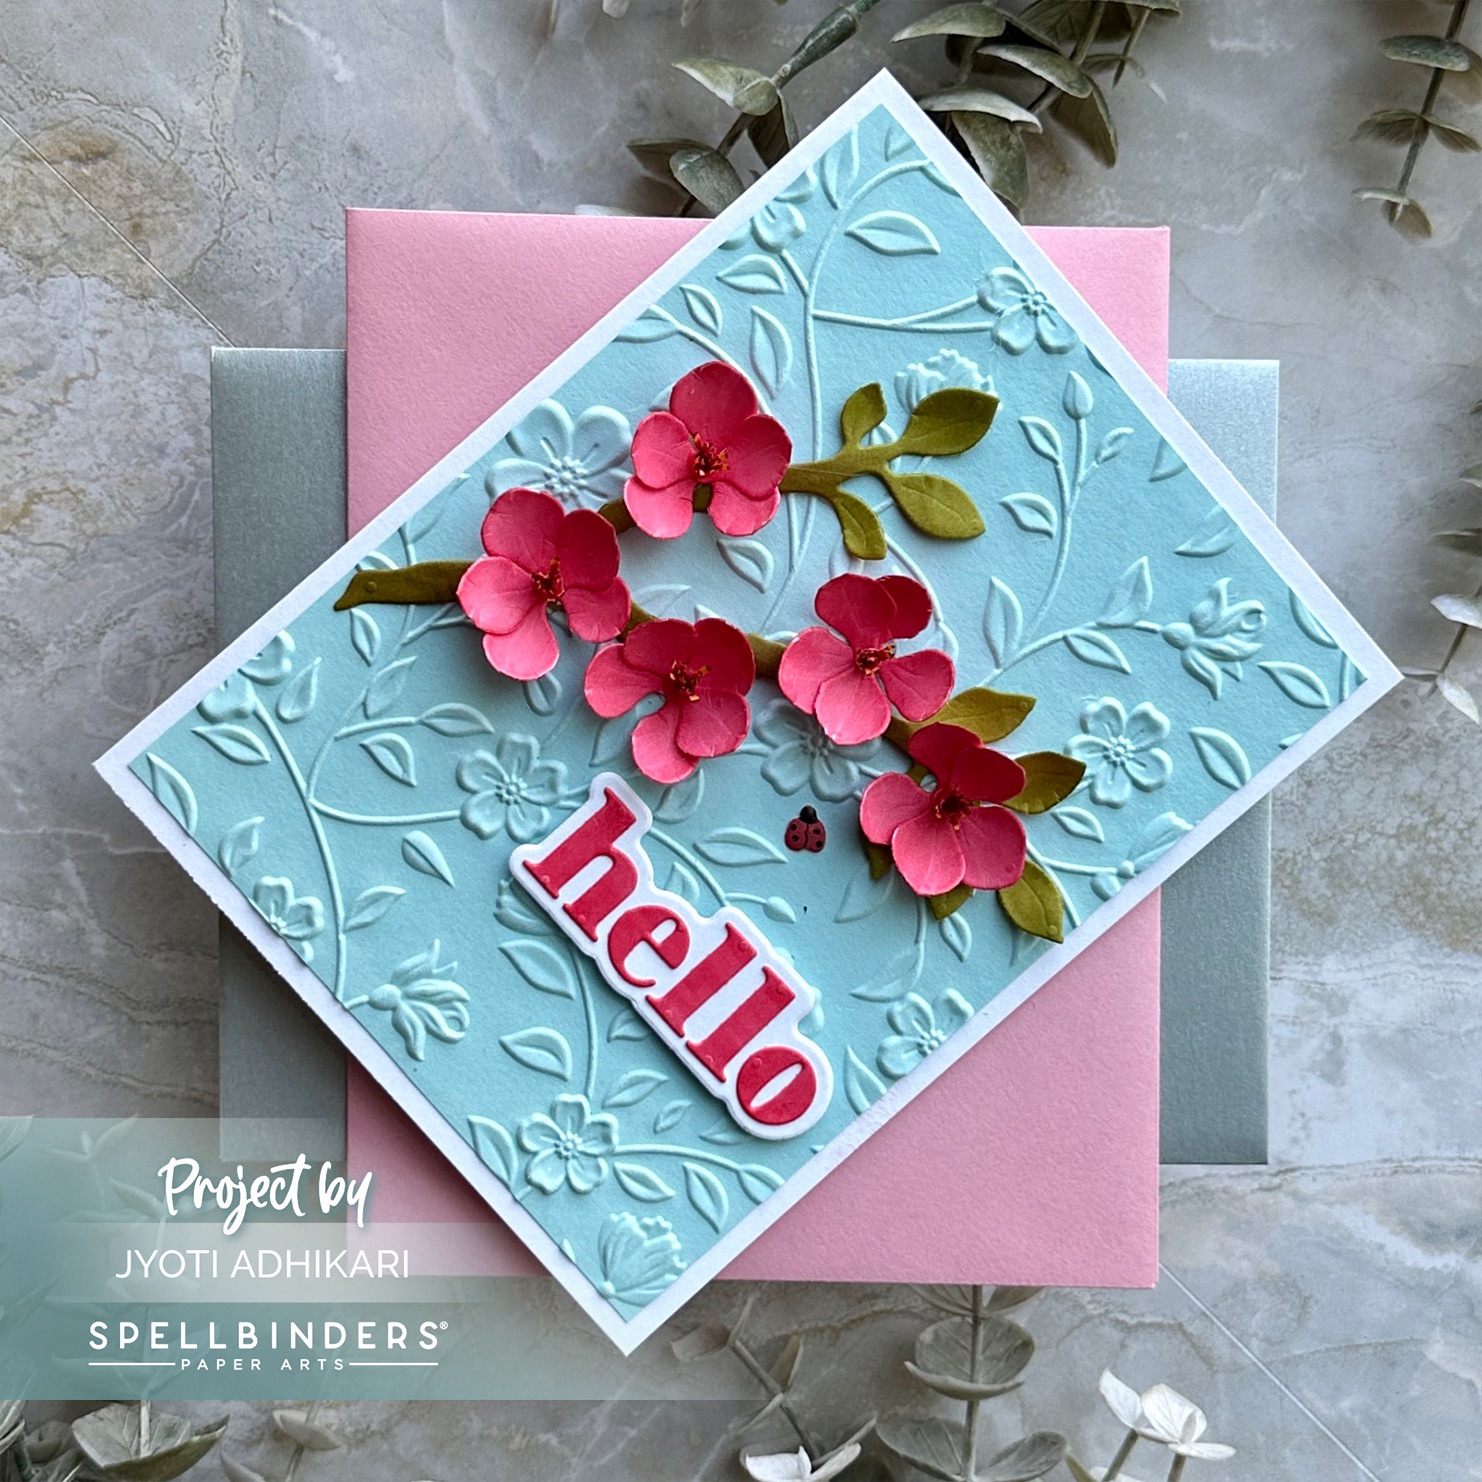
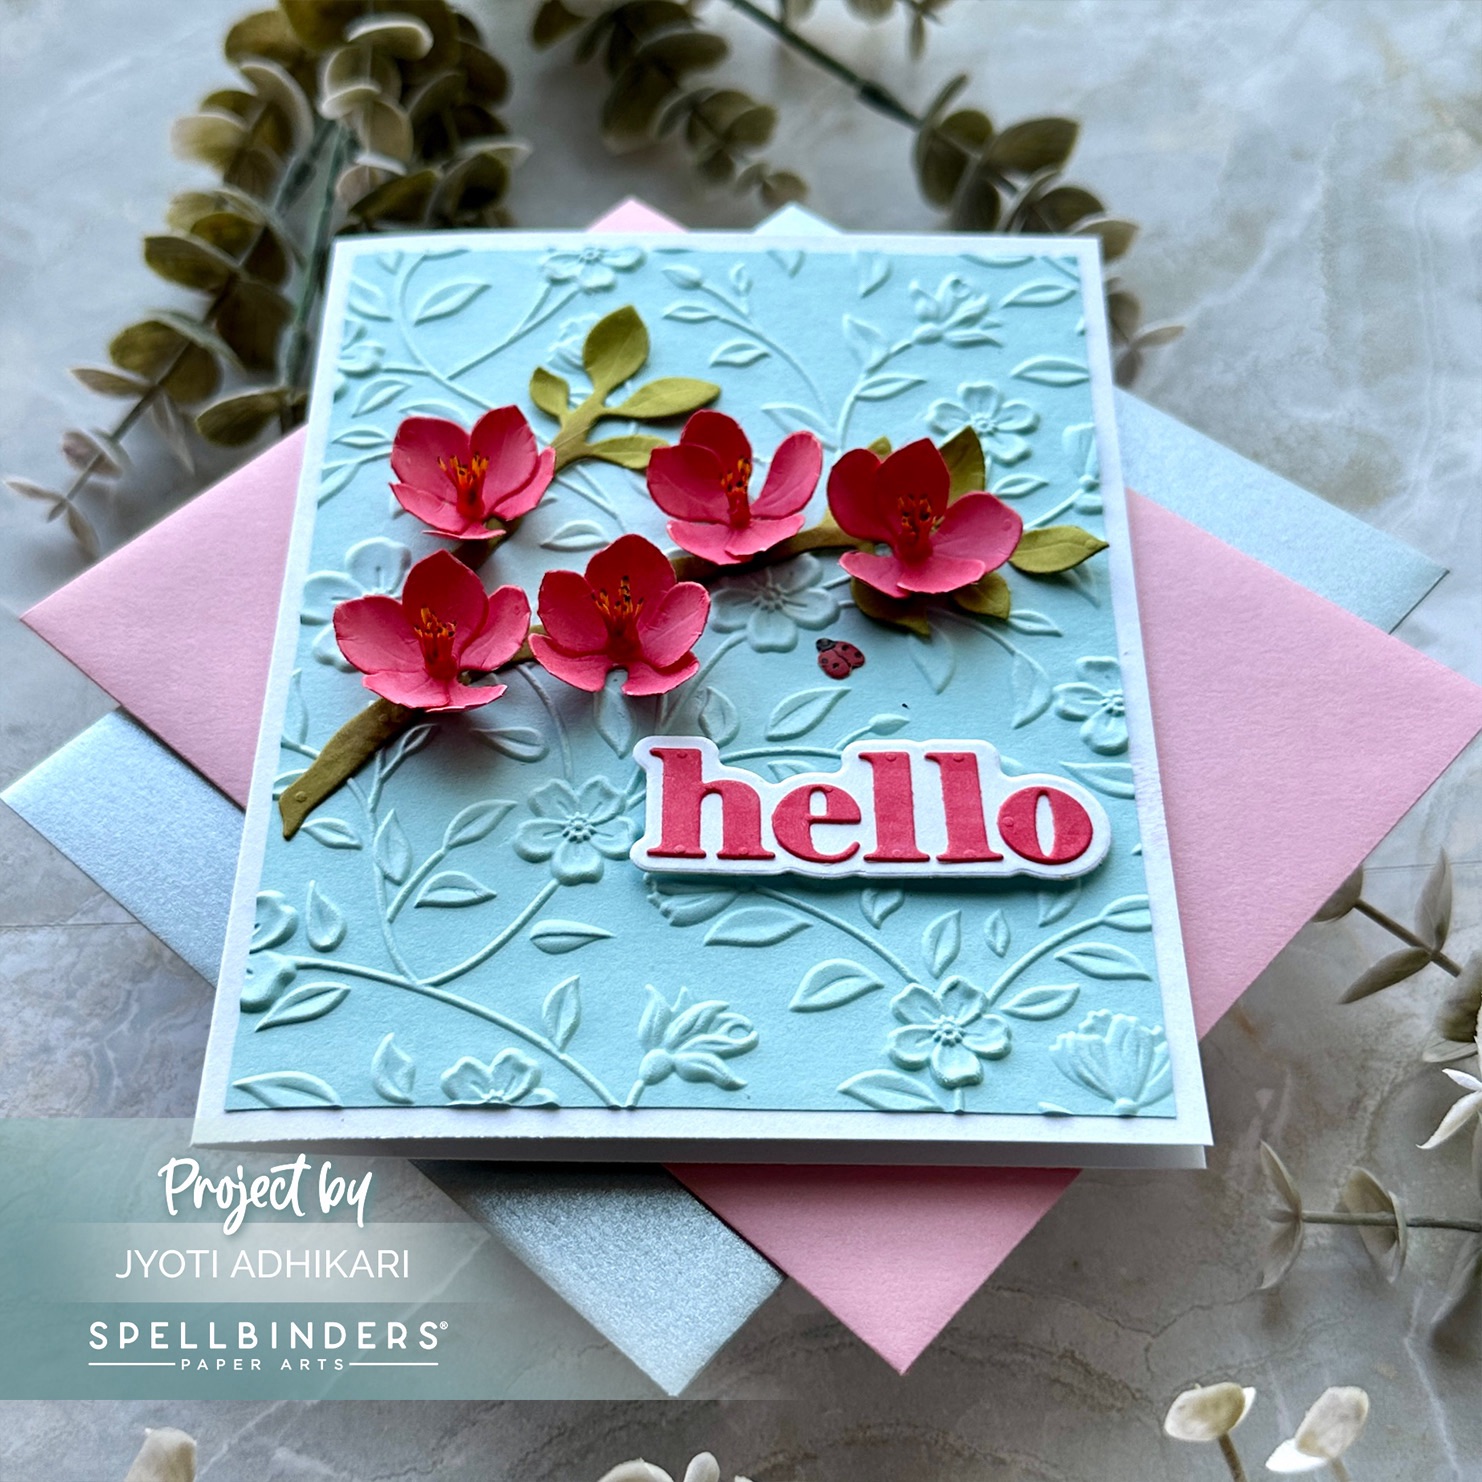
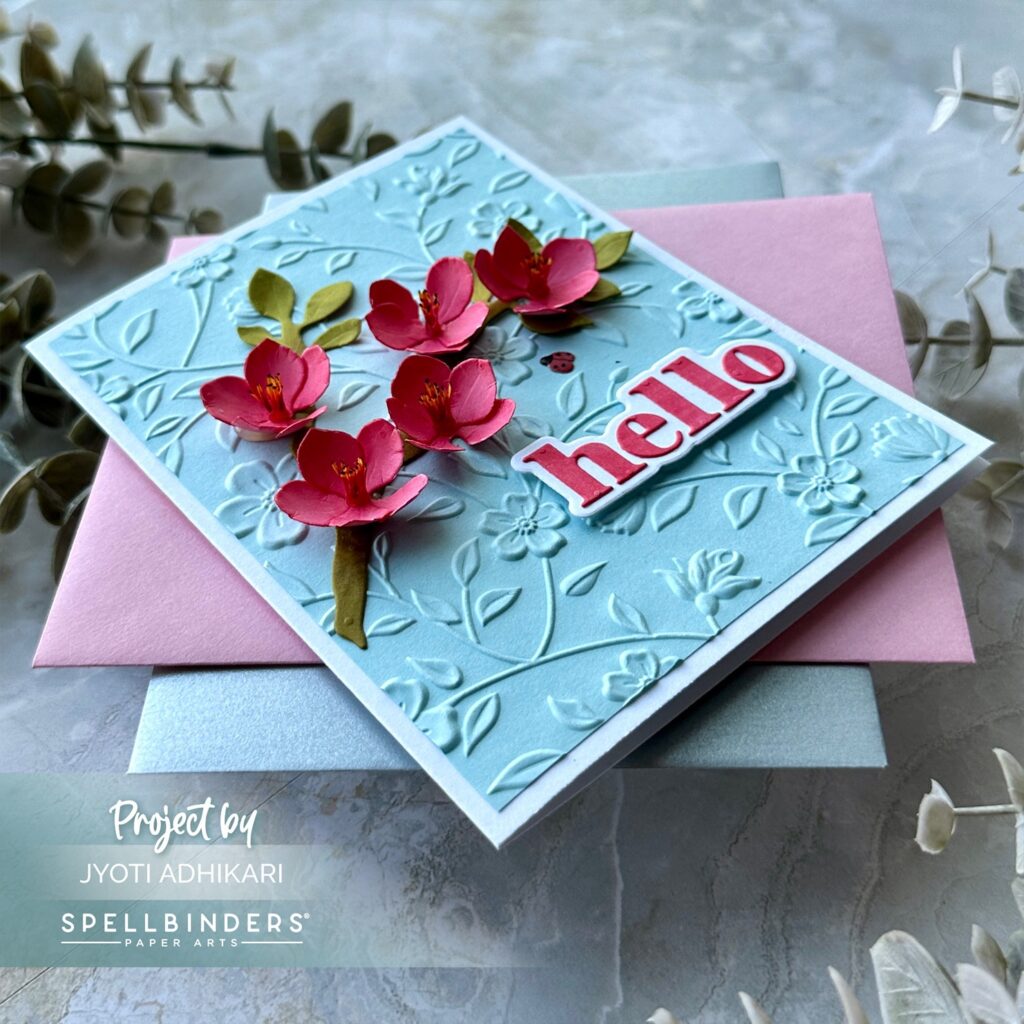
The third card features the Flowering Quince die. I die cut the leaves and flowers from white cardstock and added color using Copic markers. Shaping and assembling the flowers and the stem brought a lifelike quality to the pieces.
Designing the Background
A light blue cardstock served as the perfect backdrop for this card. I embossed it using a 3D embossing folder to add a subtle yet elegant texture. The light blue color provided a serene and calming background for the vibrant floral arrangement.
Assembling the Card
Arranging the flowers on the stem against the embossed background created a striking visual. To complete the card, I used the “Hello” from Hello Smile Die die cut along the bottom and added a small ladybug for a touch of whimsy and charm.
Creating these dimensional floral cards was a joy, and I hope you find inspiration in each of these designs. Happy crafting!
Hugs,

 Winter Rose Background Press Plate Shop at: SB |
 Landscape Rose Die Shop at: SB |
 Flowering Quince Die Shop at: SB |
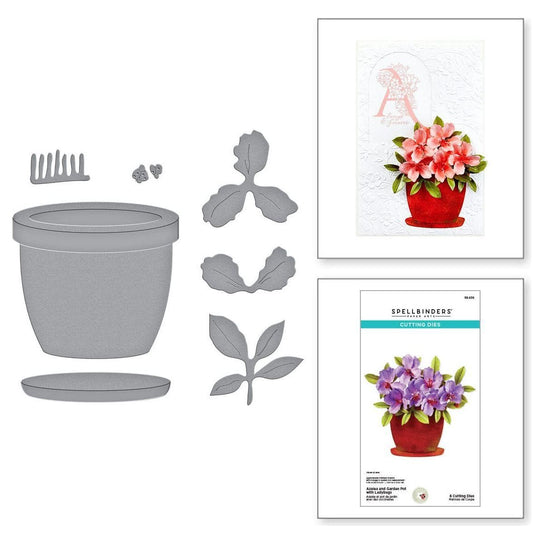 Azalea Garden with Pot Die Shop at: SB |
 Hello Smile Die Shop at: SB |