Today, I am sharing a bunch of faux foiled butterflies. Foiling requires a specific machine or a particular printer, but you can simply create a look of foiling by just using a foil card stock instead.
Hello everyone!
My project today contains a lot of fluttering faux foiled butterflies. Don’t forget to catch them all. 🙂
I was super excited when Alex sent me a message saying that she is creating some digital cut files for this month’s release. As I have been loving creating die cut cards more than stamps these days, I jumped with joy when I found out the new release had cut files.
I own a Silhouette Cameo digital die cutting machine. It is well loved for past 8 or 9 years. It was my first ever bought die cutting machine, but I am ashamed to say that I had only been using the basic version so far. These digital files work with the designer version as they are .svg files. It was perfect excuse for me to purchase the Designer Edition which has endless possibilities.
First Set
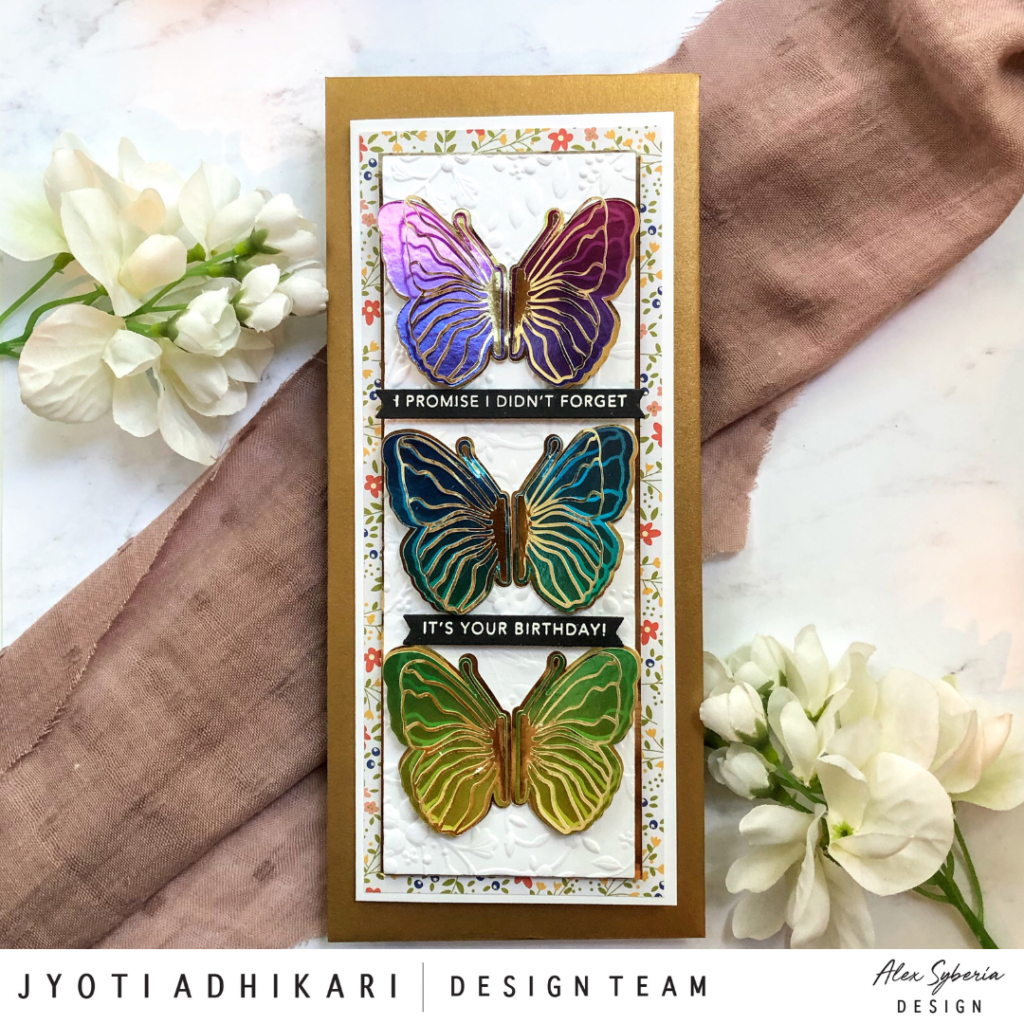
For my first set of cards, I used the butterfly cut file which is one half of a butterfly. The beauty of using a digital file is that you can resize it, flip it to get the mirror image, or stretch it taller or wider. By flipping the half, I was able to create whole butterflies very easily. I created some large butterflies and some small ones. The idea was to make a slimline card with a row of butterflies for my first card, which you can see here.
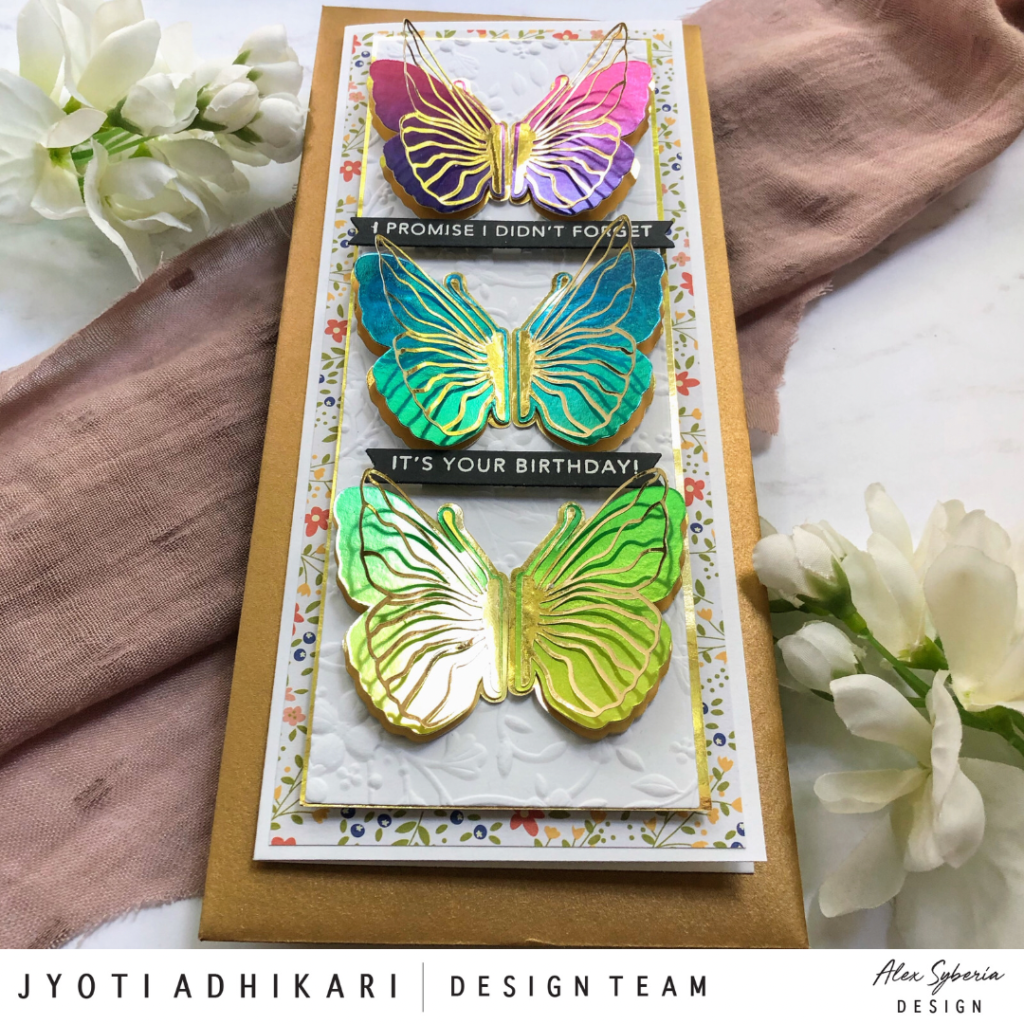
I used a gold foil card stock I bought from Michael’s to cut all these butterflies. One sheet was enough for 5 butterflies, or 5 pairs of wings. I’ve noticed that the intricate design cuts beautifully if the card stock is thin.
I created an offset layer for the backing for each of the wings and cut that with a rainbow foil card stock that I had received with one of my Simon Says Stamp card kit. This was perfect for creating all these gradient rainbow colored butterflies.
Then, I wanted to add an extra layer of the gold backing piece which was slightly bigger than the rainbow piece. This way, when you look at these butterflies from the top, you see all three layers.
To give the butterfly depth, I adhered the center side or the body of the butterfly with glue and the wings with foam tape. This gives the illusion that the butterfly wings are in flight.
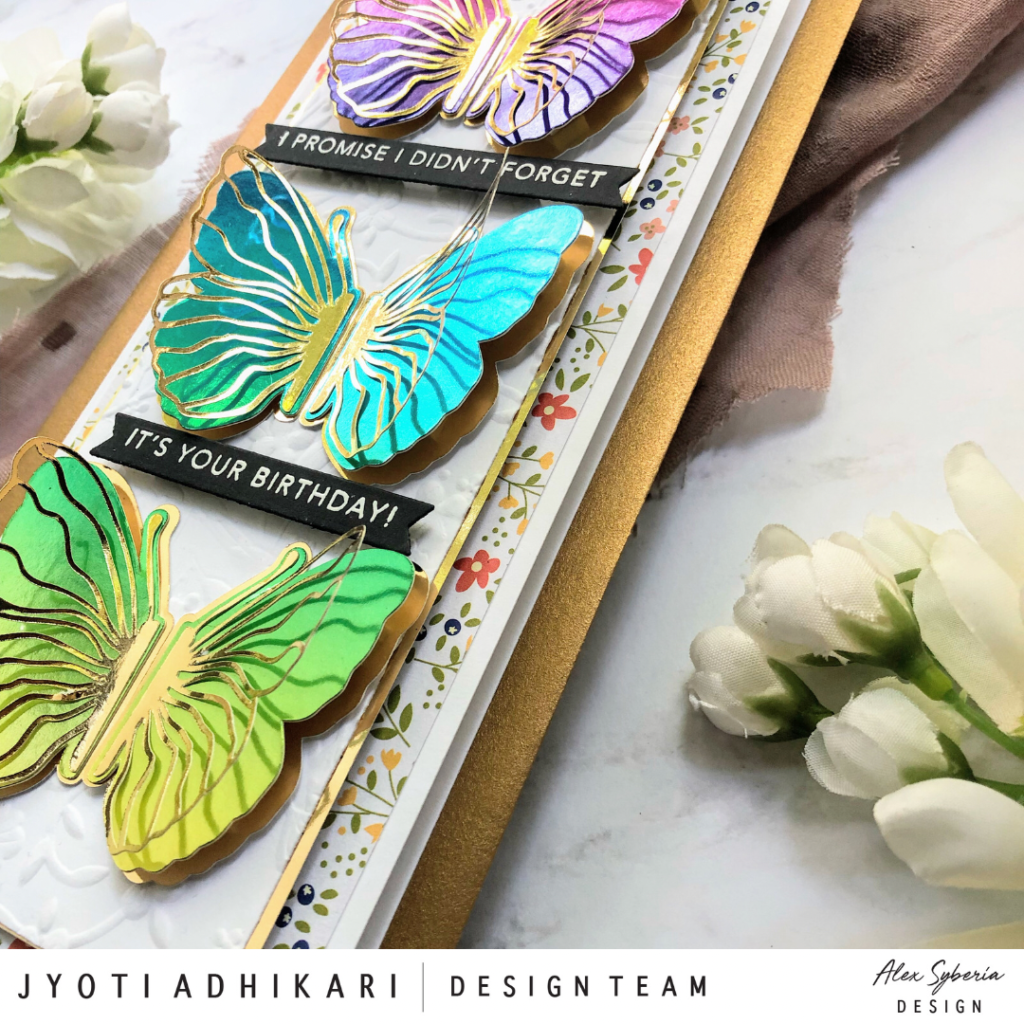
These cards have so much dimension and layers to them.
For my first card I wanted to create a slimline card with three butterflies, each gradating in color from purple to green.
Second and Third cards


For the two cards with the large butterflies I created gate fold cards that unfold from the middle each flap having a half butterfly. These cards close to reveal a full butterfly, but can be opened to read a handwritten message. I created two cards; one with a pink to purple gradient and one with a blue to green gradient.


Second Set
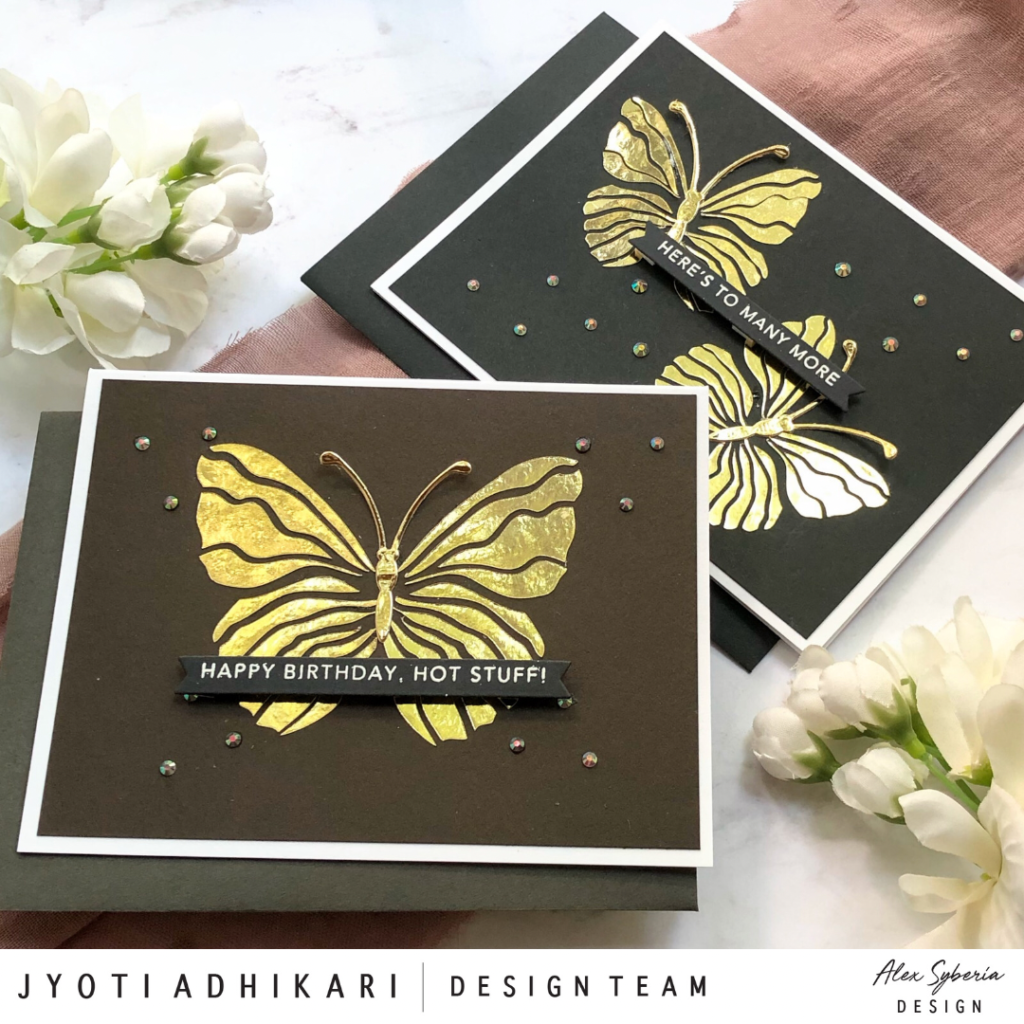
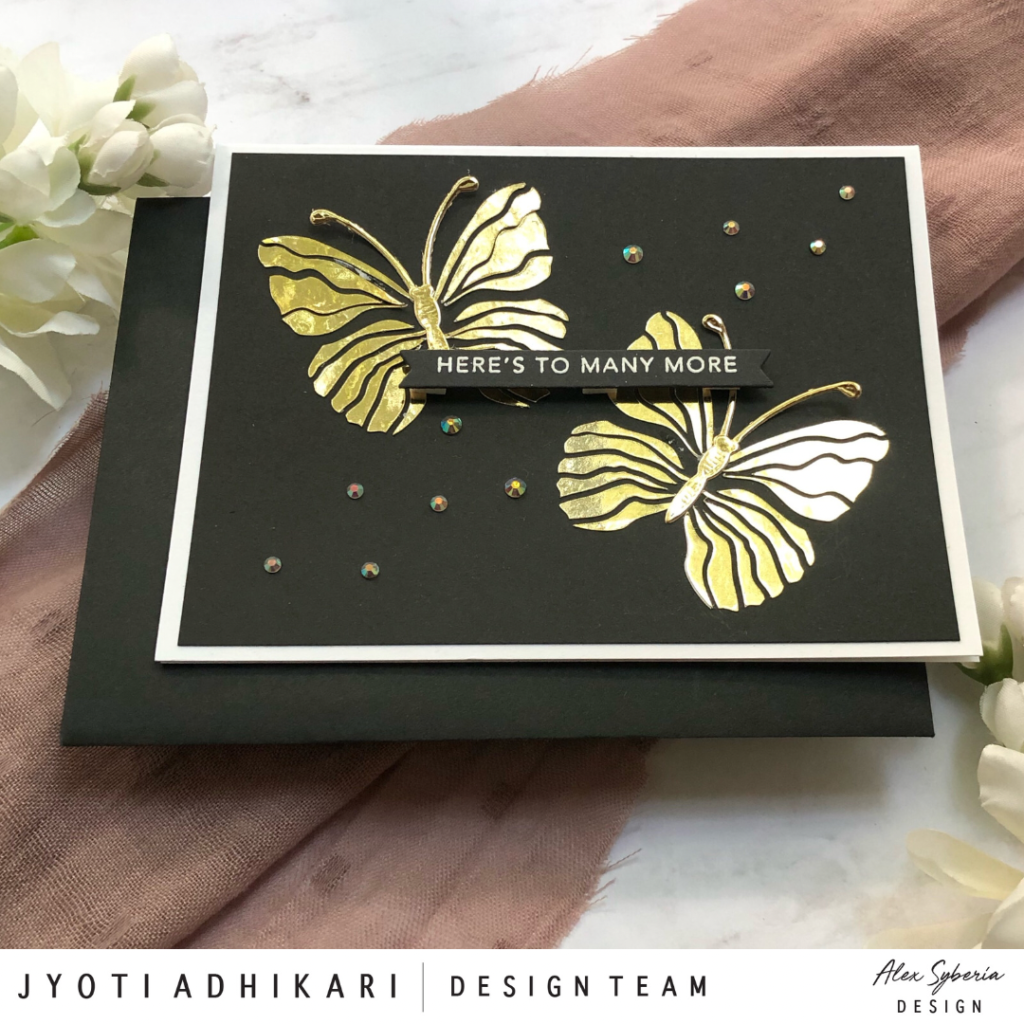
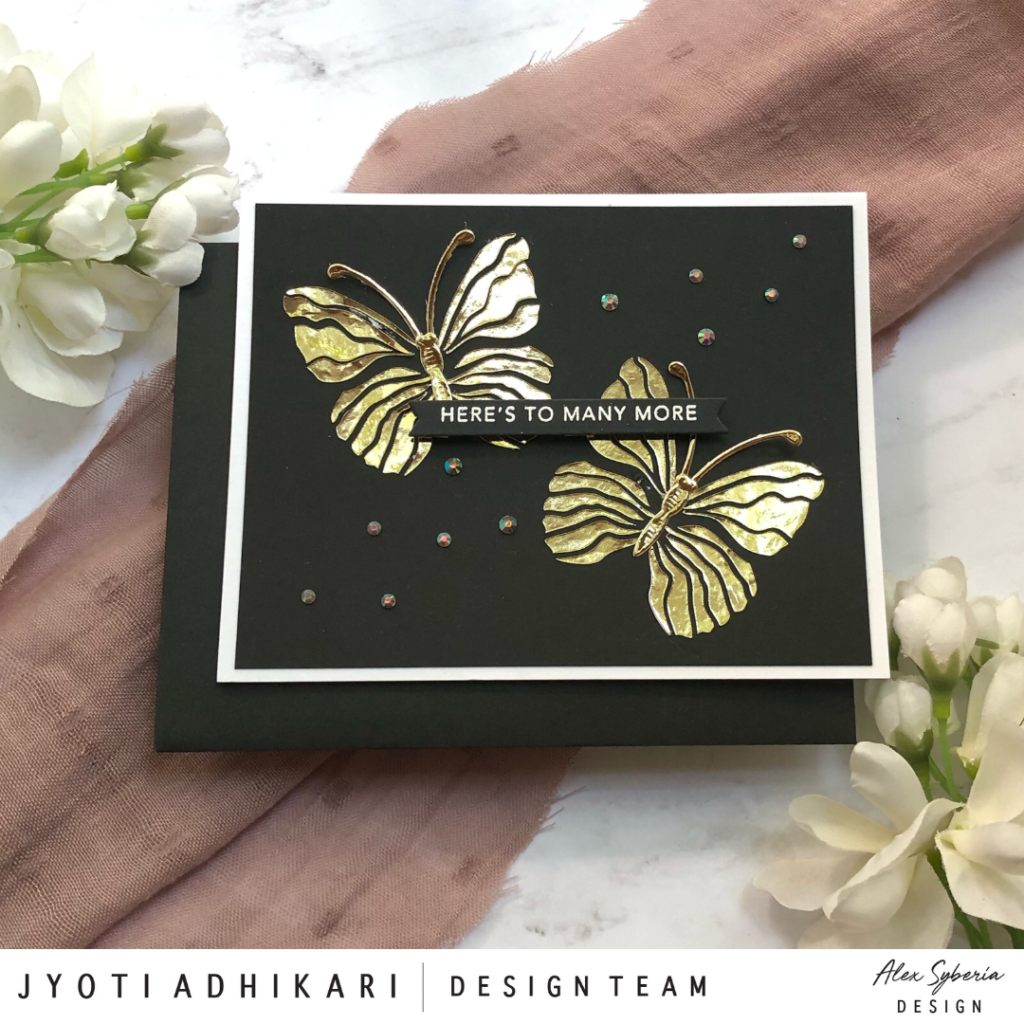
The leftover negative pieces of these butterflies still stuck on my silhouette cutting mat gave me the idea.
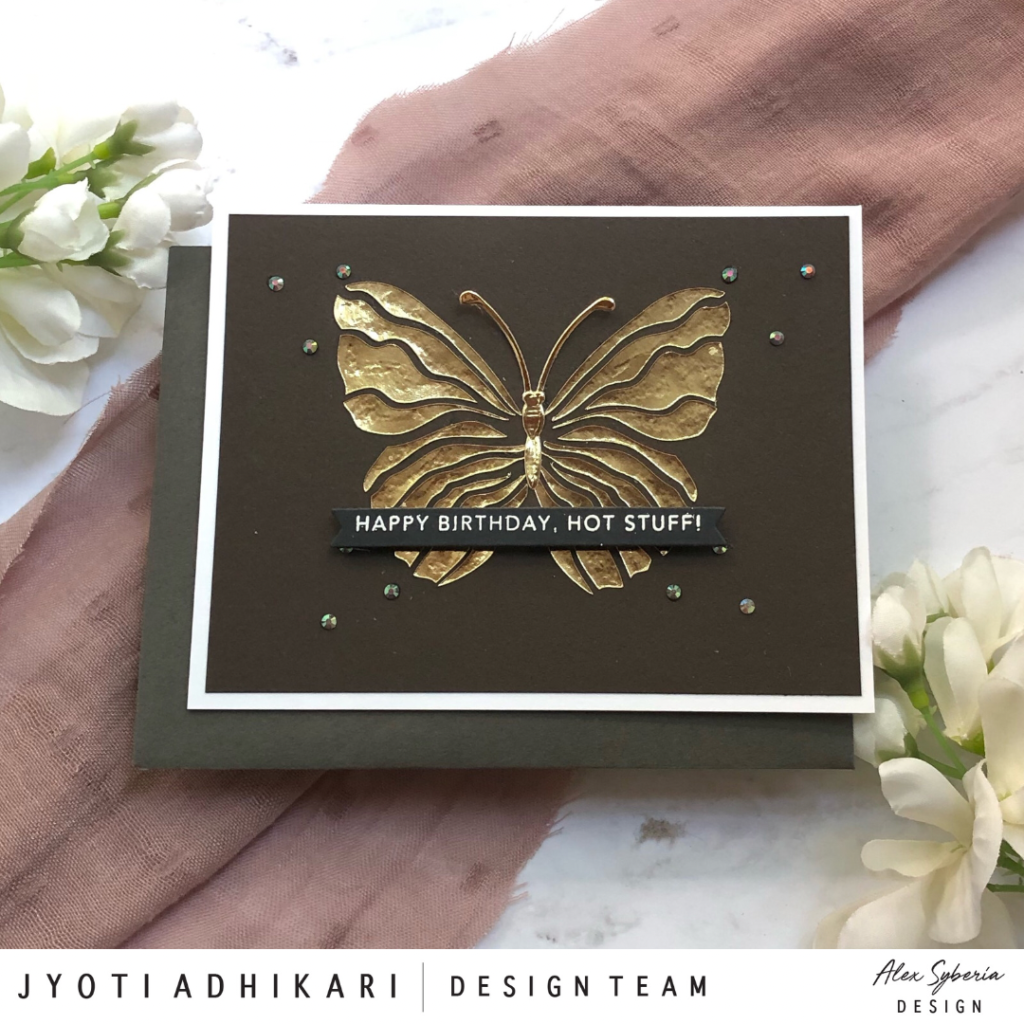
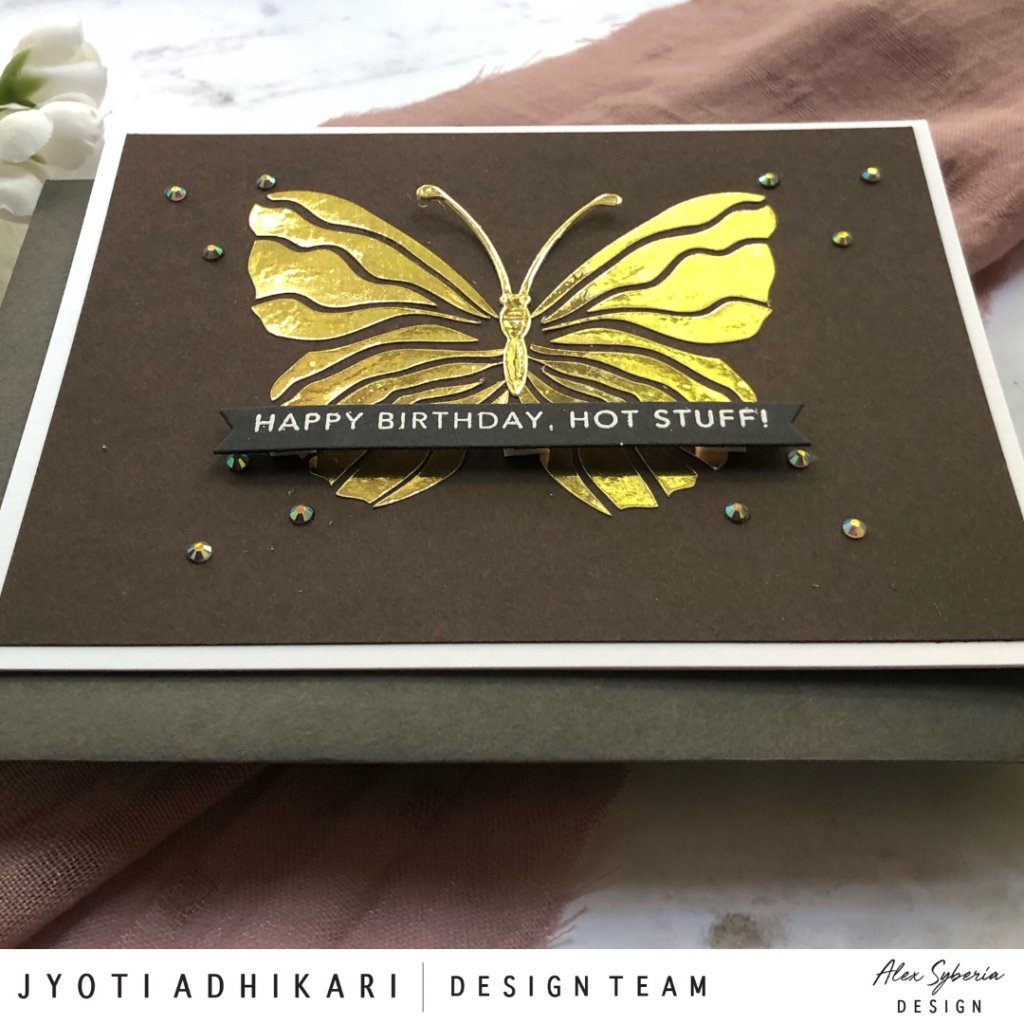
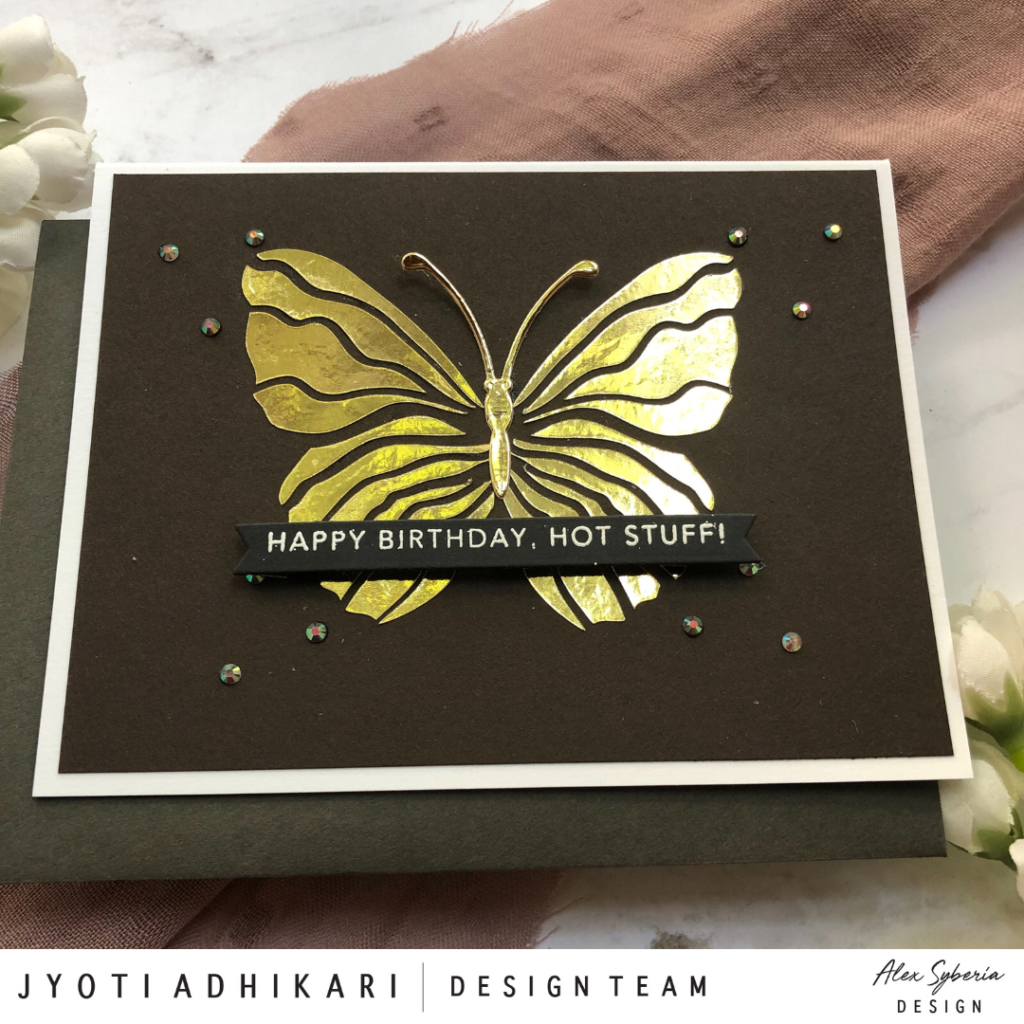
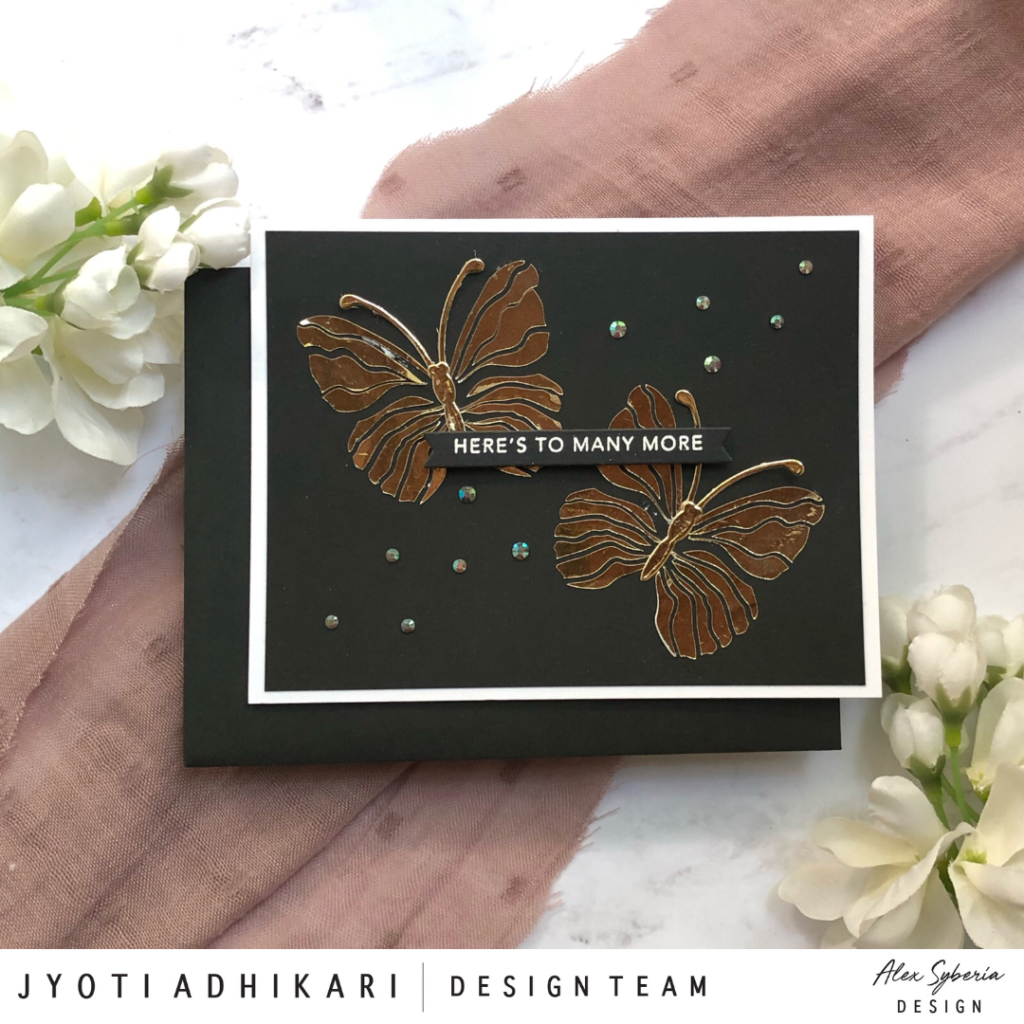
They were just too pretty to be thrown away. I thought of picking them up with low-tack tape and adding them on a dark card stock to create the look of foiled butterflies. It was so easy and too much fun. Then, I die cut the body and the antenna for these butterflies using one of my Spellbinders die and the same gold foil card stock.
I made one card with the negative pieces of one large butterfly and one card with the negative pieces of two small butterflies. I loved how these turned out.
The sentiment of these cards are prestamped and precut sentiment strips from my stash which I had made a while ago using Taylored Expressions stamp and die. I used all birthday theme sentiments for my cards today.
It was a lot of fun creating these faux foiled butterfly cards. I was so happy with the result I couldn’t wait to share it with all of you. I really hope you will give this idea a try.
You can visit Alex’s Etsy Shop if you are interested in purchasing these digital cut files:
Beautiful cards and the gold foil card stock cut on the Silhouette was genius. It does look like foiling, but easier on the machine, IMHO.
The title came in my mind after I finished creating the cards as they looks almost like foiled.😀Thank you for stopping by and commenting.
These are so beautiful! I saw your pics on Instagram and came to the blog to see how you did it. I don’t own a silhouette, but seeing these makes me wish I did. These are awesome
Thank you got stopping by Stephanie. I had loads of fun creating these cards. I guess you can also use Brother scan and cut for the digital cut files, if you have that one.
*for stopping by*