Assembling the Nordic Sweet Elf
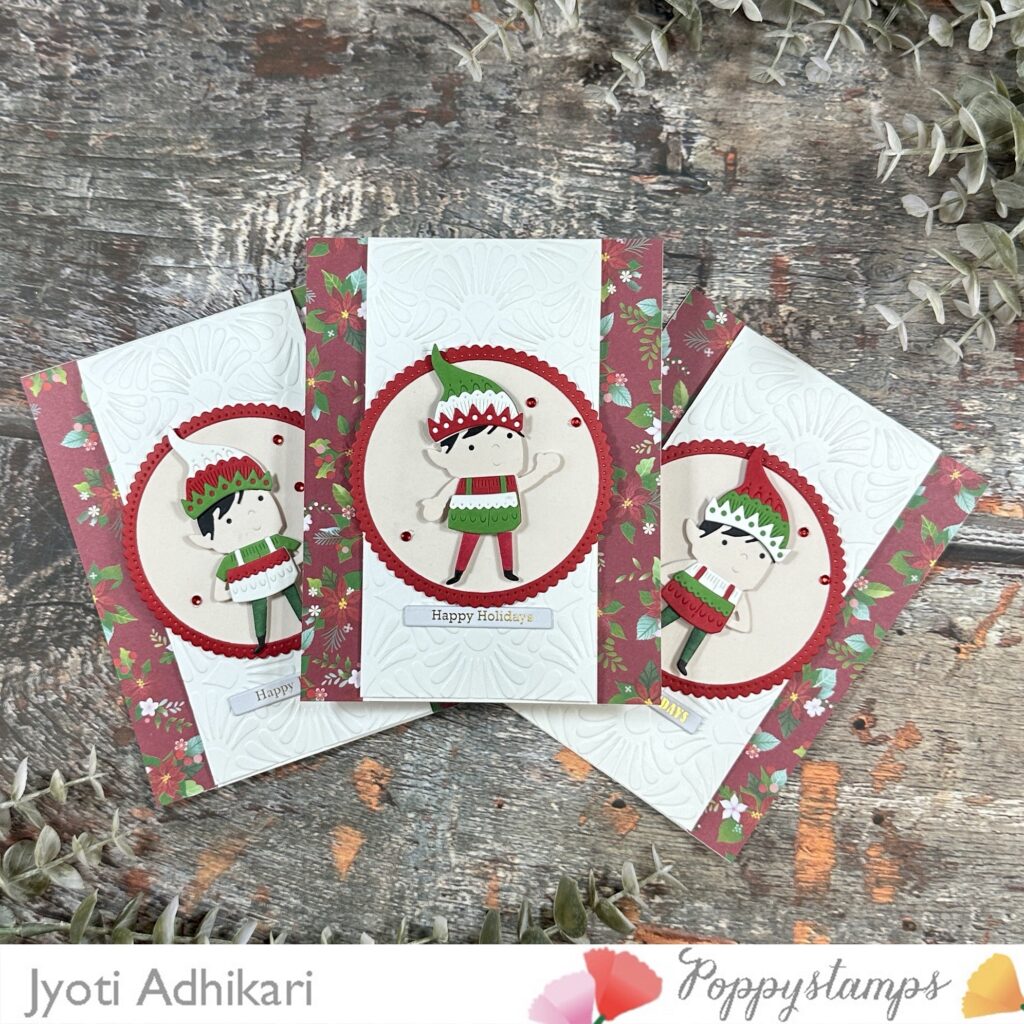
The focal point of this card is the adorable Nordic Sweet Elf die. I die-cut the pieces and carefully assembled the elf, dressing it in a festive red, green, and white outfit. This charming character immediately sets a joyful tone for the holiday season.
Crafting the Fun Fold Base
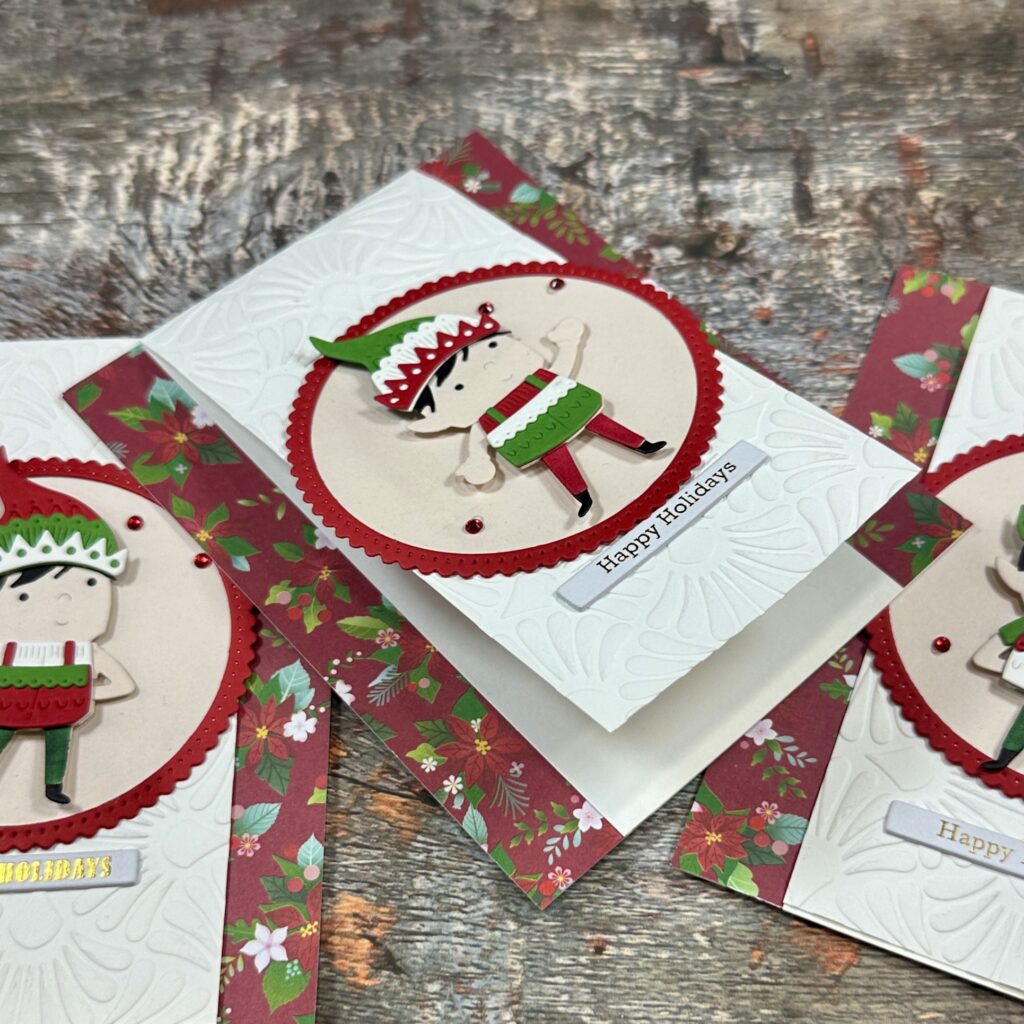
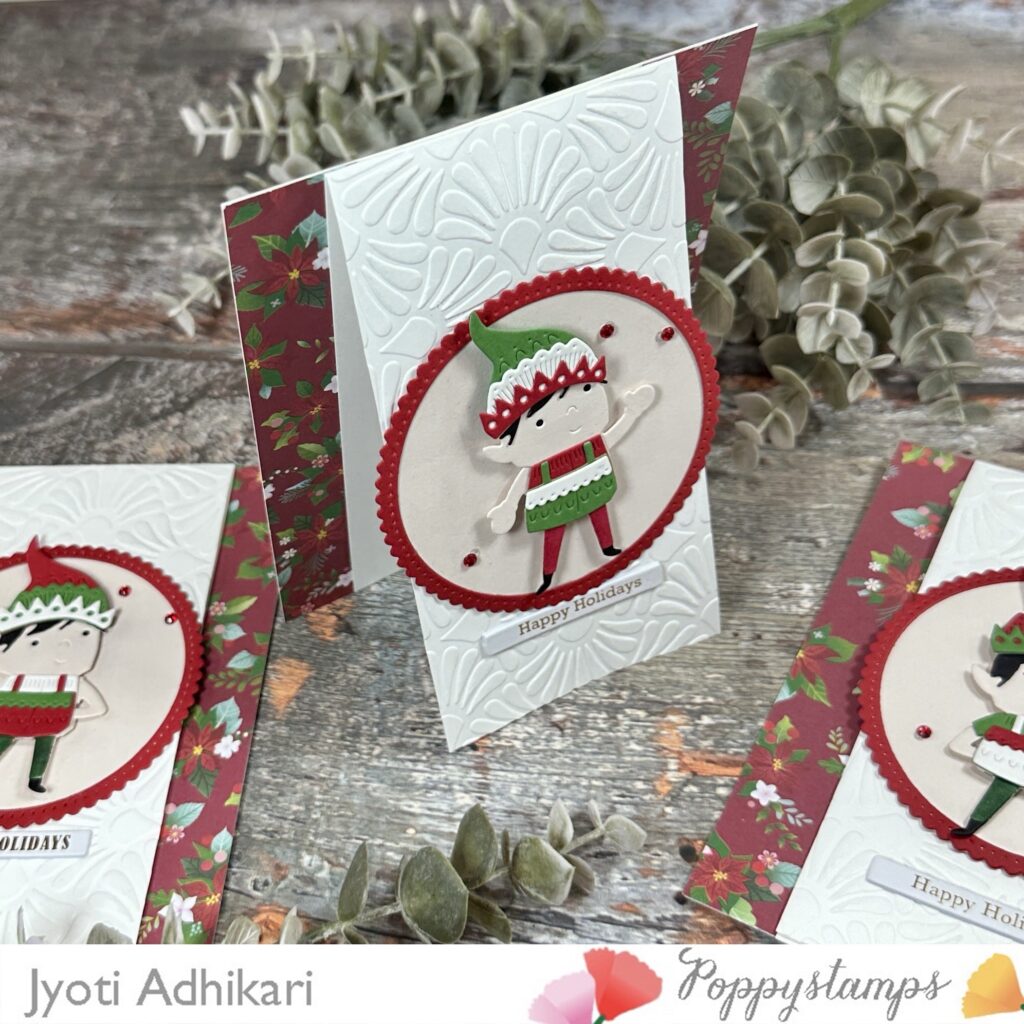
To create the fun fold design, I began by preparing a sturdy base panel measuring 4.25 by 5.5 inches. I adhered two coordinating pieces of patterned paper to this base, creating a festive backdrop. Next, I crafted a top-folding note card measuring 3.75 by 5.5 inches. To add texture and interest, I embossed the front of this smaller card using an embossing folder. The note card was then adhered to the center of the patterned paper base, allowing the flap to serve as the opening mechanism.
Adding the Focal Image
For the focal image, I die-cut a pinpoint scallop circle and added a red scallop border for extra flair. The Nordic Sweet Elf was adhered to the circle using foam tape, giving it dimension and a playful, standout appearance. This centerpiece was then attached to the center flap, creating a delightful focal point for the card.
Finishing Touches
To complete the design, I added the sentiment “Happy Holidays,” taken from the Christmas Greetings White Tabs, and positioned it along the bottom of the card. For a final festive touch, I embellished the card with a few red gems, adding sparkle and elegance to the overall design.
This fun fold card combines unique techniques with whimsical details, making it a perfect holiday greeting. It’s an ideal project for anyone looking to create something interactive and joyful!
Bonus cards
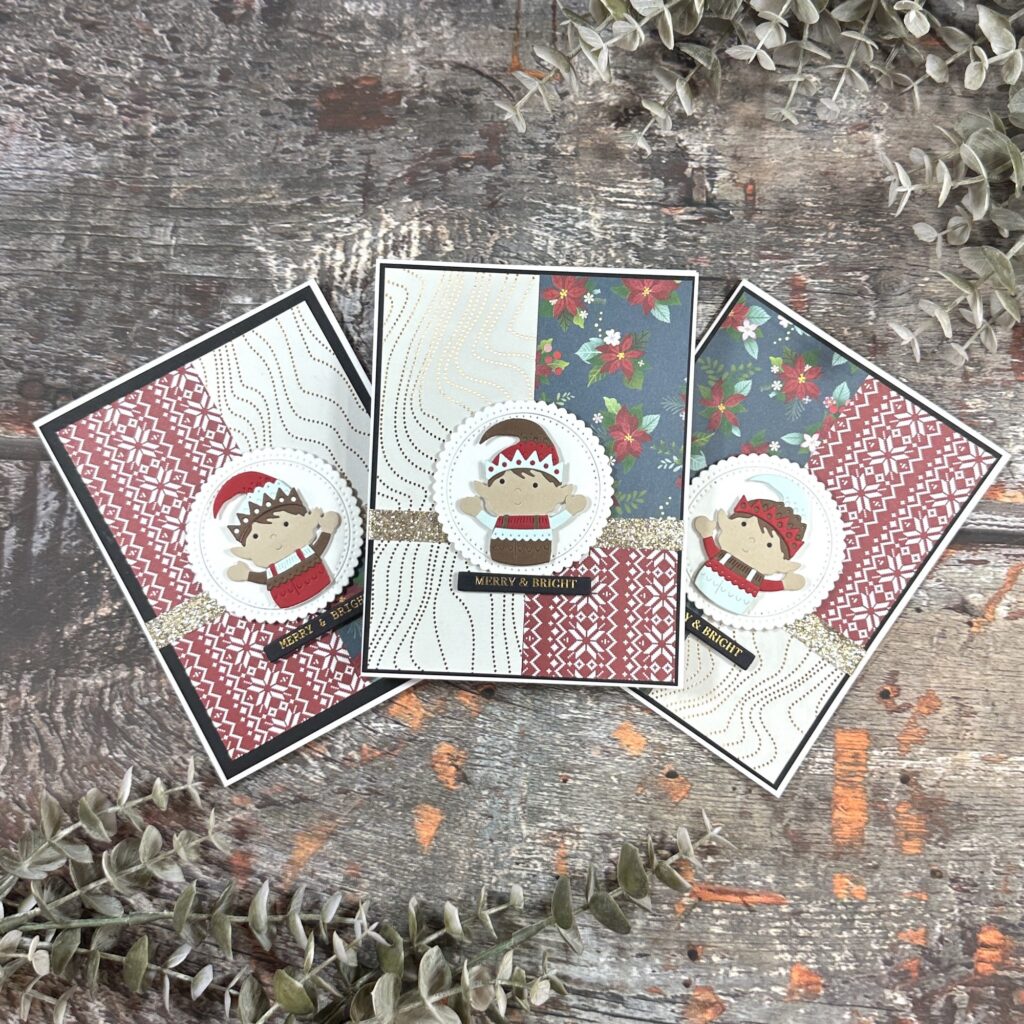
I created three other cards using the Nordic Joyful Elf Die.
Hugs,
Jyoti
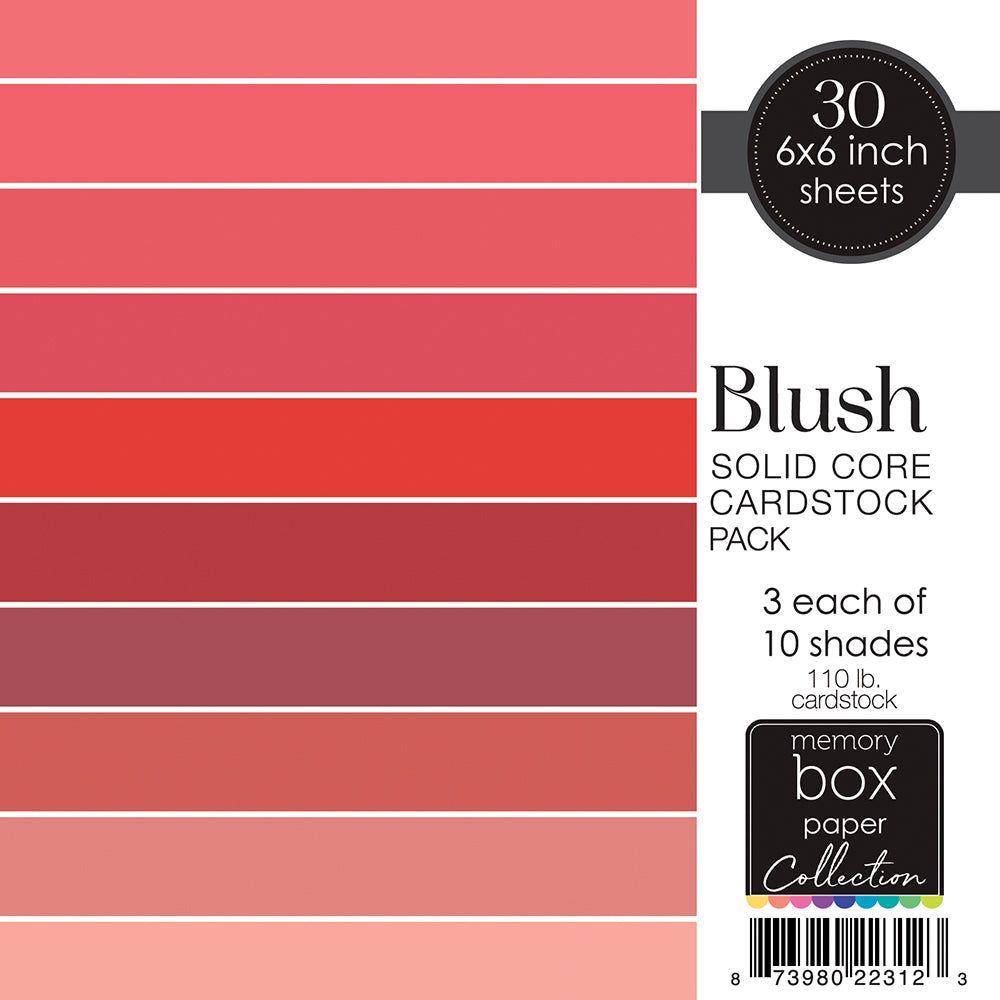 Blush 6*6 Pack Shop at: SSS |
 Scallop Pinpoint Rings Shop at: PS | SSS |
 Nordic Sweet Elf Shop at: PS | SSS |
 Nordic Joyful Elf Shop at: PS | SSS |
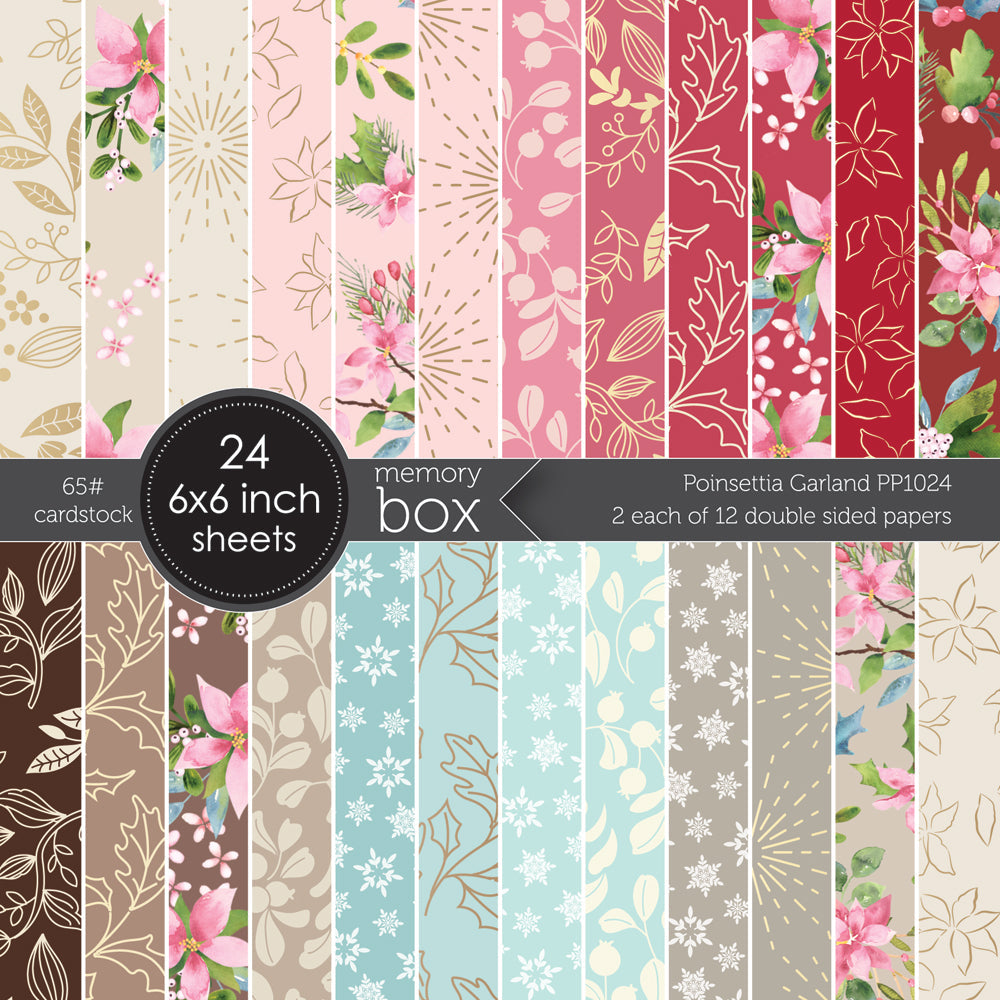 Poinsettia Garland 6×6 pack Shop at: SSS |
 Simple Rings Craft Die Shop at: PS | SSS |