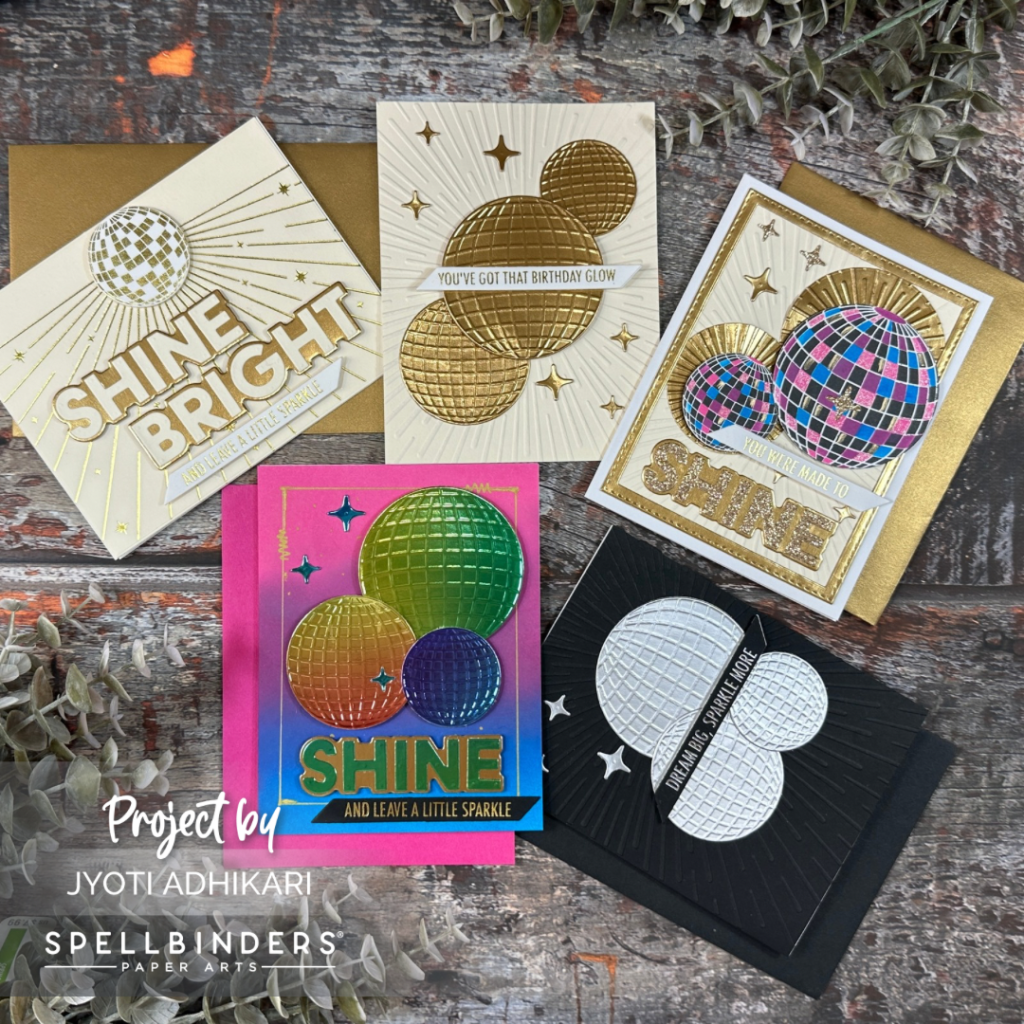
Creating with the Shine Bright collection brought out the fun and festive energy of disco balls, shine and sparkle , and shimmery sentiments. Today, I’m sharing five different cards where I played with bold foil accents, metallic cardstock, and BetterPress impressions to add vibrant touches to each design. Let’s dive into the creative process behind each card!
Card 1: Birthday Glow with Gold Disco Balls
Gold Disco Balls for Shine
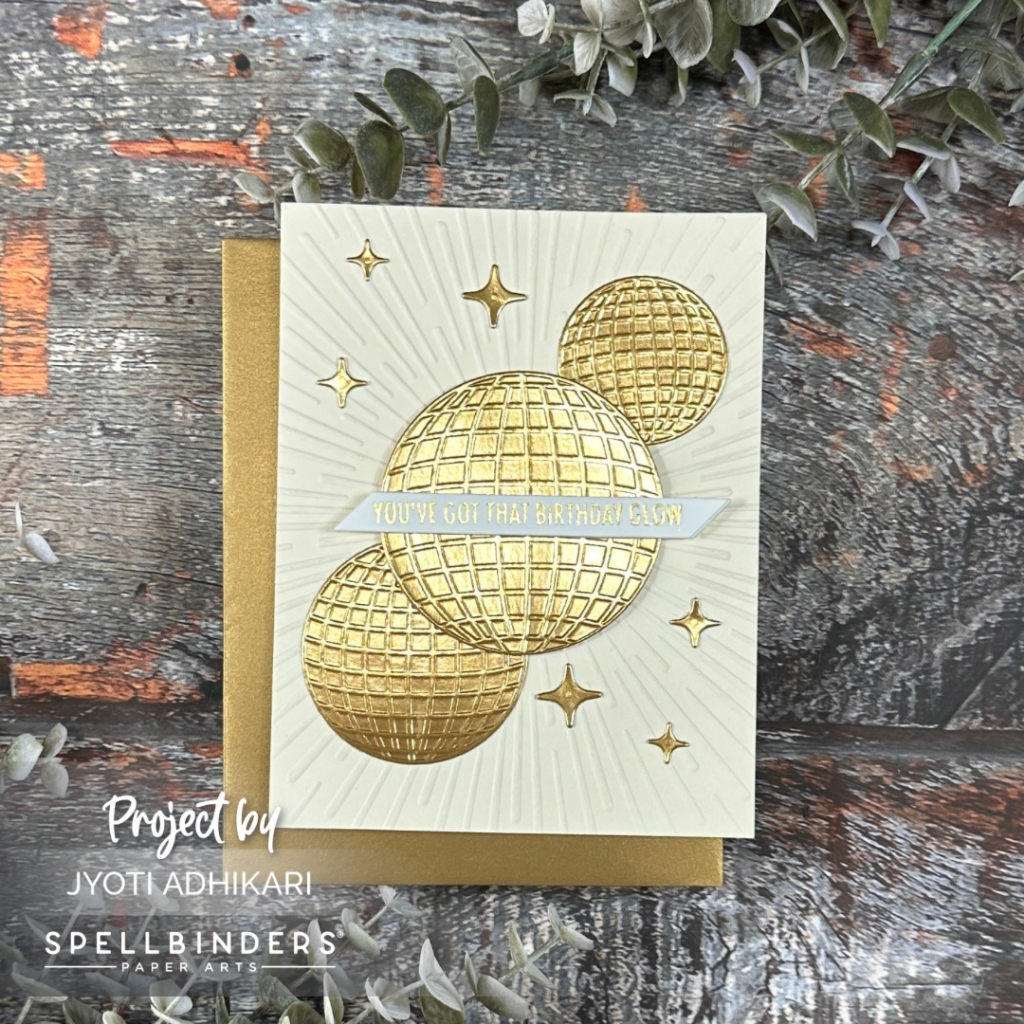
For the first card, I wanted to emphasize the glamour of gold by using the Disco Balls Etched Dies to cut out three shiny disco balls from gold cardstock. These elegant elements became the focal points, creating a sense of movement and fun across the card front.
Subtle Texture with Radiant Burst
To complement the gold, I embossed a cream cardstock background using the Radiant Burst Embossing Folder. The soft texture added just enough interest to the backdrop while letting the gold disco balls truly shine. I adhered the two smaller balls with liquid glue and popped the larger, central disco ball up using foam tape for dimension.
Glowing Birthday Sentiment
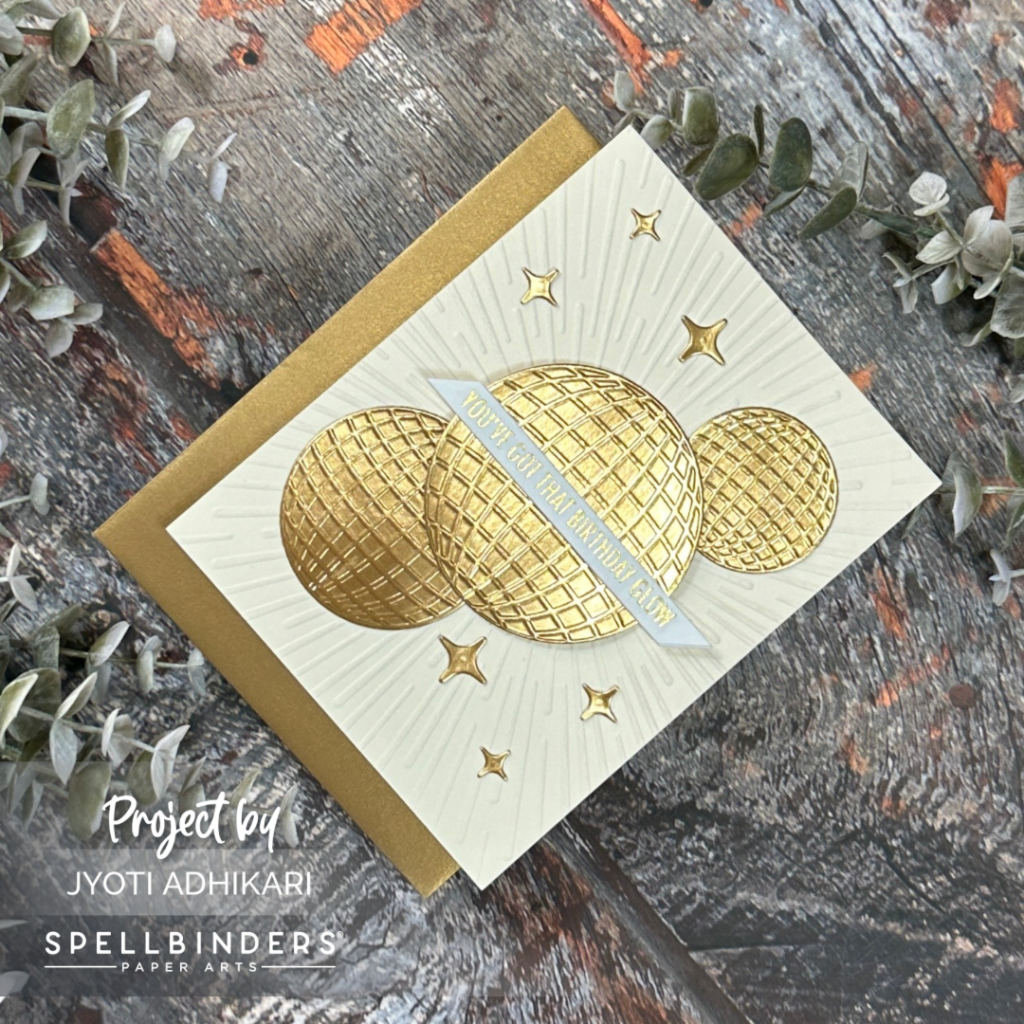
For the sentiment, I used the Shine Bright Sentiment Strip BetterPress Plate and foiled the message “You’ve got that birthday glow” with gold foil on white cardstock. This gold-foiled sentiment brought a cohesive look to the overall design, and I centered it across the card to balance the disco ball arrangement.
Finishing Touches with Shine Die Cuts
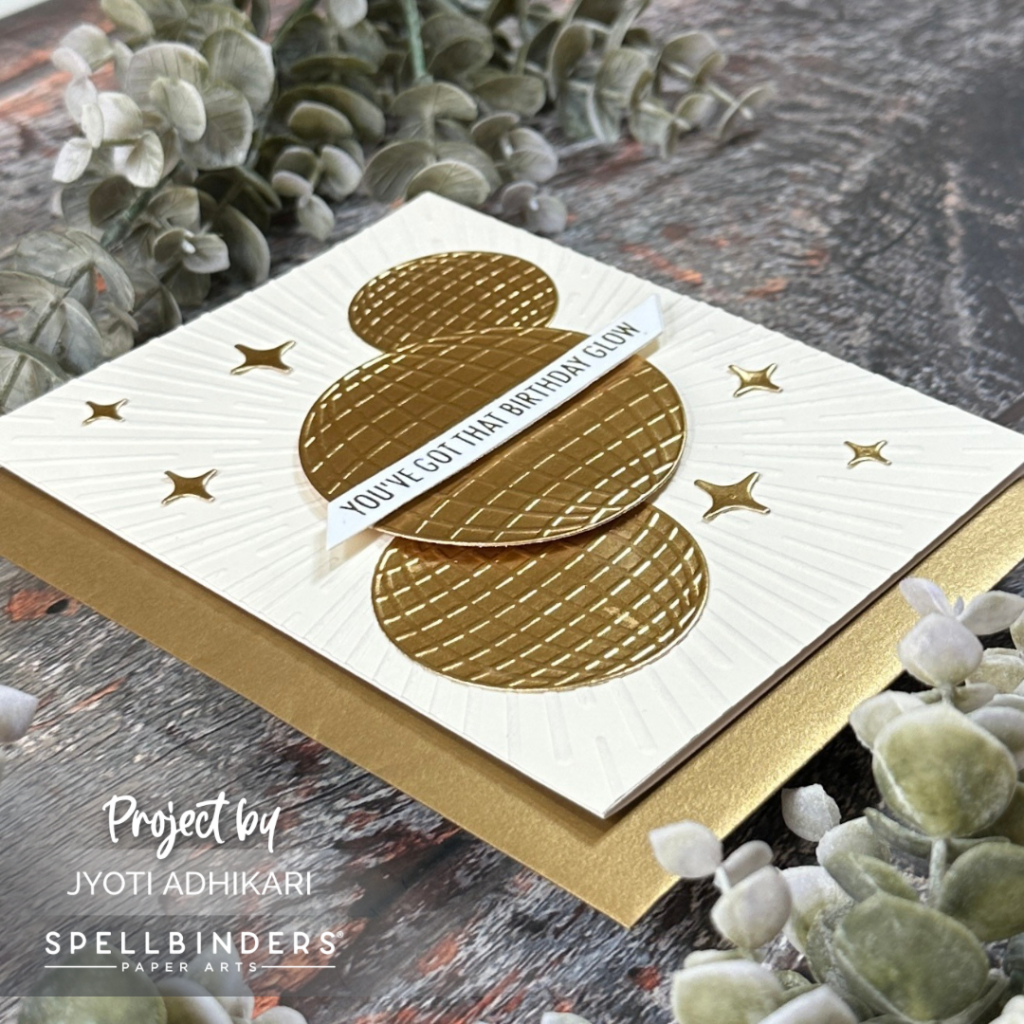
To finish off the card, I added some extra shine by embellishing with shine die-cuts in the top left and bottom right corners. The subtle sparkle of these accents drew the eye and completed the first card’s celebratory theme.

Card 2: Silver Dreams with Radiant Disco Balls
Silver Disco Balls with Matte Elegance
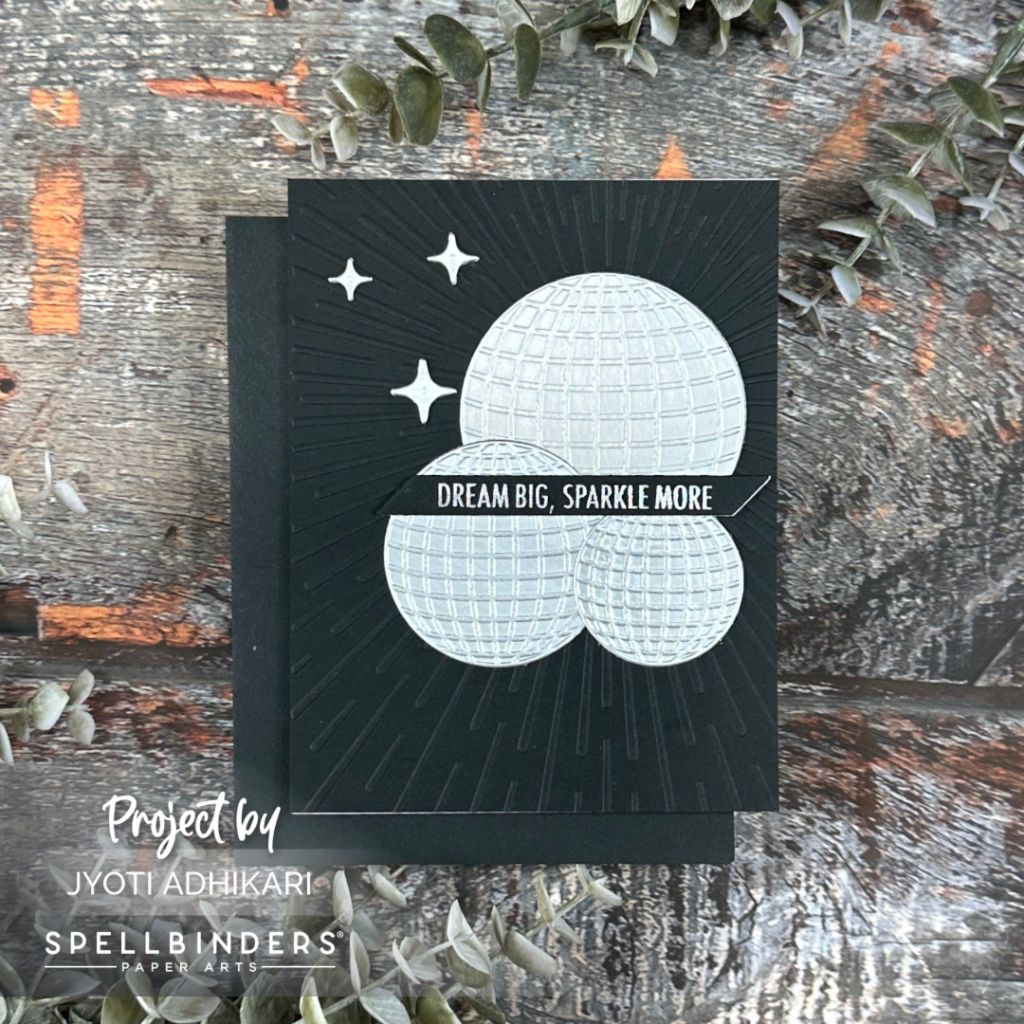
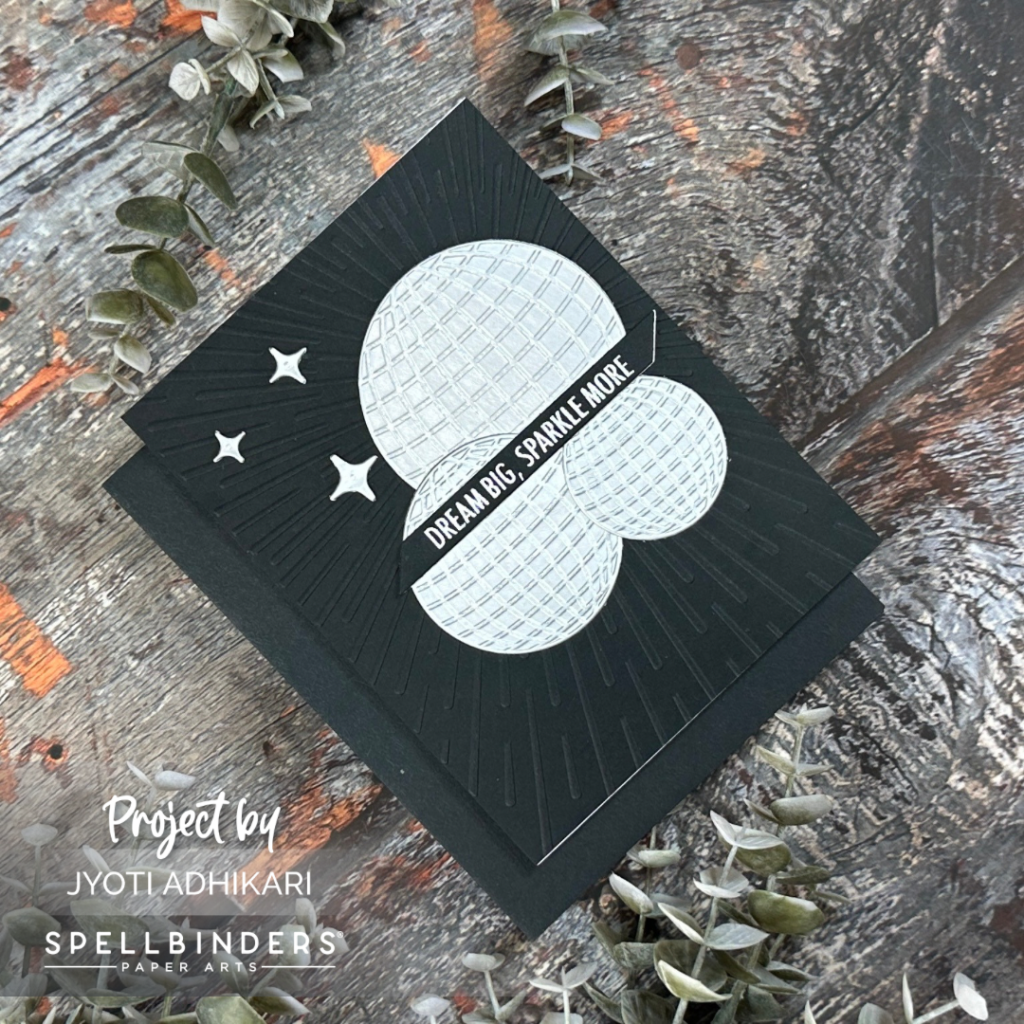
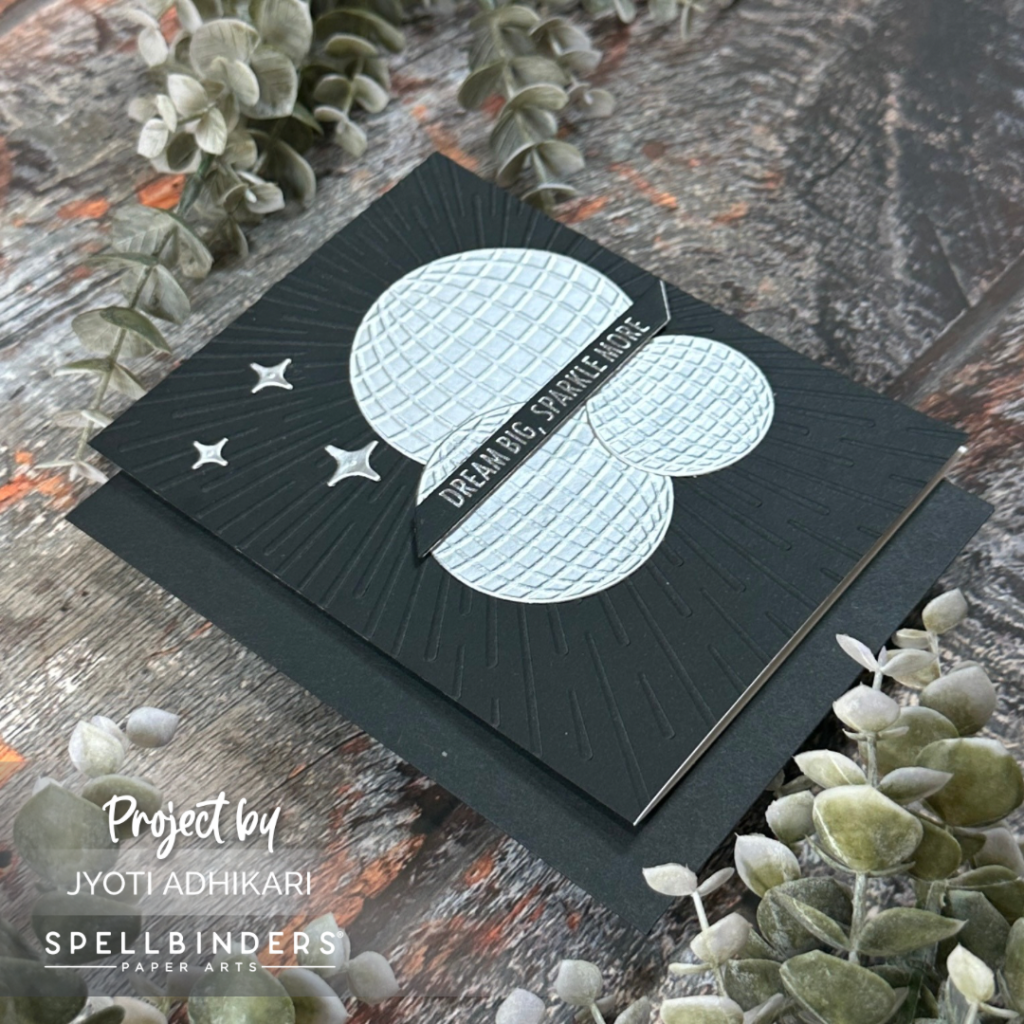
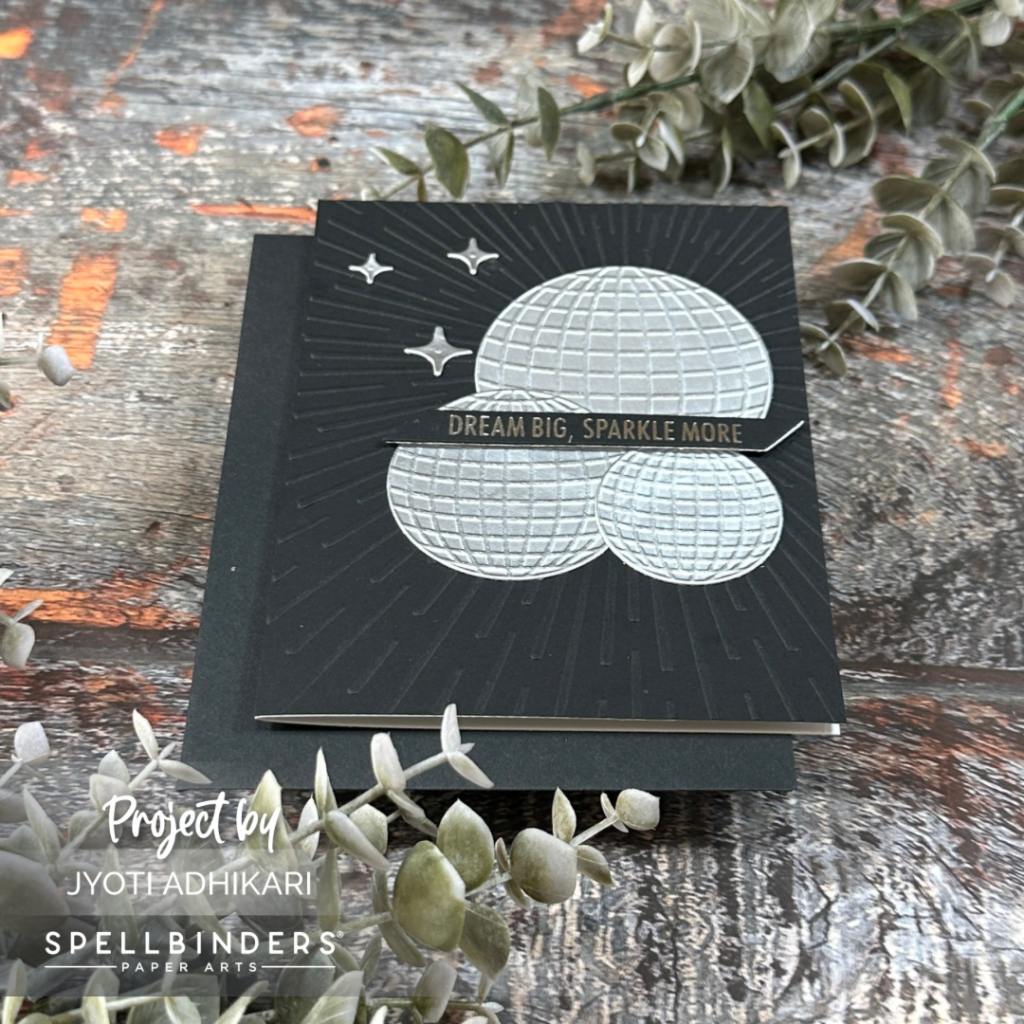
For my second card, I continued the disco ball theme, this time using matte silver cardstock to cut out the same Disco Balls Etched Dies. These metallic silver disco balls brought a sleek and modern look, perfect for a different take on the Shine Bright collection.
Dramatic Black Background
For the background, I chose black cardstock, which I embossed using the Radiant Burst Embossing Folder once again. The contrast between the silver and black created a striking visual, with the embossing adding a hint of texture. I placed the disco balls along the right center of the card for a clean, balanced layout.
Dream Big Sentiment in Silver
The sentiment for this card was “Dream big, sparkle more,” which I foiled with silver foil on a black cardstock strip. This monochromatic approach brought sophistication to the card, and the foiled sentiment from the Shine Bright Sentiment Strip BetterPress Plate tied in perfectly with the silver disco balls.
A Trio of Shine Embellishments
For the finishing touches, I embellished the card with three additional shine die-cuts in the top left corner, adding just enough shimmer to complement the silver and black color scheme.
Card 3: Rainbow Reflections
Rainbow Disco Balls for a Colorful Twist
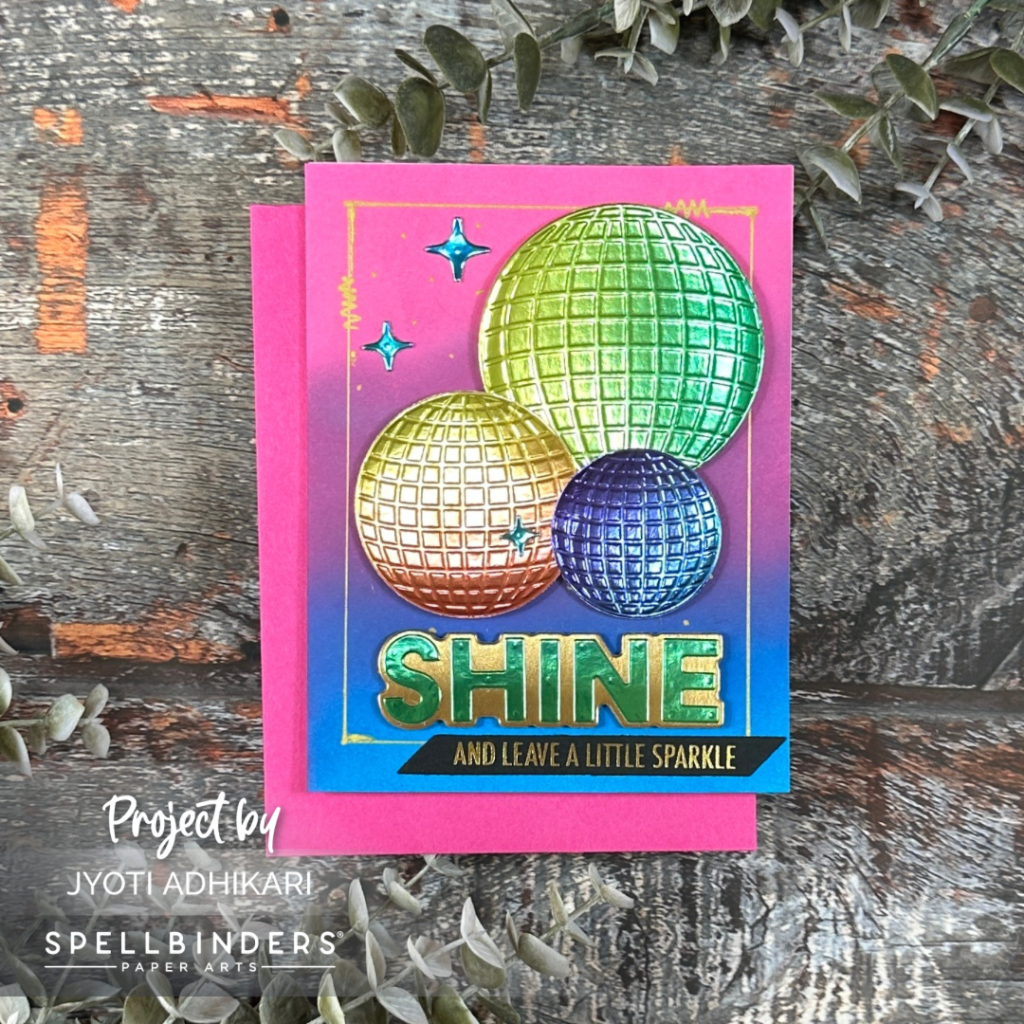
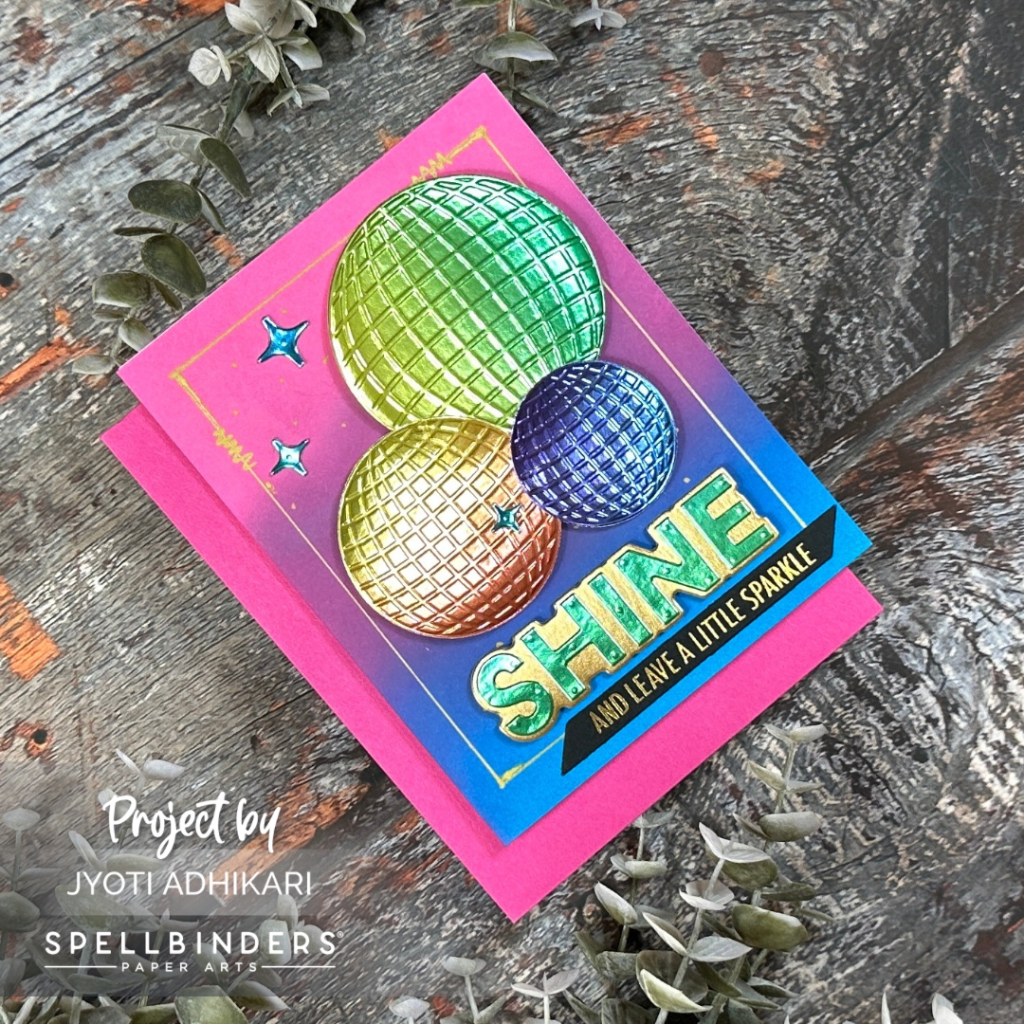
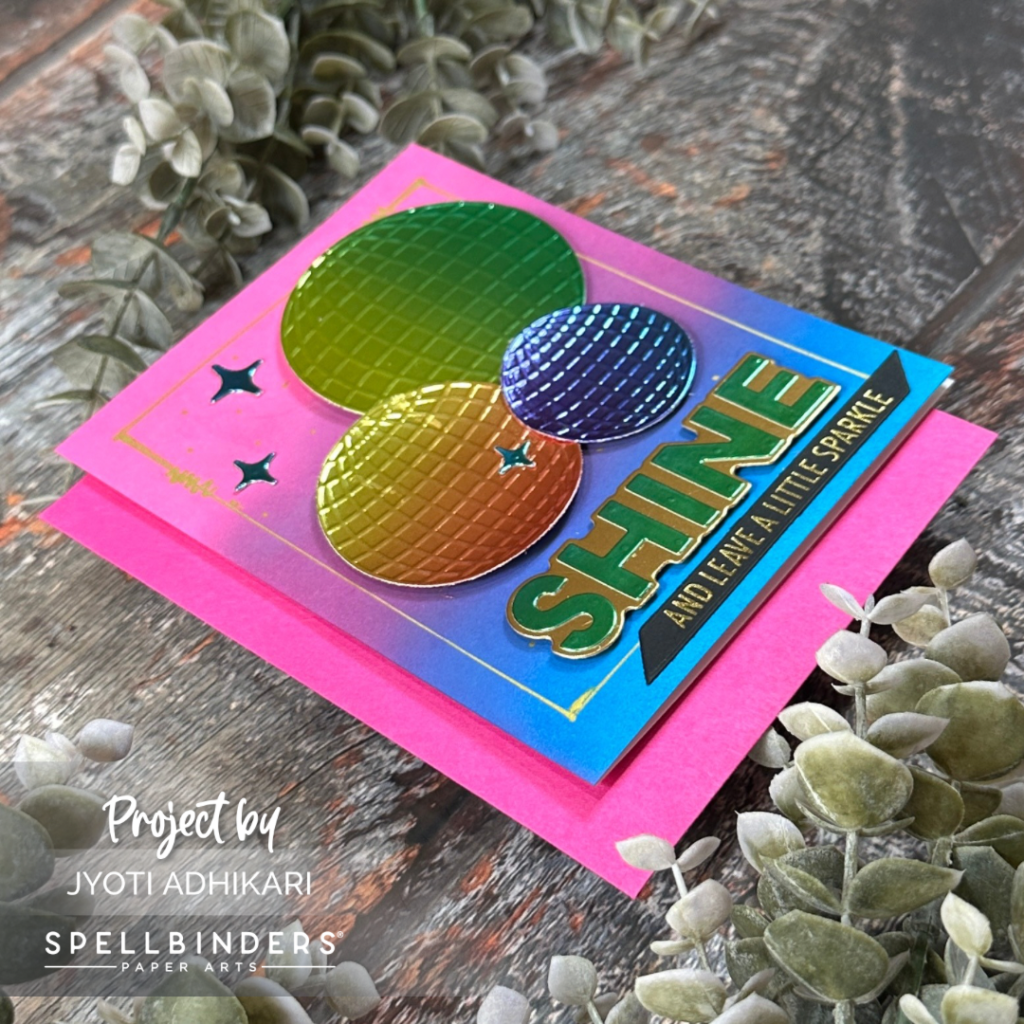
For my third card, I wanted to add a pop of rainbow color to the disco ball theme. I used the Disco Balls Etched Dies to cut out three dazzling disco balls from rainbow-foiled cardstock from Simon Says Stamp. The reflective colors created a vibrant and fun focal point for the card.
Ink Blended Background with a Golden Frame
To give the disco balls a fun setting, I ink-blended a background using Distress Oxide inks in a pink, purple, and blue combination. The dreamy ombré effect complemented the rainbow disco balls, and I added a hand-drawn gold frame around the edges using a gold paint pen to give the card an elegant finish.
Shine Bright Sentiment
For the sentiment, I die-cut the word “Shine” using the Shine Bright Etched Dies from the same rainbow-foiled cardstock. Below it, I added a foiled sentiment strip that reads, “And leave a little sparkle,” using gold foil on black cardstock. The combination of the bold word die-cut and the foiled strip created a dynamic and lively sentiment.

Sparkling Embellishments to Finish
To finish this vibrant card, I added two shine die-cuts to the top left corner, mirroring the energy of the disco balls and creating a joyful, celebratory design.
Card 4: Disco Impressions and Embossed Elegance
BetterPress Disco Ball Impressions
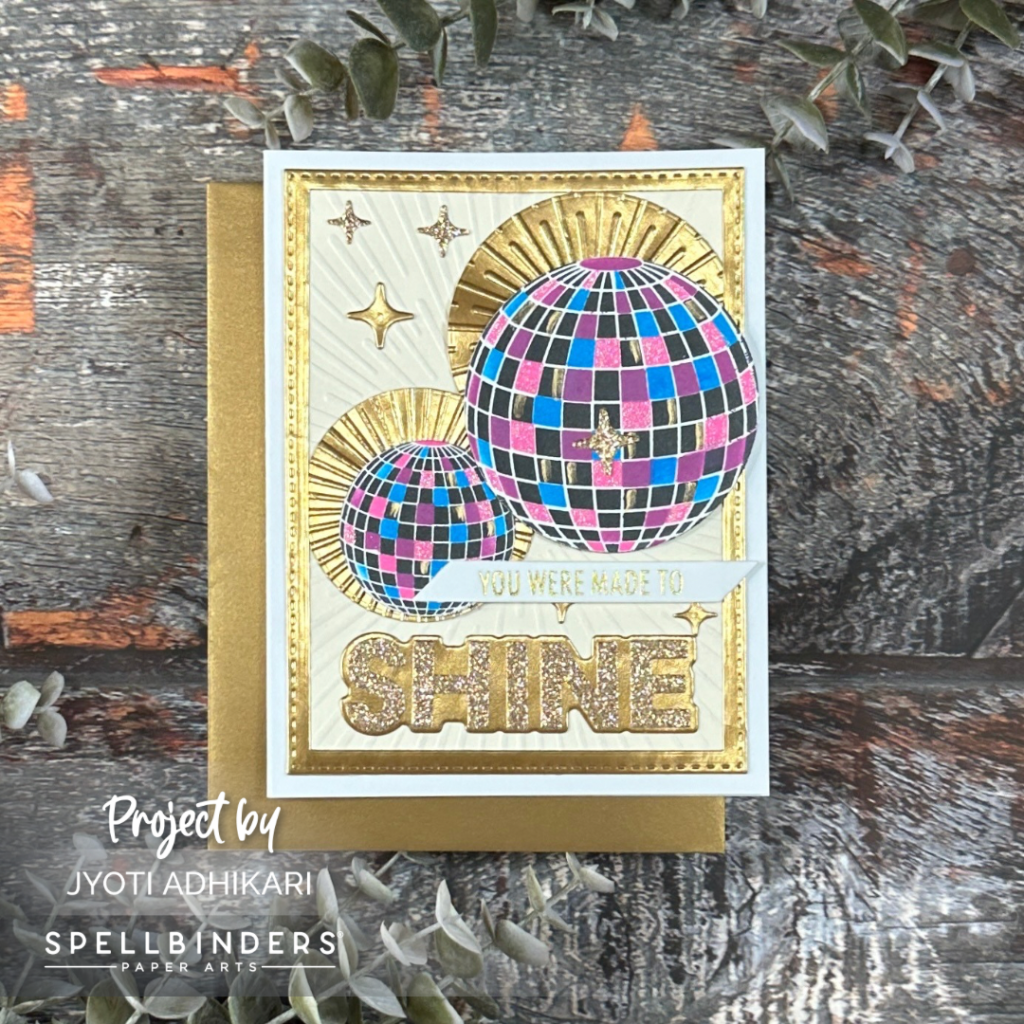
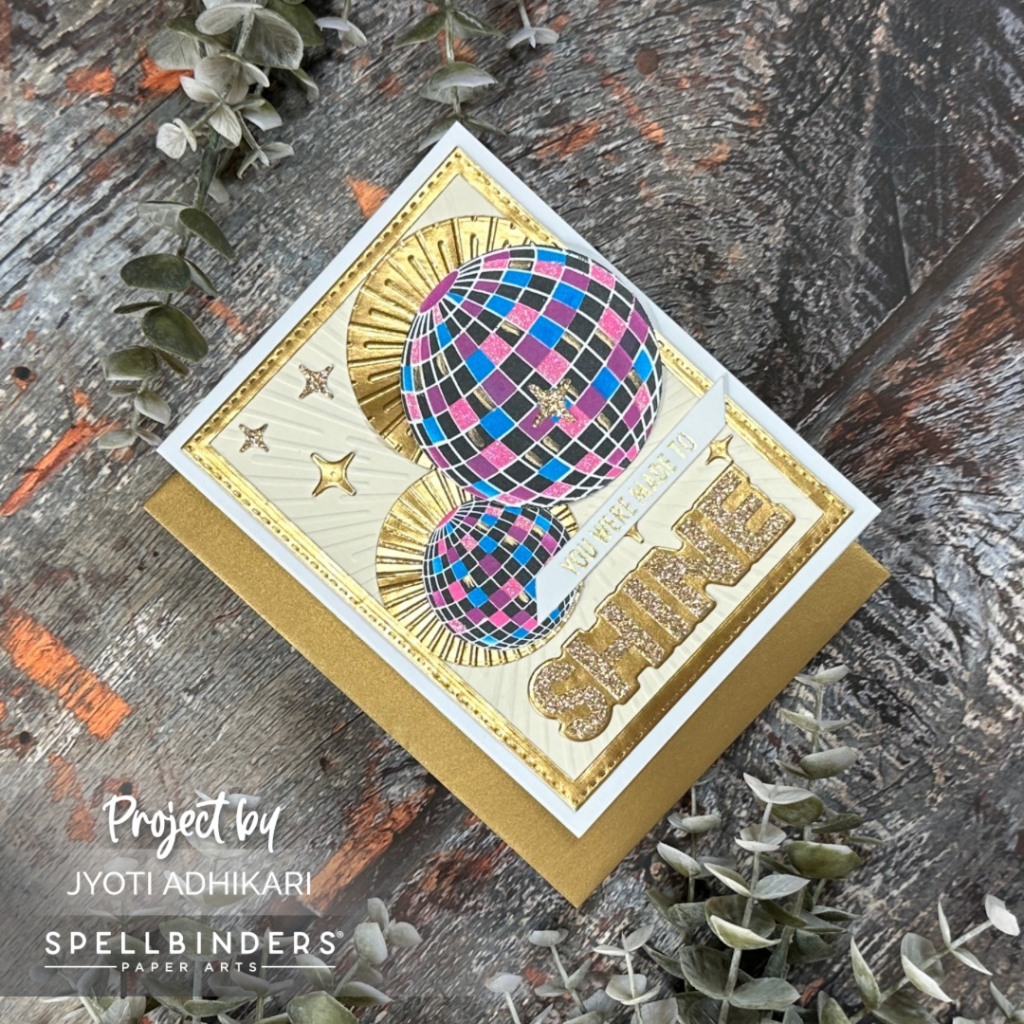
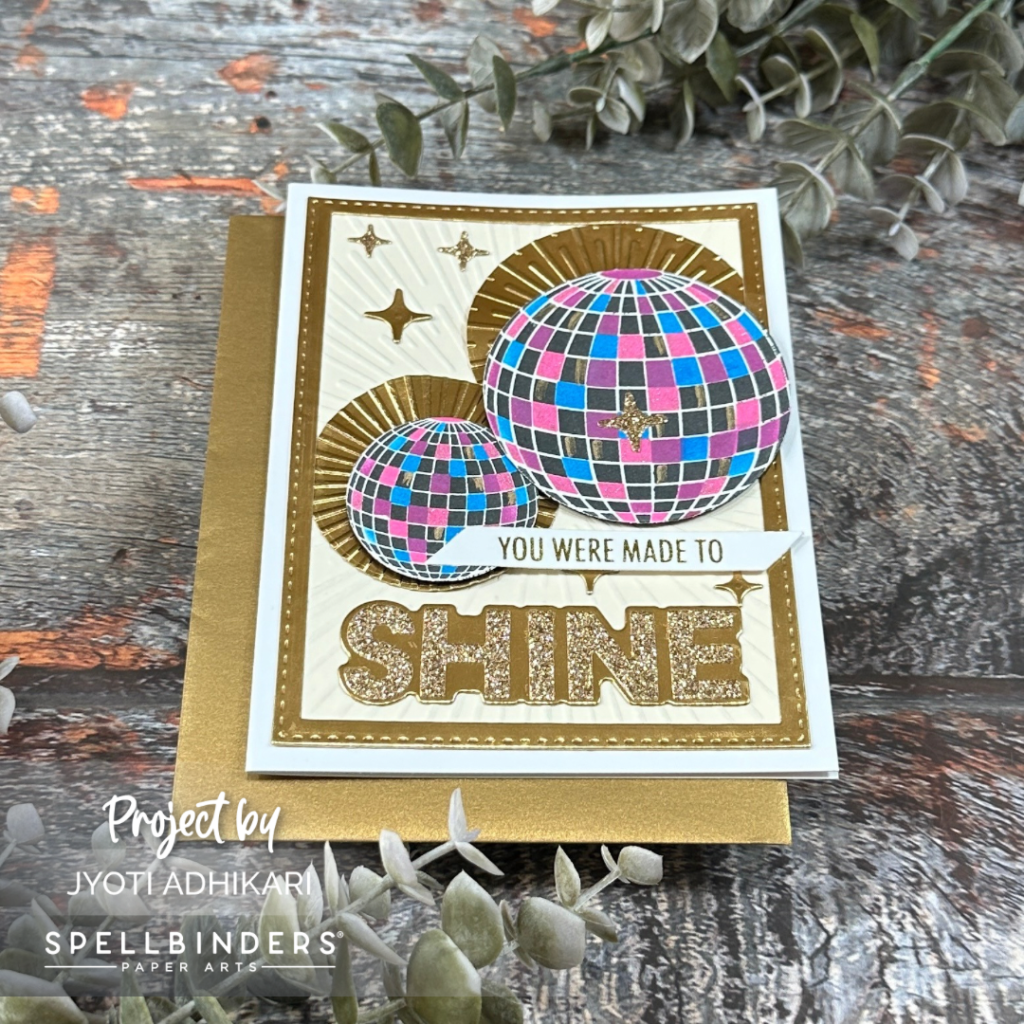
For the fourth card, I wanted to explore the beautiful impressions created by the Disco Impressions Press Plate from the Shine Bright collection. I used the BetterPress system to press the disco balls onto BetterPress Porcelain cardstock, giving the card a refined and elegant look. I then added color using the Layered Disco Impressions Stencils to bring the disco balls to life.
Cream Embossed Background with Die-Cut Circles
For the background, I used cream cardstock once again and embossed it with the Radiant Burst Embossing Folder. To add dimension, I die-cut two circles and embossed them with the same folder, aligning them perfectly on the background for the disco balls to sit on. The layered circles gave the card a dynamic, elevated look.
Shine Sentiment in Gold
The sentiment for this card was “Shine,” which I die-cut from glitter gold cardstock using the Shine Bright Etched Dies. I added a shadow layer in gold cardstock behind the glitter letters for added depth. Above it, I placed a small gold-foiled sentiment strip that reads “You were made to,” completing the encouraging message.
A Subtle, Elegant Finish
With the disco balls raised on foam tape and the glittery “Shine” sentiment, this card was both playful and elegant. The Radiant Burst details in the background tied everything together in a harmonious, polished design.

Card 5: Golden Glow with a Sparkle Burst
Foiled Disco Balls in Gold
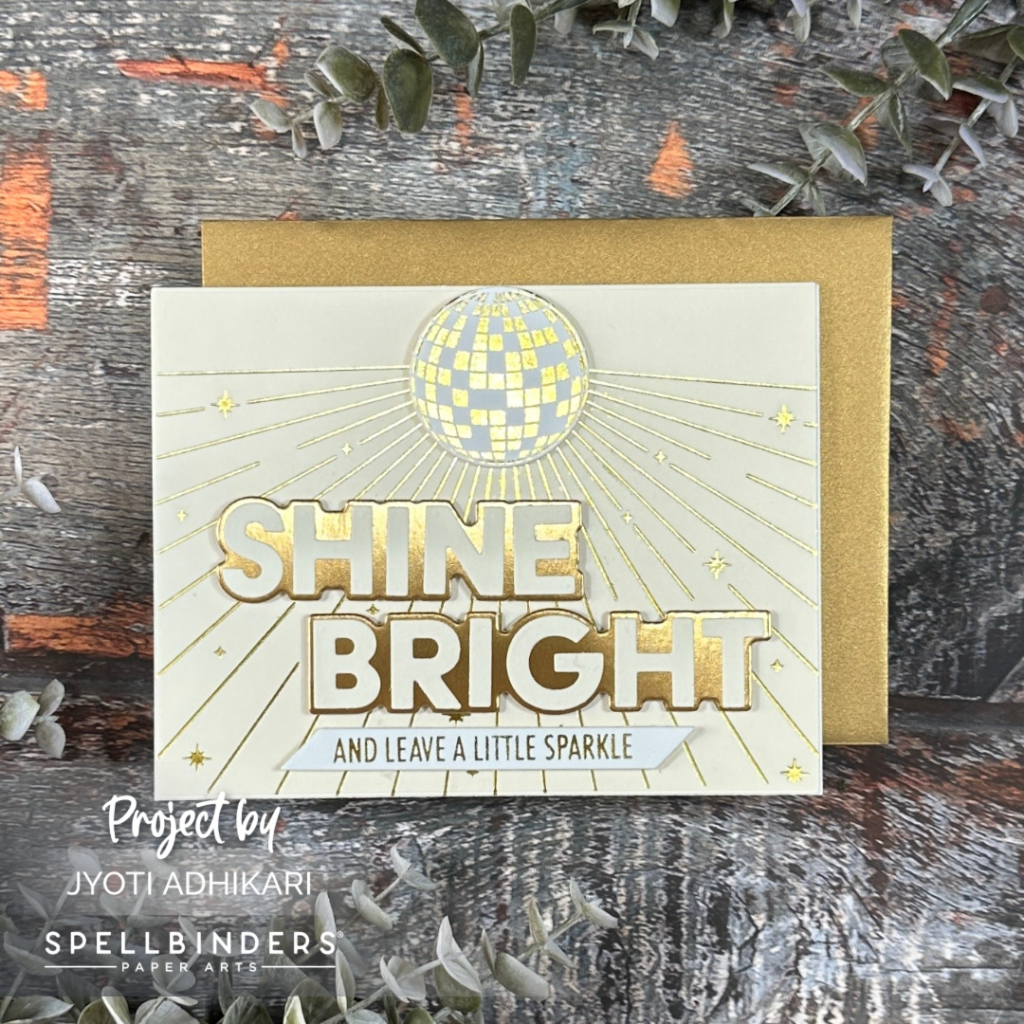
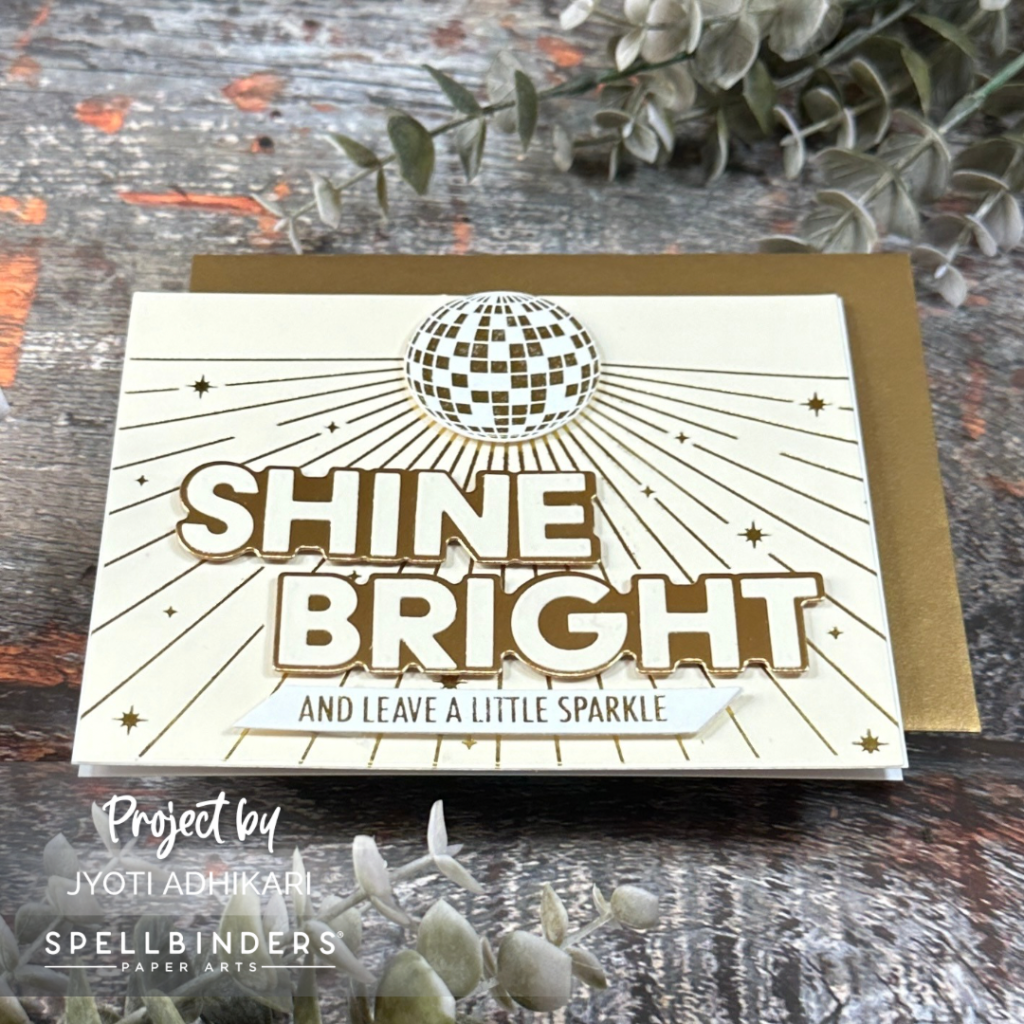
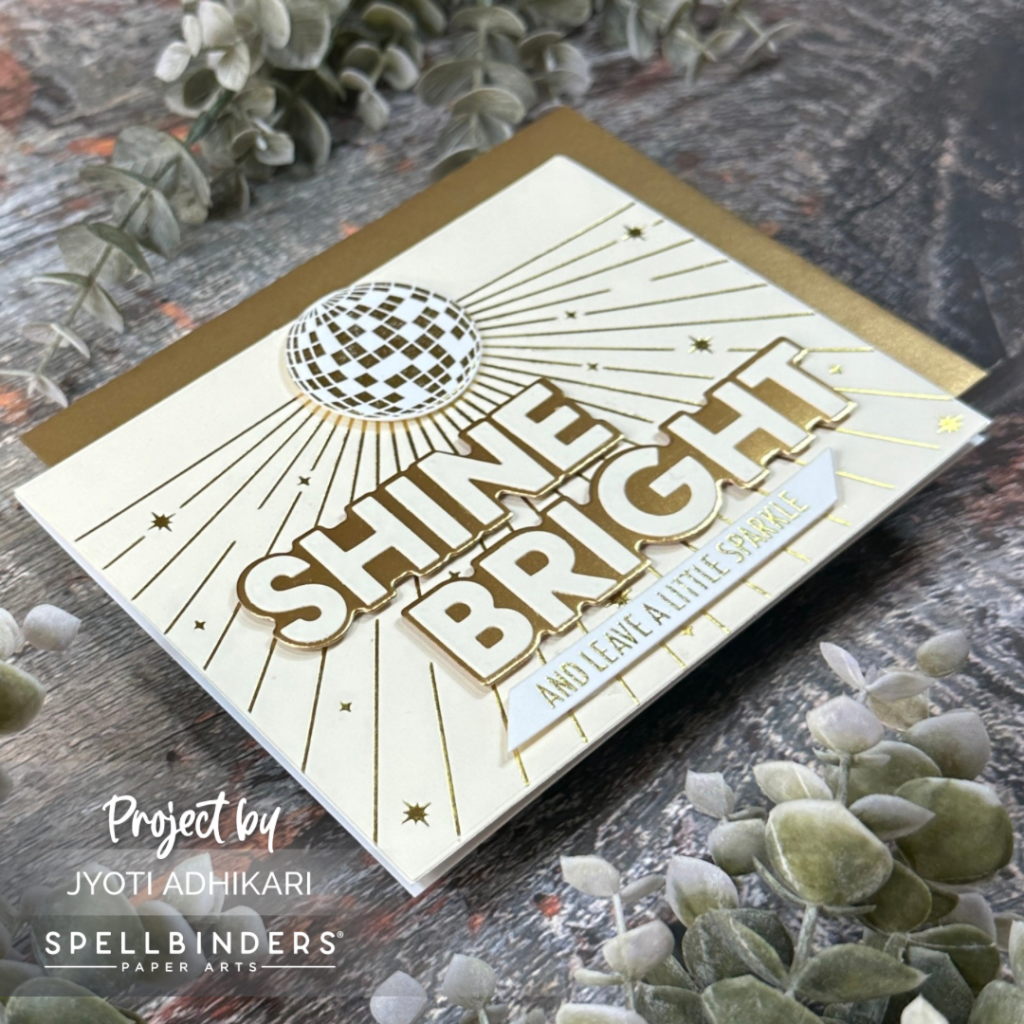
For my final card, I used the Disco Impressions Press Plate in a different way—this time to foil the disco balls using gold hot foil on white cardstock. I die-cut the foiled pieces using the circle dies included in the set, but ultimately only used the small disco ball for a clean and minimalist look.
Foiled Sparkle Background
The background for this card was created using the Sparkle Background Glimmer Hot Foil Plate with gold foil. I positioned the burst at the top of a landscape-style card, die-cutting the panel for a crisp finish. The shimmering background was the perfect setting for the small gold disco ball.

Shine Bright Sentiment
To complete the card, I added the die-cut “Shine Bright” sentiment along the bottom, using cream cardstock for the letters and gold cardstock for the shadow layer. Beneath it, I foiled the sentiment “And leave a little sparkle” on a strip of white cardstock, tying the design together with its radiant theme.
Finishing with Simplicity
This final card embraced the simplicity of a single disco ball and a gold-foiled burst, letting the shimmer speak for itself. It was the perfect way to wrap up this collection of shining, sparkling cards!
I hope these designs inspire you to create your own dazzling cards with the Shine Bright collection! Whether you’re foiling, embossing, or playing with vibrant colors, there’s always room for a little extra sparkle in your creations.
Disco Balls Etched Dies Shop at: SB | SSS | ”
 Disco Impressions Press Plates Shop at: SB | SSS |
 Shine Bright Etched Dies Shop at: SB | SSS |
 Sparkle On Sentiments Press Plate Shop at: SB | SSS |
“Sparkle Background Hot Foil Plate Shop at: SB | SSS | ”
“Shine Bright Sentiment Strips Press Plate Shop at: SB | SSS | ”
Layered Disco Impressions Stencil Shop at: SB | SSS | ”
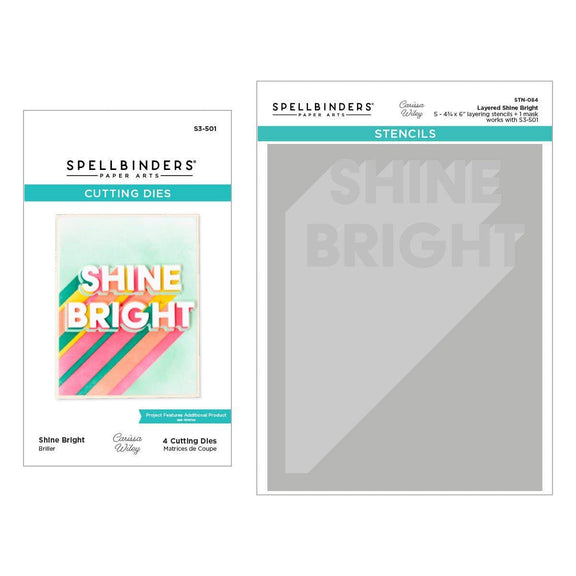 Layered Shine Bright Stencil and Die Shop at: SB |
Hugs,
