Is it just me or all card-makers struggle when you have to create masculine cards? I love flowers and love adding flowers on cards but when it comes to creating cards for men, it is always a challenge. Today I am sharing three masculine cards I created using one sheet of gel print. I have so many birthdays in April and most of them are men/ boys. So I needed a bunch of masculine birthday cards.
The other day my I had a fun crafty time with my friend Natasha Vacca. I made a bunch of gel prints.
I loved how the one with black white and silver acrylic paint turned out . It also picked a little specks of leftover gold paint from the previous gel prints.
Even though I didn’t add layers of prints or use any stencils on this one, this print was perfect as a background for masculine cards.
First Card
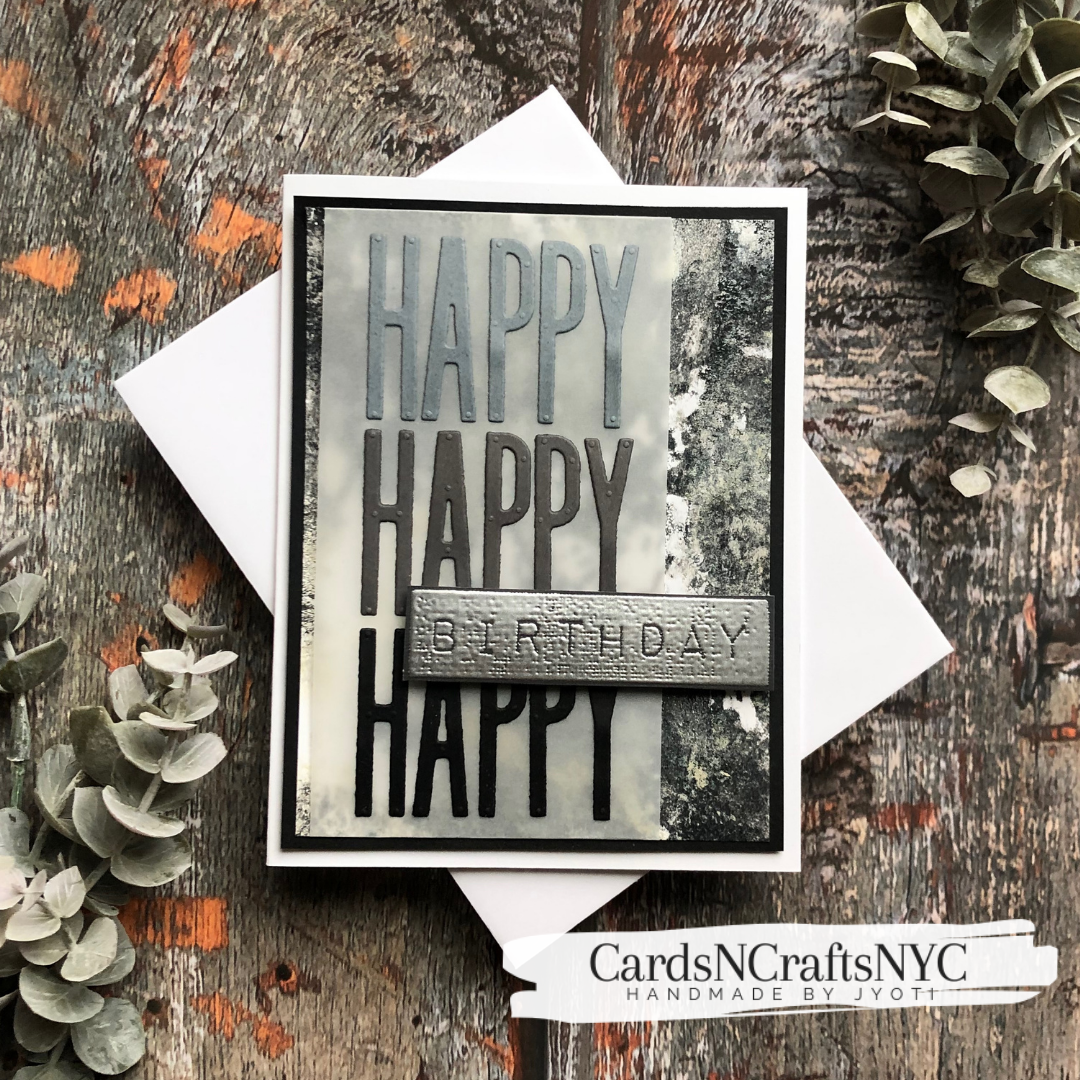
For my first card I cut out a 4 inches by 5 and a quarter inches piece. Matted this piece with a black card-stock slightly bigger still leaving a white border around the card front.
Focus
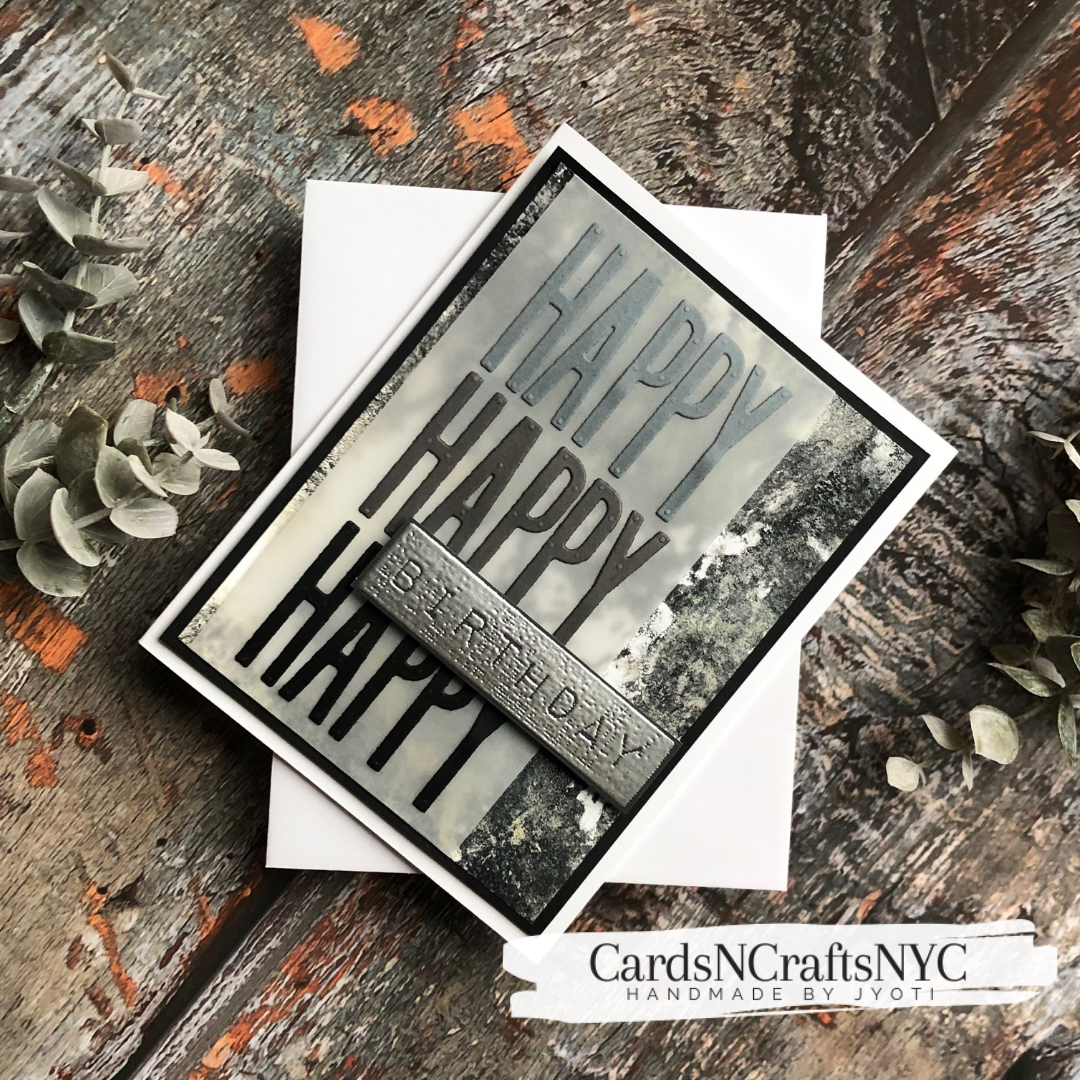
Even though my main focus was the gel print background, I wanted to make this card more interesting. I used Tim Holtz Uppercase Alphabet dies to cut the word HAPPY in light gray, dark gray and black. Arranged these starting with the lightest happy on top and and darkest in the bottom in ombré gradient manner.
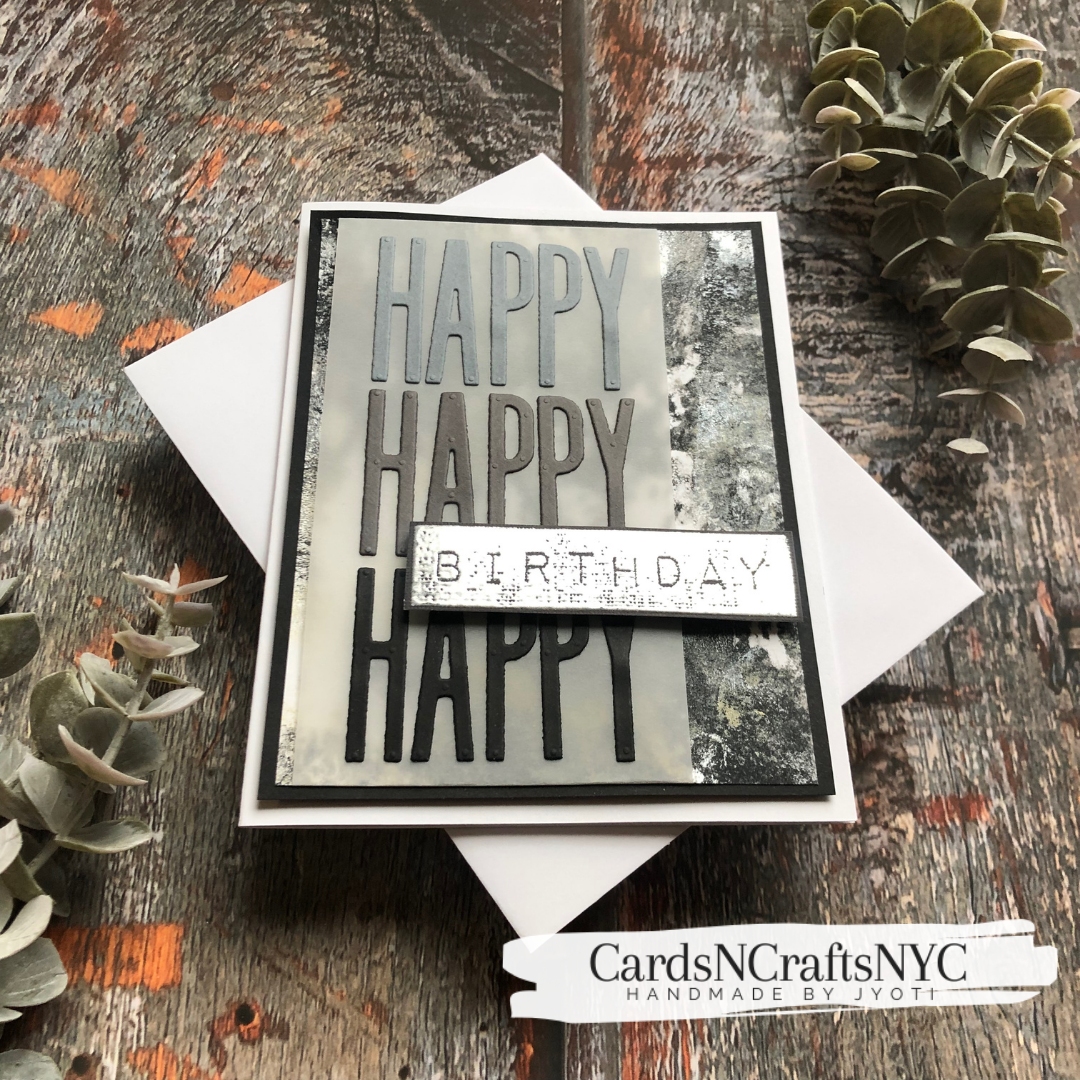
I then added it on a strip of vellum because adding it directly on the gel print wouldn’t make these letters show as much. I then wrapped the vellum around the gel print piece and secured it with scotch tape at the back.
Sentiment
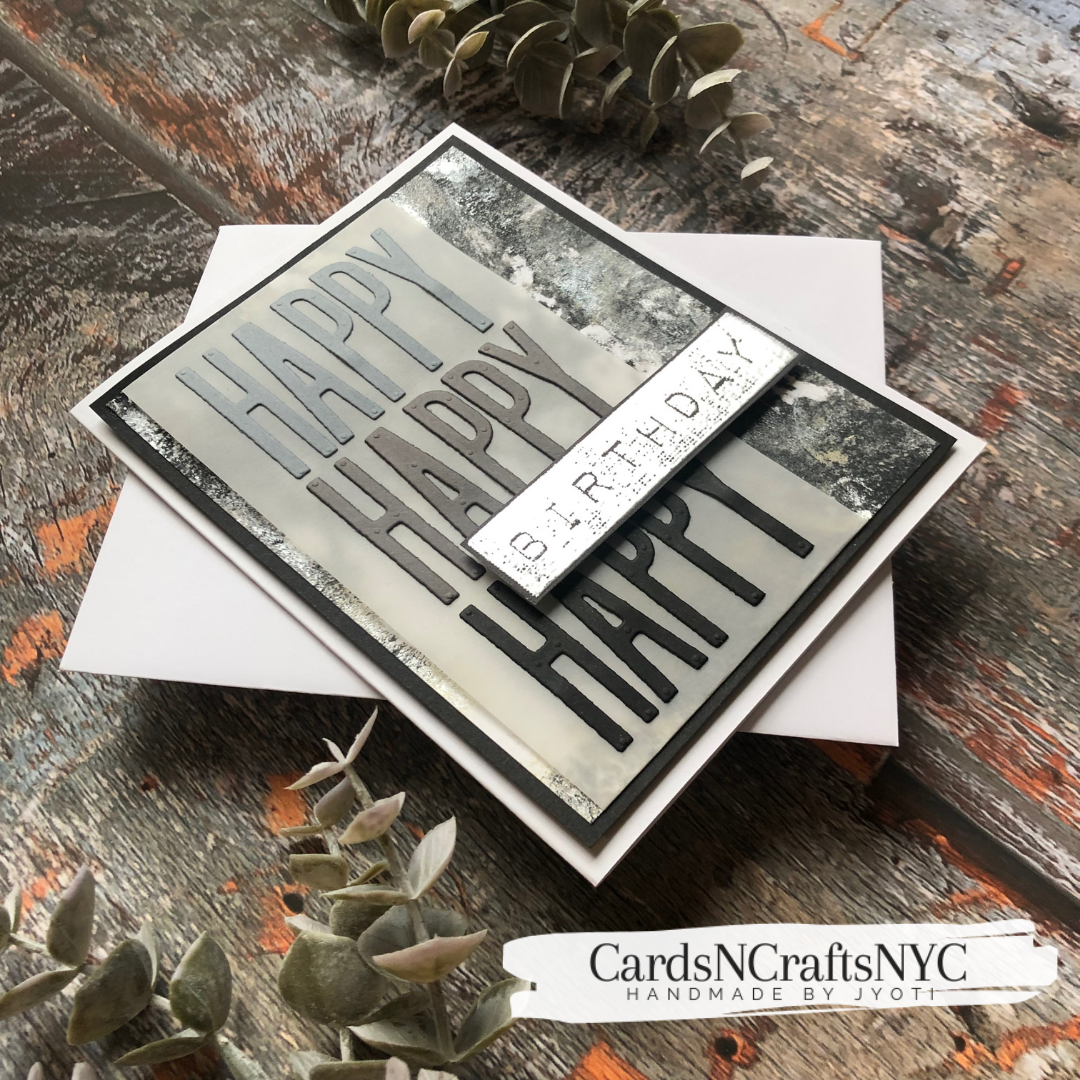
The word HAPPY already started the sentiment. I stamped the word birthday with Versalark ink on a dark grey card-stock piece and embossed it with silver embossing powder. This was Mega Label Love stamp from Altenew. Carefully cut around the stamped and embossed sentiment with the help of scissors leaving a slim border.
Then added the word Birthday on the lower left side of my card front to complete my sentiment. I sent this card to my son whose birthday was on the 10th of April.
Second card
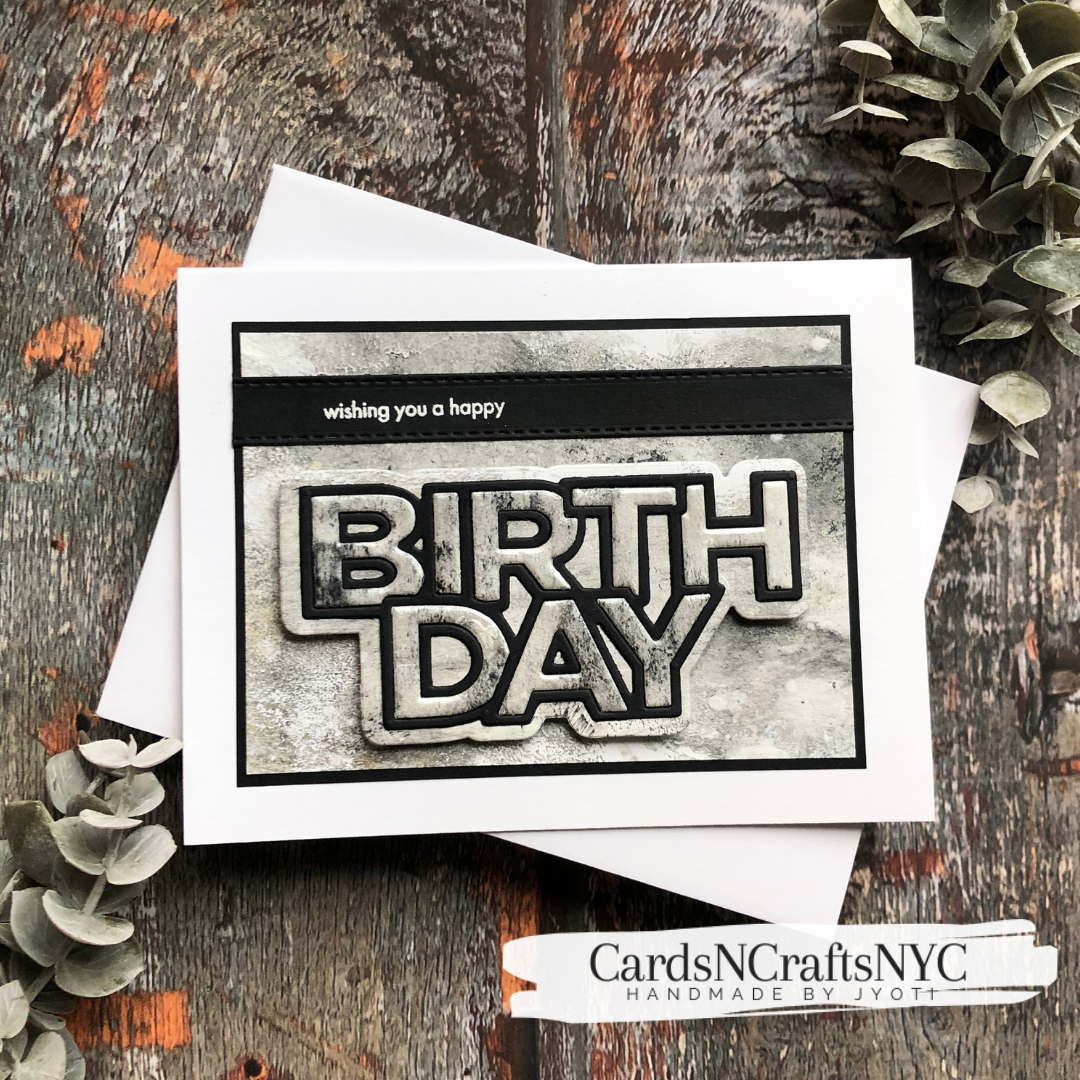
For my second card I cut out a piece that measures 3 and 3 quarter by 4 and a half . Matted this piece with black card-stock leaving a slim border.
Focus
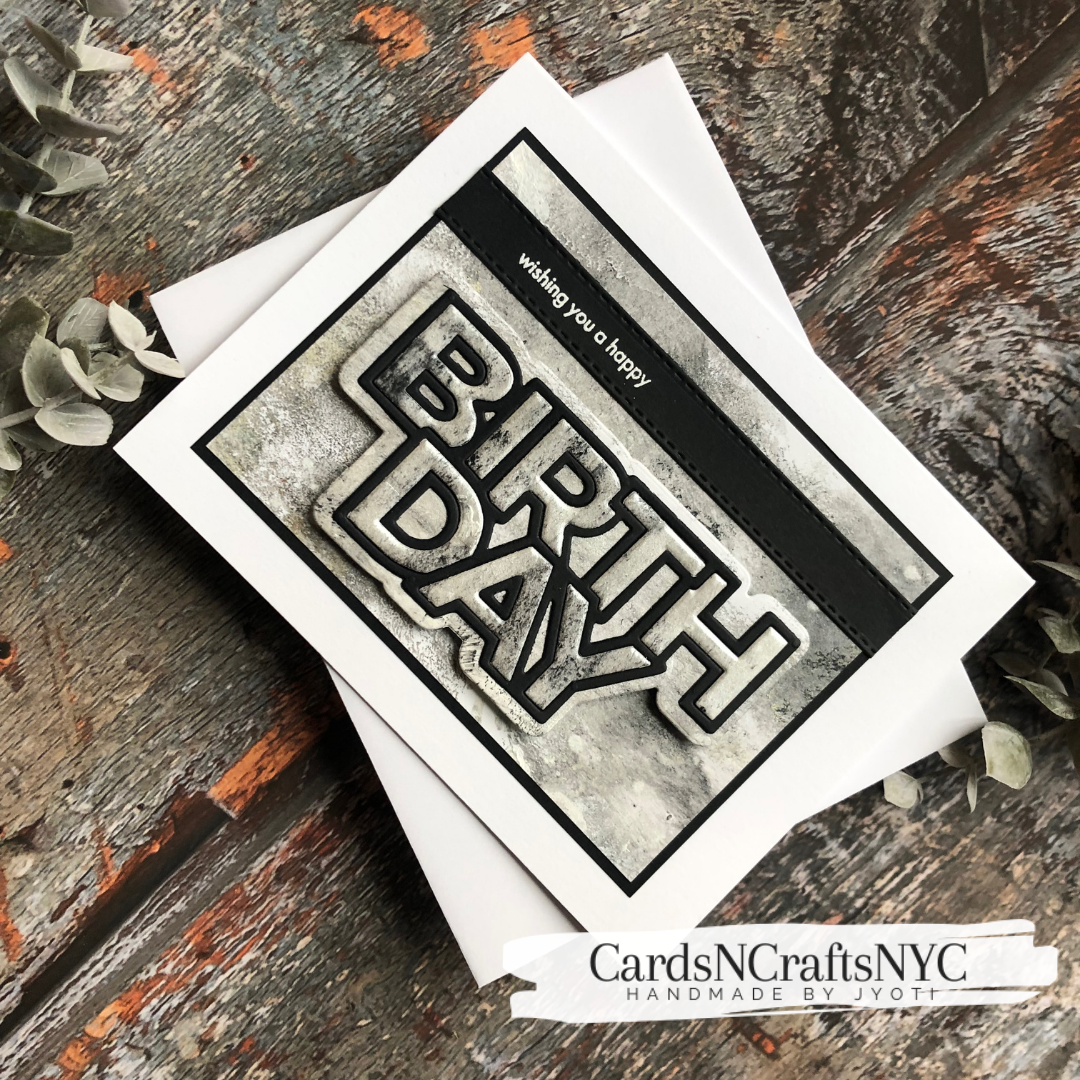
For this card my focus is the big bold sentiment die cut. This one is called Chunky Birthday from Simon Says Stamp. This die cuts the birthday word, the outline and also a shadow layer . I cut the shadow and the word from the gel print and the outline with a black card-stock.
Sentiment
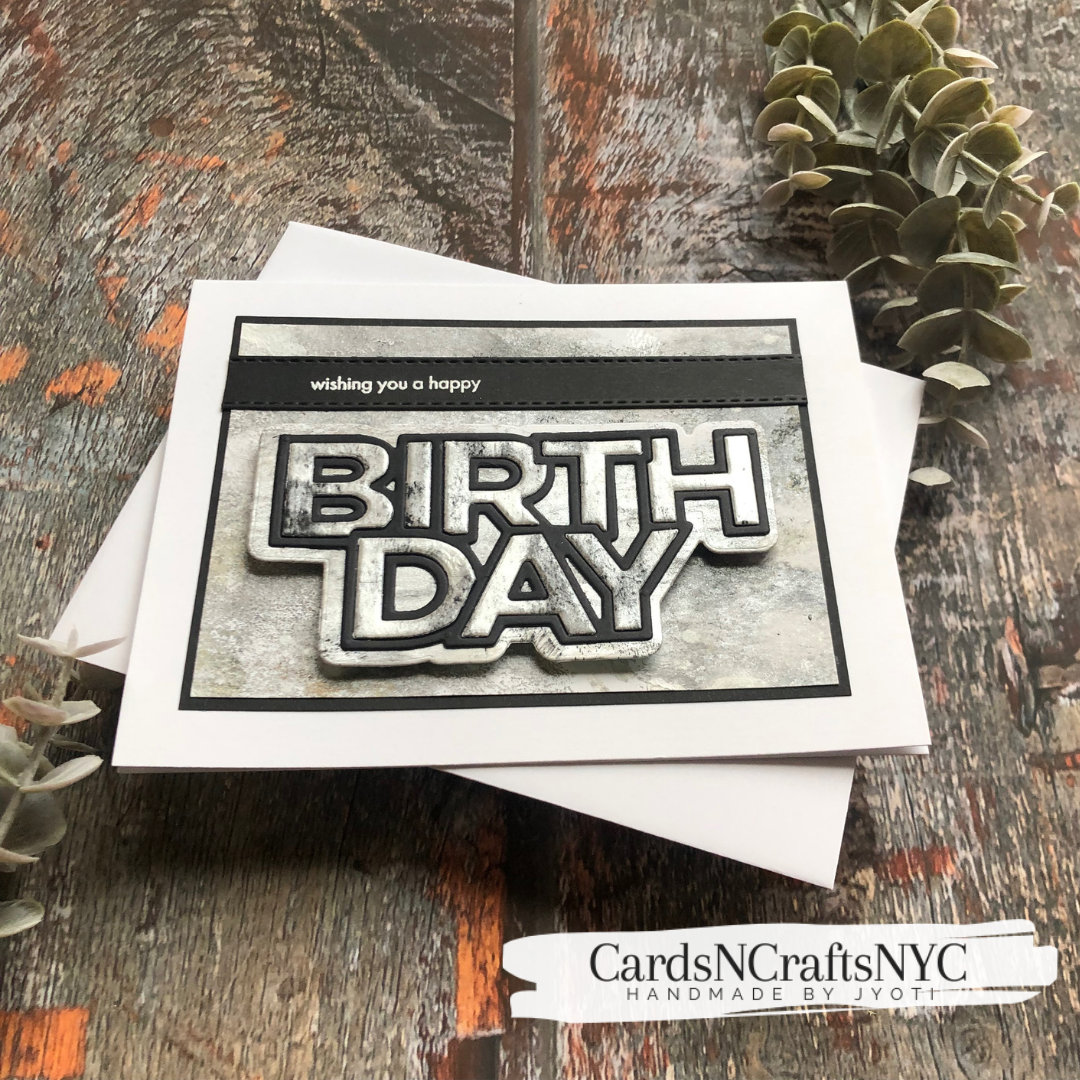
I needed something to complete my birthday sentiment so I stamped and embossed a sentiment from The Ton Stamps that says wishing you a happy birthday but I masked off the birthday as I already had the die cut birthday.
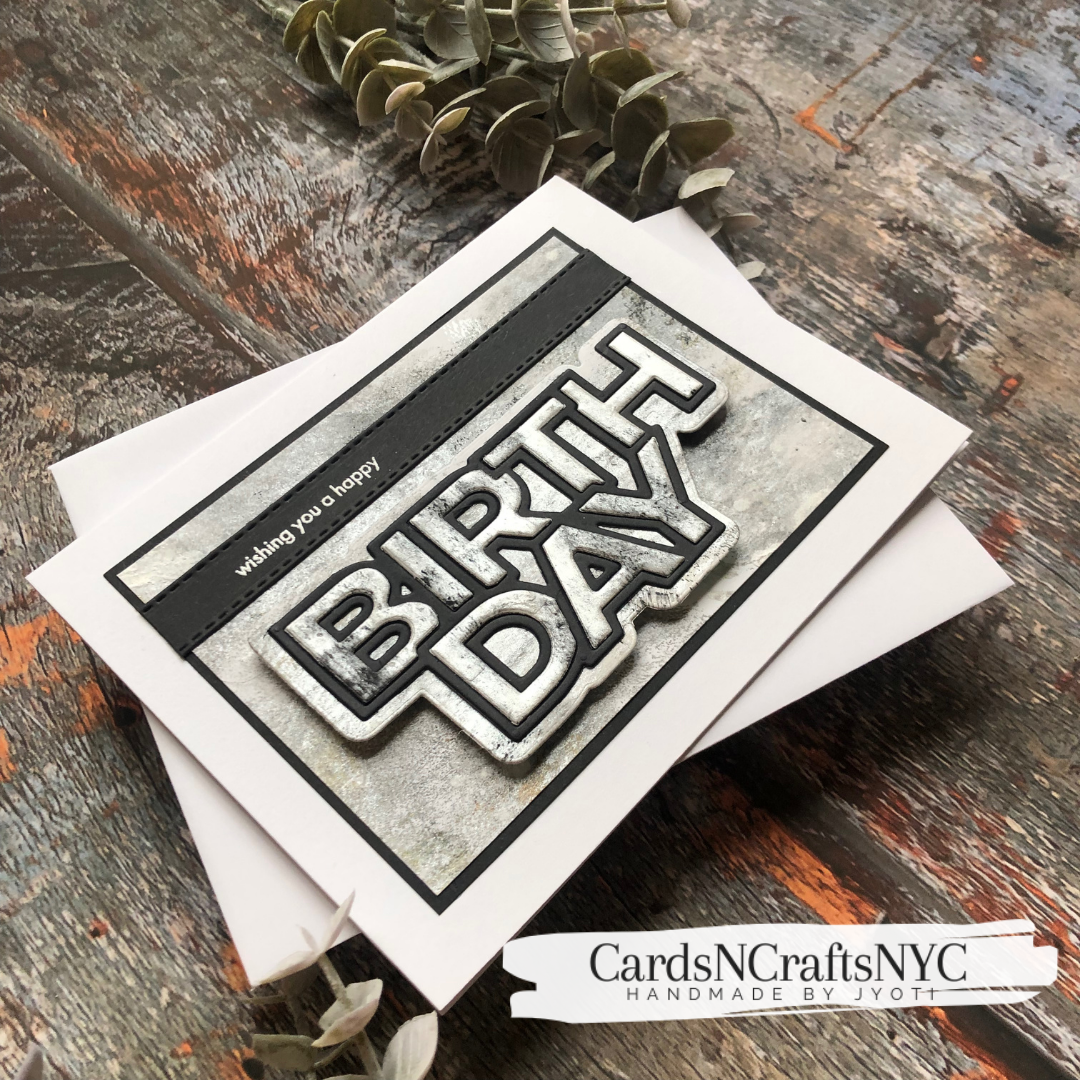
I added the die cut word in the middle of the card a little towards the bottom so I could fit my sentiment strip above it. And this completed my second card.
I sent this card to my brother whose birthday was on the 15 th.
Third Card
After I made 2 cards and die cut the birthday word out of the gel print I had made I still had a strip left that was enough to make another card .
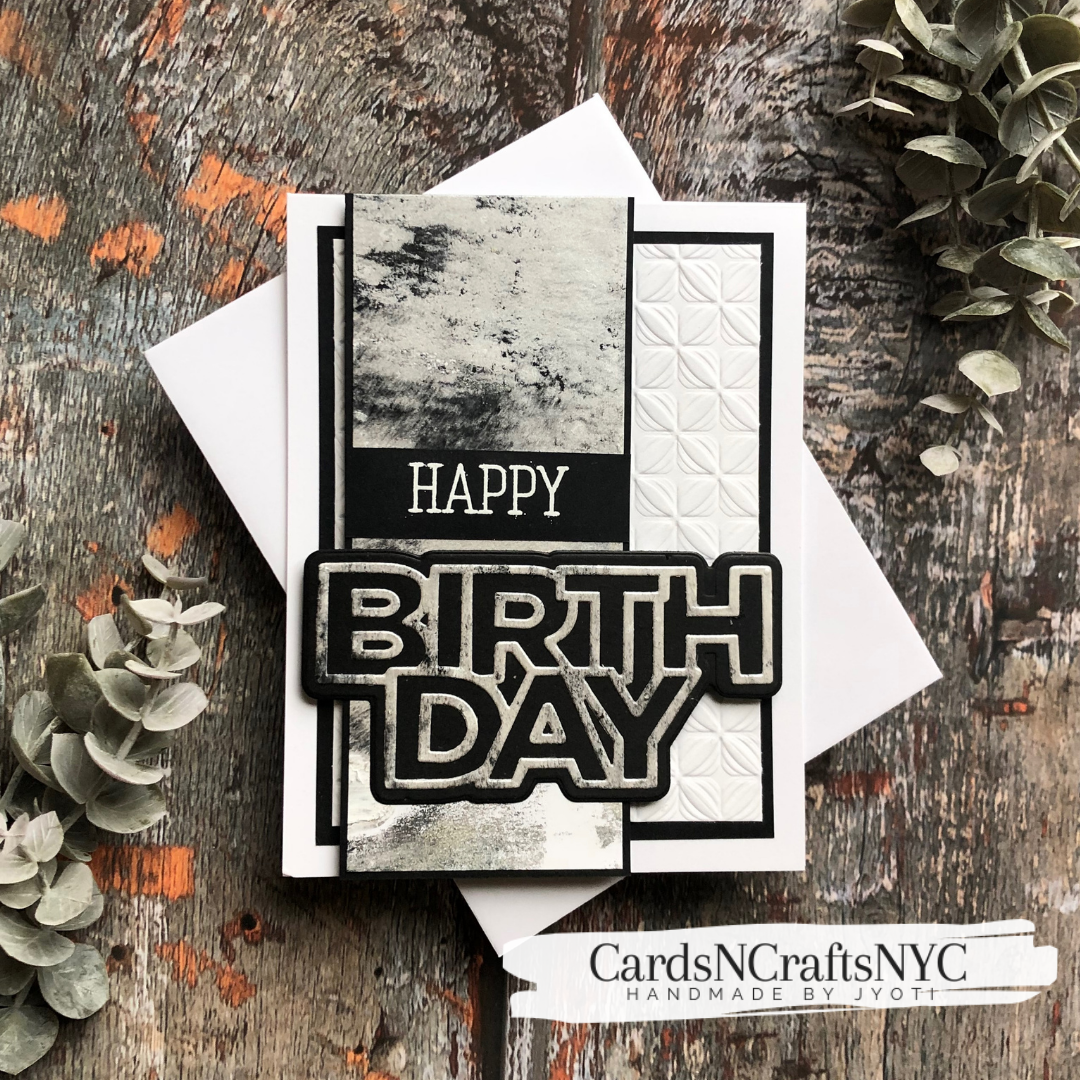
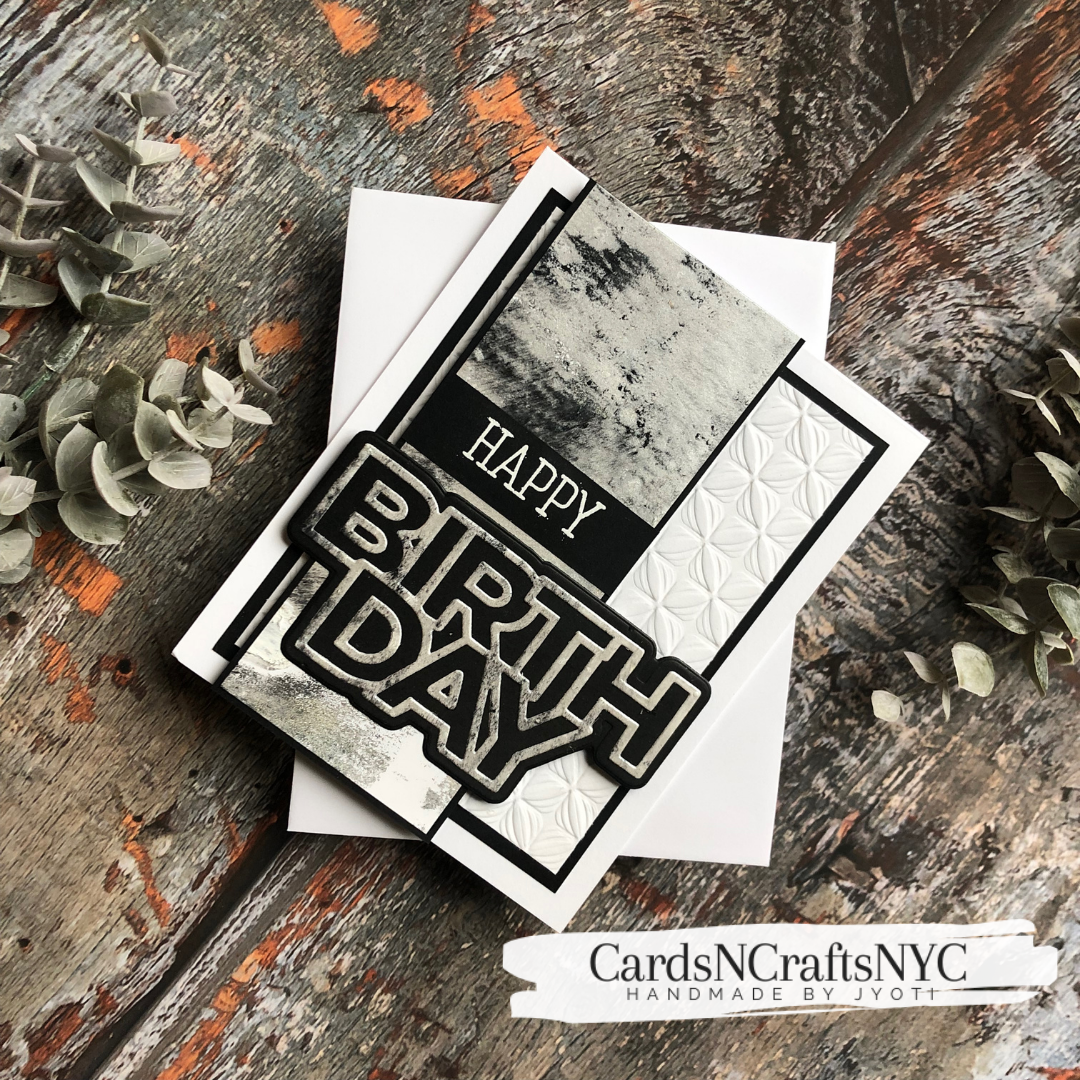
For this card I just had a strip which was not enough to cover the whole card front like my first two cards. So I added a white embossed piece behind it. The 3 and 3 quarter inches by 4 and a half inches white cardstock piece is embossed using Altenew. Embossing folder. I matted this piece with slightly larger black cardstock leaving a small border like I usually do.
Sentiment
I had leftover outline layer of the birthday die cut which I used in black on my previous card. I die-cut the word again from black cardstock and used up the leftover outline piece.
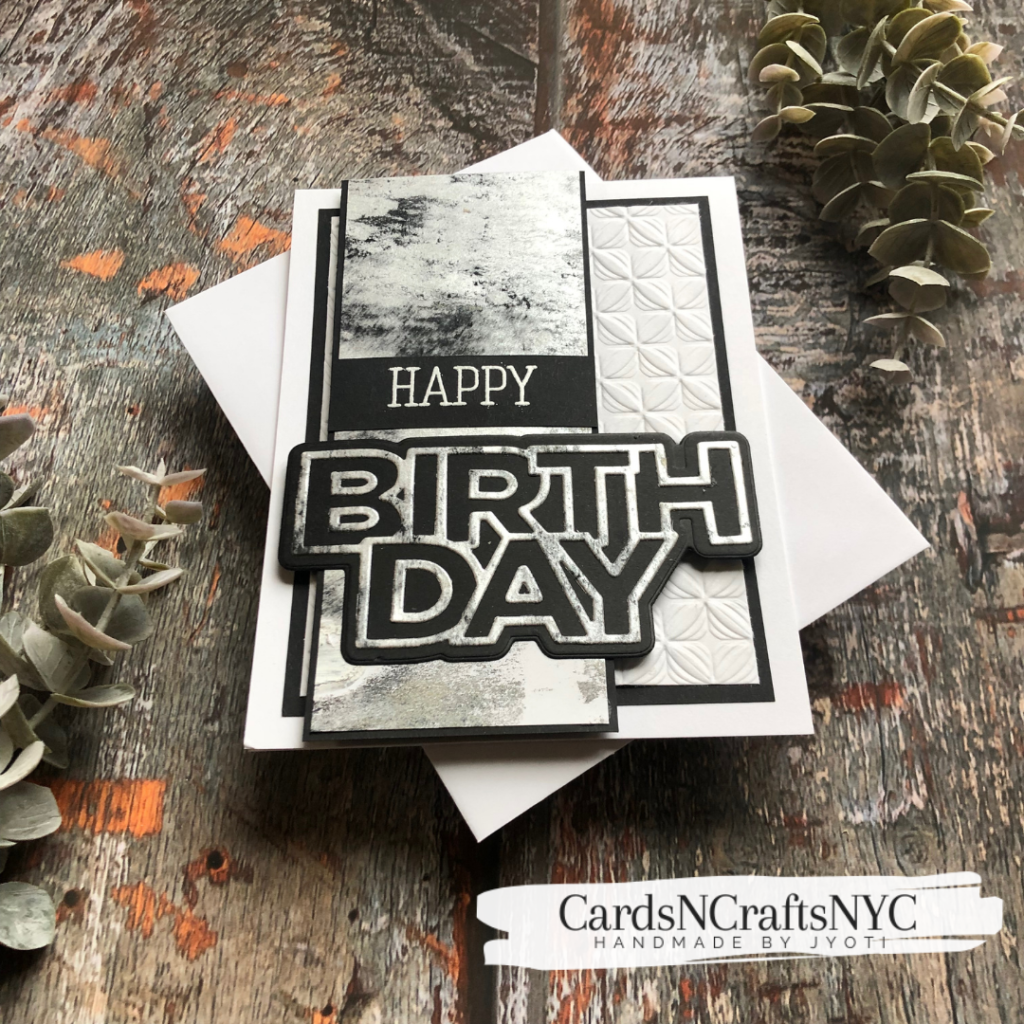
Then I had this happy already stamped and embossed in my sentiment strip collection.
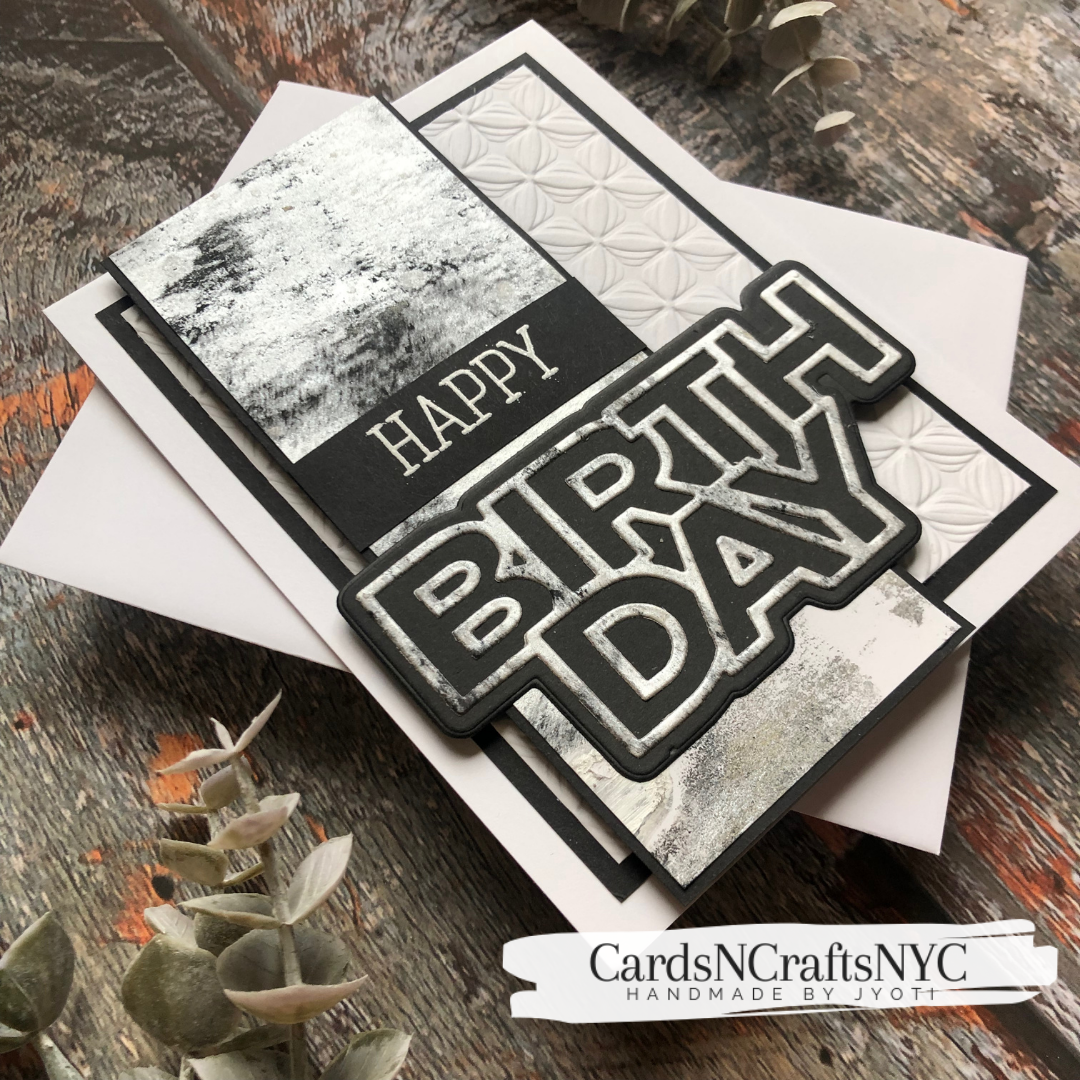
I added the matted embossed piece with liquid glue but the gel print piece with foam tape and added the sentiment with liquid glue on top of the gel print.
This completed my card. I was so glad to be able to create a bunch of masculine cards with just one print.
Hope this inspired you to create these simple gel prints and create backgrounds on masculine cards.
Hugs
Jyoti