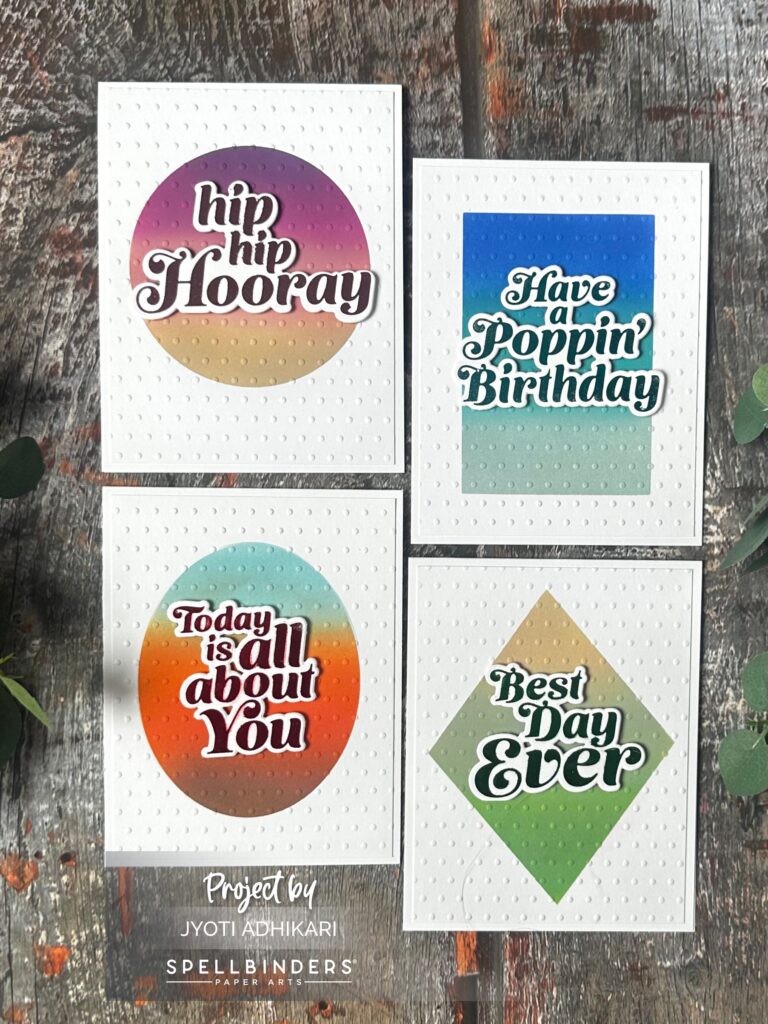
Welcome to my crafting corner, where we dive into the creative world of card-making! Today, I’m excited to share a fabulous card-making project featuring Spellbinders’ IT’S MY PARTY TOO COLLECTION. With a touch of ink blending and embossing, I’ve brought together four stunning cards that are sure to impress. Join me as I walk you through the process and discuss the dilemma of adding sub sentiments. Let’s get started!
Creating the Sentiments
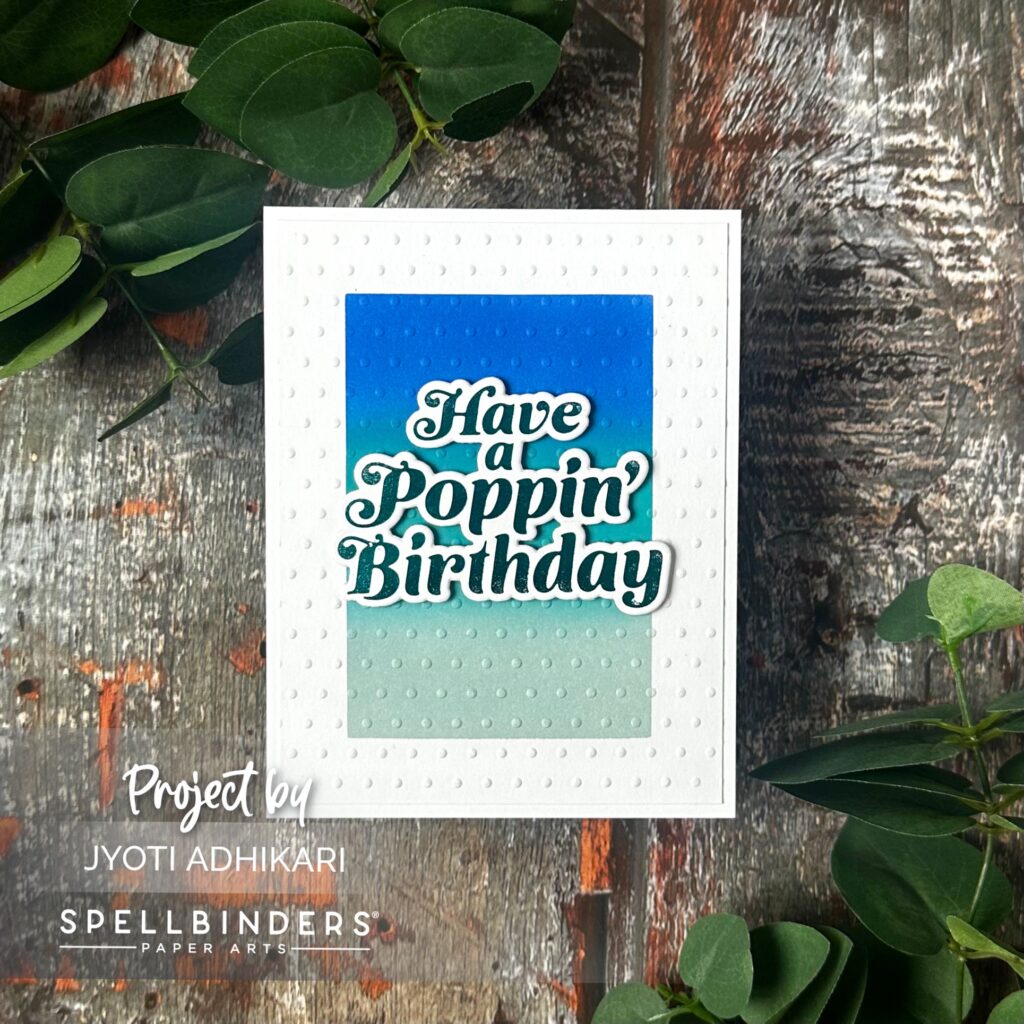
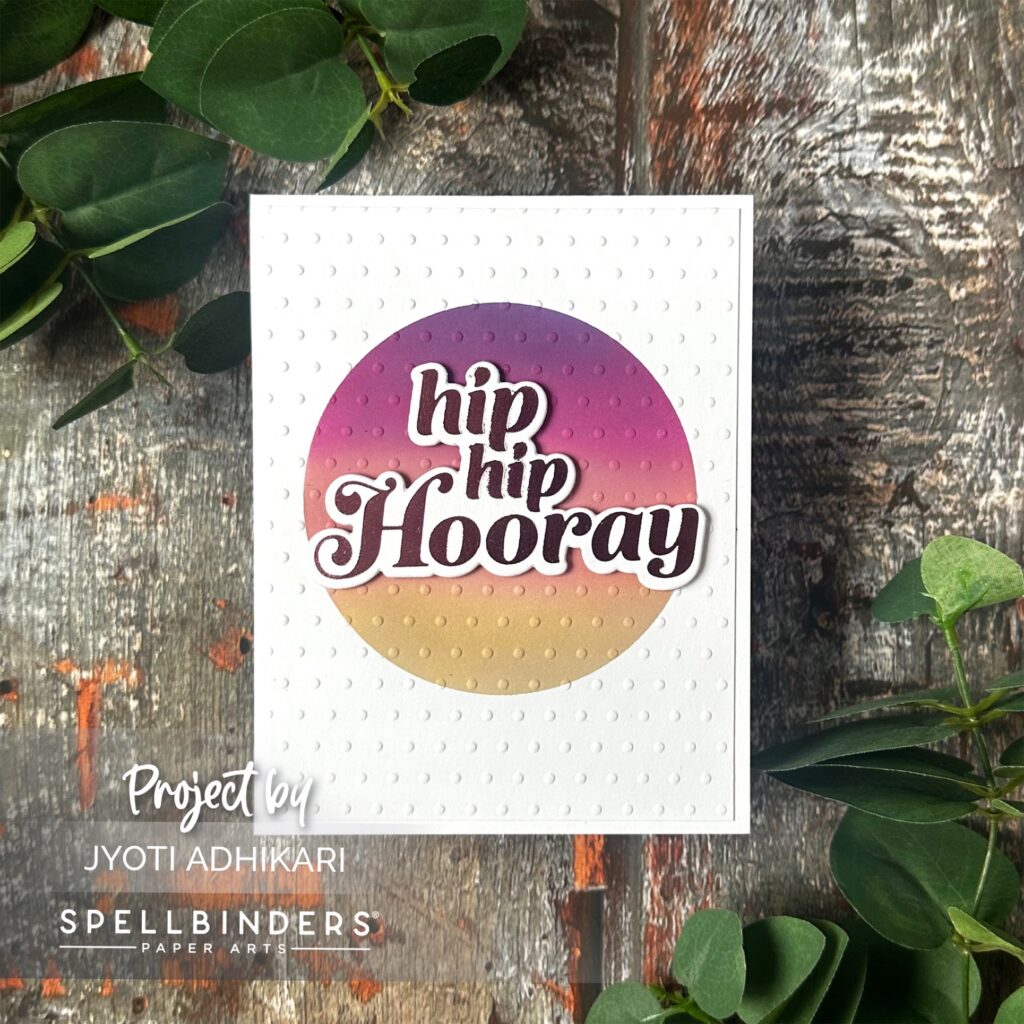
To begin this card-making adventure, I opted for a vibrant array of colors. The hot foils in pink, red, green, and blue were carefully chosen to bring a pop of excitement to our sentiments. We delicately foiled these enchanting messages onto white card stock and then cut them out using coordinating dies for a clean and polished look.
I used:
GLIMMERING POPPIN’ BIRTHDAY HOT FOIL PLATE & DIE SET
GLIMMERING ALL ABOUT YOU HOT FOIL PLATE & DIE SET
GLIMMERING HOORAY HOT FOIL PLATE & DIE SET
GLIMMERING BEST DAY HOT FOIL PLATE & DIE SET
Background Magic with Ink Blending
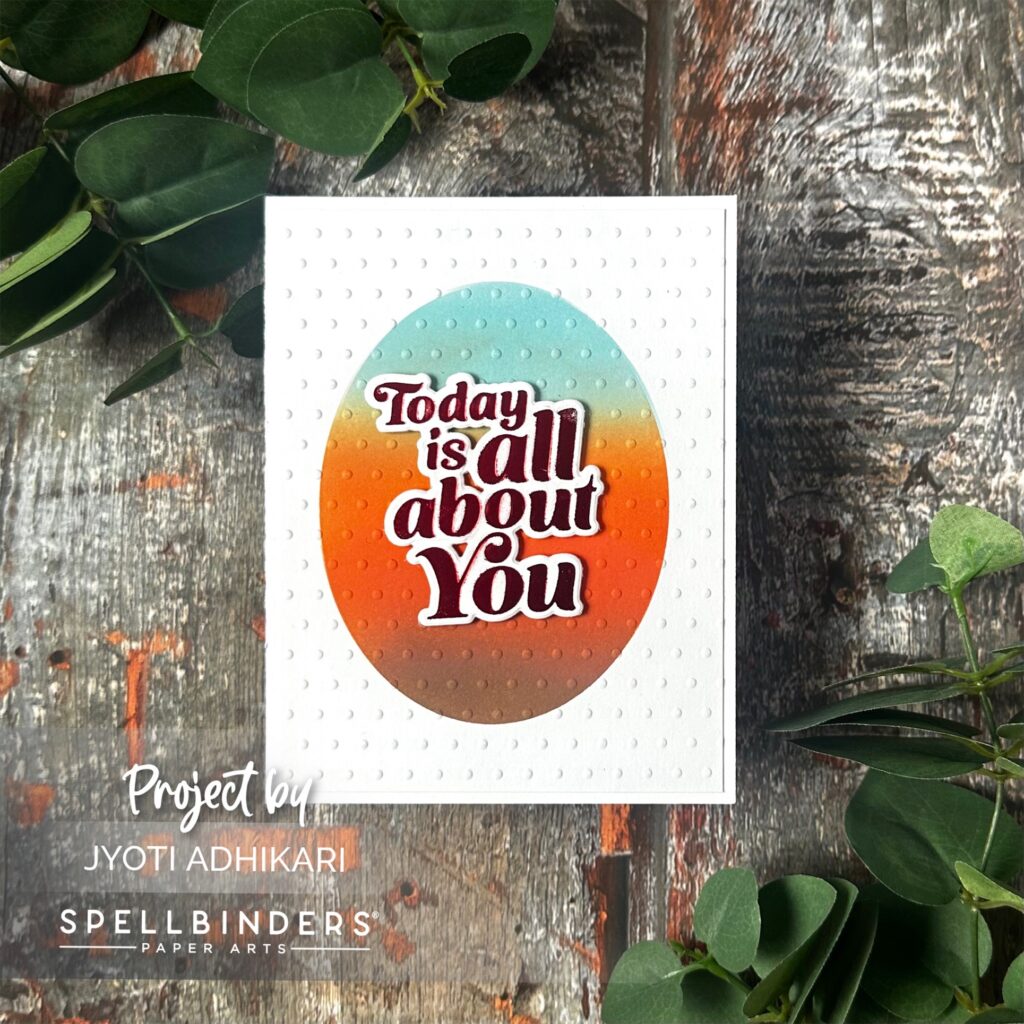
For the background of each card, I wanted to add a touch of elegance using Distressed Oxide inks. To achieve this, I custom-made stencils using rectangle, circle, oval, and diamond dies from my crafting stash. Placing these stencils on top of the white card stock, I began the art of ink blending. The blue card featured the rectangle stencil alongside the vibrant hues of Prize Ribbon, Peacock Feathers and Speckled Egg Distressed Oxide Inks. The pink card embraced the circle stencil, enhanced by Seedless Preserve, Victorian Velvet, and Antique Linen inks. With the oval stencil, I chose Rusty Hinge, Gathered Twigs, and Tumbled Glass inks for an enchanting effect. Finally, for a touch of masculinity, the green card showcased the diamond stencil in Mowed Lawn, Bundled Sage, and Antique Linen inks.
Embossed Panels for Added Texture
To add a hint of texture, I incorporated the TINY DOTS EMBOSSING FOLDER FROM THE IT’S MY PARTY TOO COLLECTION. This allowed me to emboss my ink blended panels. Once embossed, I trimmed the panels down to 4″ x 5 1/4″ to leave a subtle border when adhered to the card bases.
Assembly and Final Touches
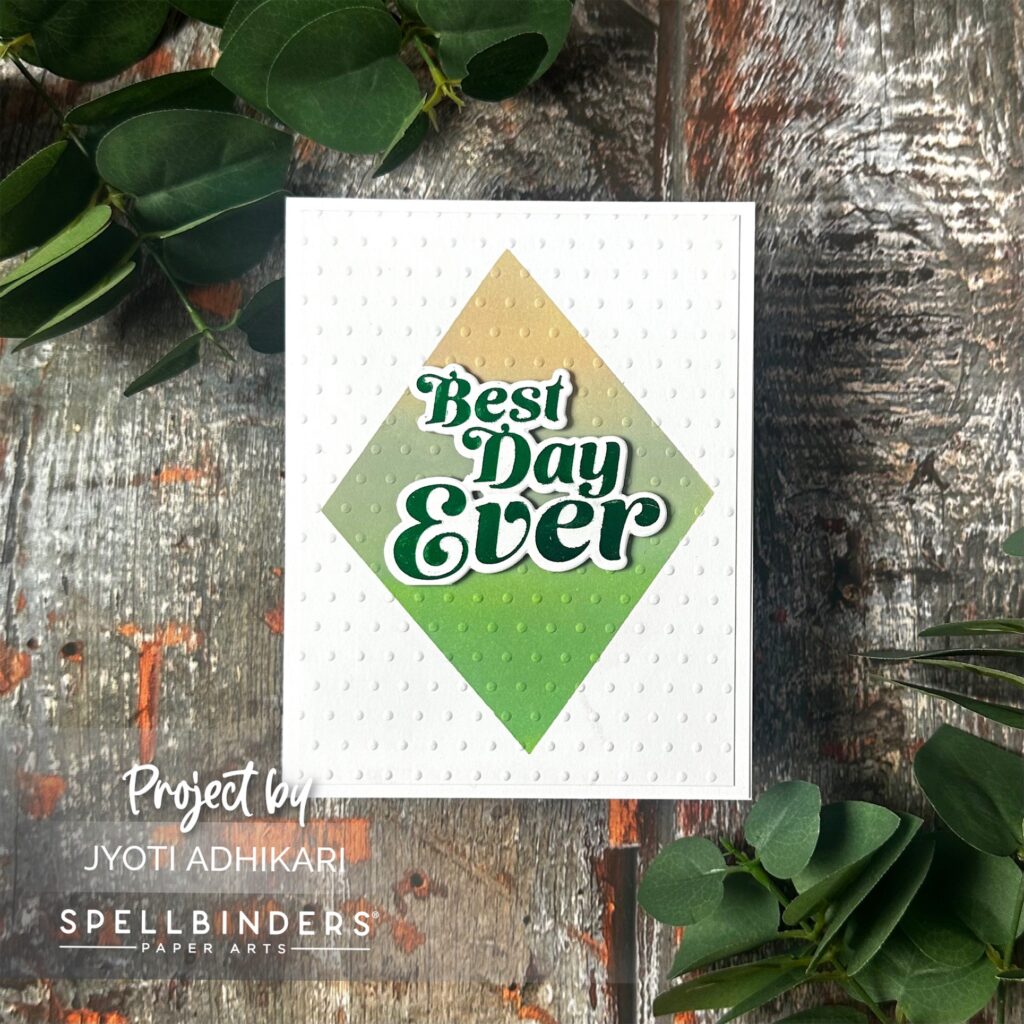
Taking four top-folding card bases, I began assembling our masterpieces. Each card received an embossed panel, offering a visually appealing backdrop for our foiled sentiments. Using foam tape, I adhered the sentiments to the cards, providing a touch of dimension and elegance.
The Dilemma: To Sub Sentiment or Not to Sub Sentiment?
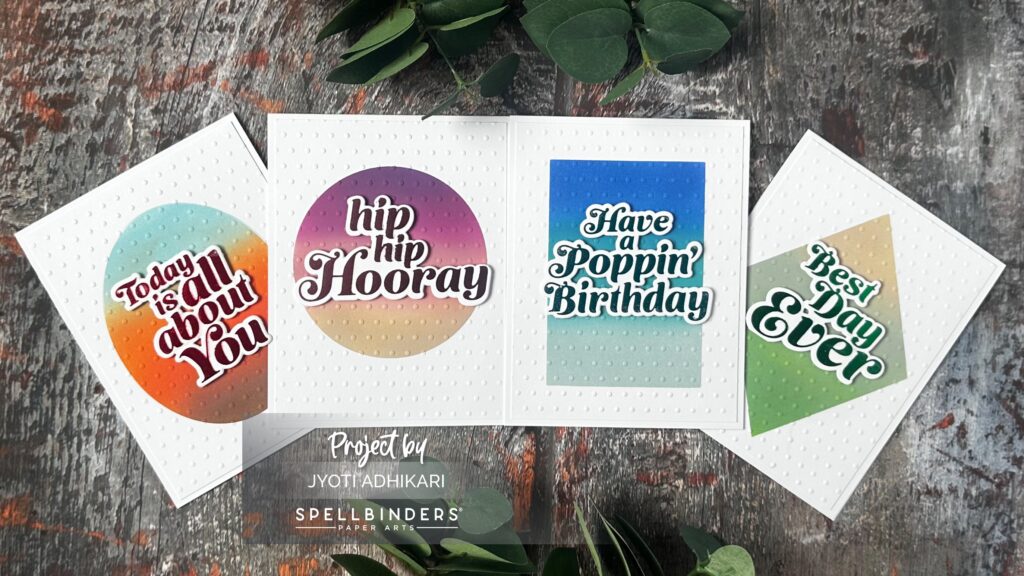
As I neared completion, I pondered the idea of adding a sub sentiment strip in black beneath our main sentiments. While tempted to enhance the overall design, I ultimately decided against it. My goal was to create simple yet striking cards, where the focal point remained firmly on the foil sentiments. By forgoing the sub sentiment strips, I allowed the beauty of the foiled sentiments and the blending techniques to shine through, capturing attention with their elegance and simplicity
And there you have it, my delightful journey into the world of foil sentiments and ink blending! These four cards, adorned with Spellbinders’ IT’S MY PARTY TOO COLLECTION are examples of simplicity and understated beauty. From the carefully chosen colors to the artful ink blending and embossed panels, these creations are sure to leave a lasting impression. So, next time you’re looking to create eye-catching cards, consider the charm of foil sentiments and the art of ink blending.
I hope this blog post has inspired your creativity and sparked ideas for your own card-making endeavors. Until next time, happy crafting!
Hugs,
