Creating handmade cards is a delightful way to express your creativity and share personalized sentiments with loved ones. Today, I’m excited to share three stunning cards I crafted using products from the SB Timeless Collection. Each card features unique designs and techniques that highlight the versatility of the collection. Let’s dive into the details of each card!
Golden Glam Wedding Card
A Touch of Elegance
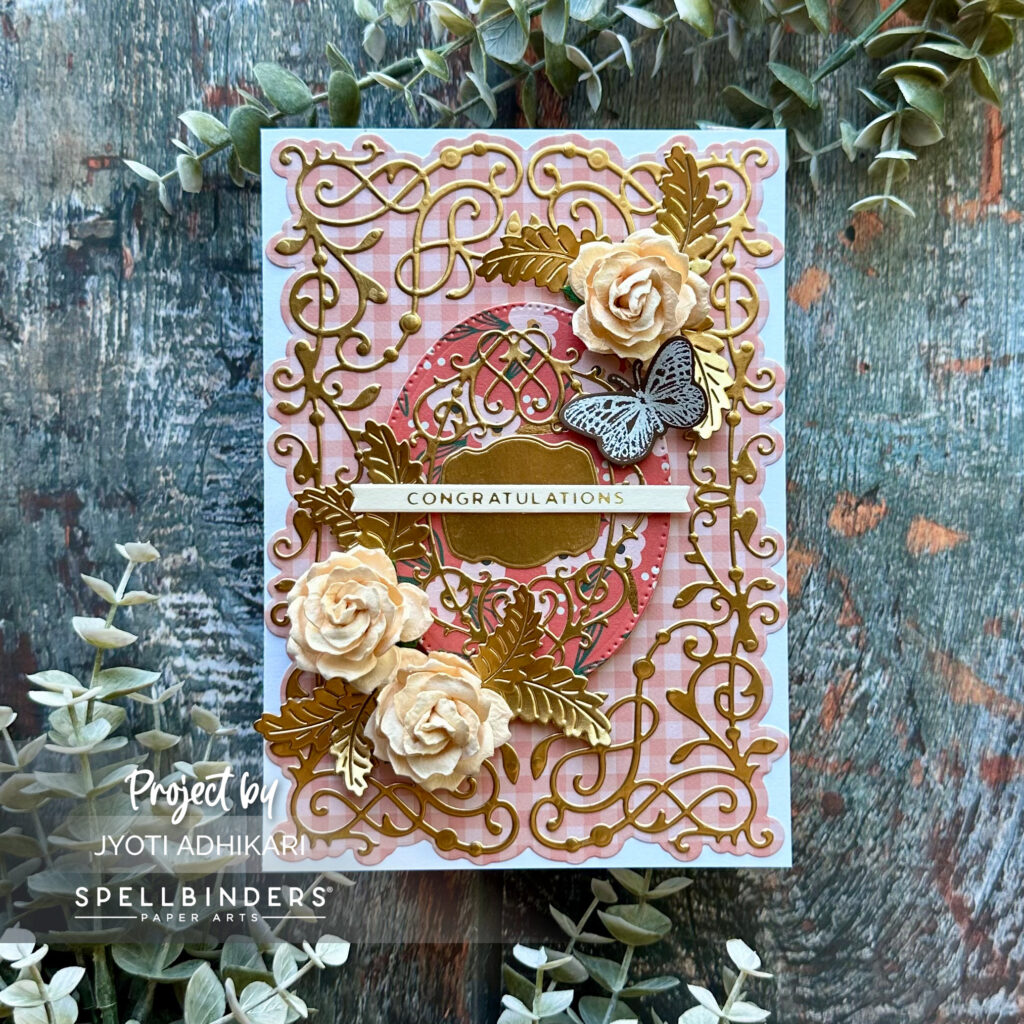
For the first card, I aimed to create a luxurious wedding card with a gold glam theme. I used the Timeless 5×7 Cardfront Etched Die, which features intricate swirls bordering a center oval with additional swirls. The die also includes a space in the center for sentiments, making it perfect for adding different sentiments for special occasions.
Shimmering Swirls
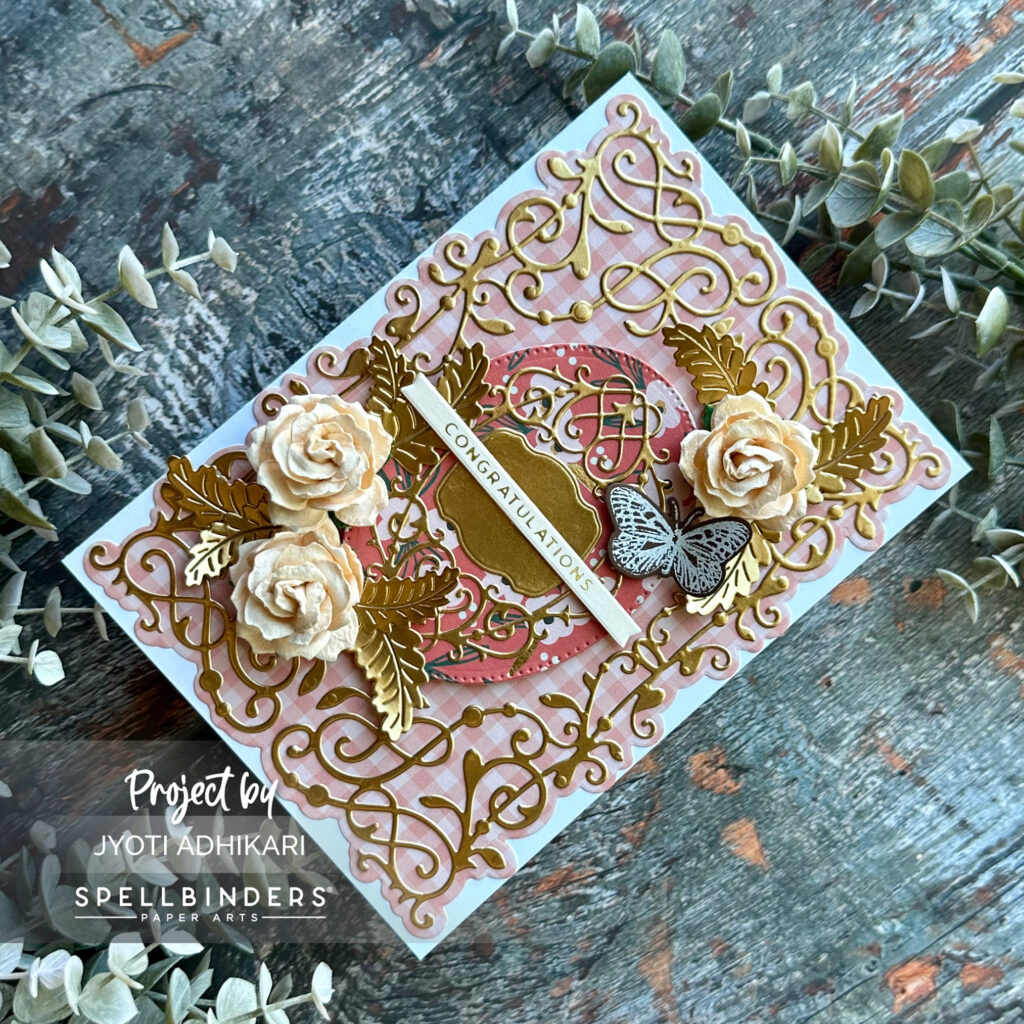
I started by cutting out the swirls design with gold metallic cardstock. The shiny finish adds an elegant touch to the card. For the background and the oval, I selected two coordinating pieces of patterned paper from my stash, which I purchased from Michaels. The plaid pattern paper was cut to be a quarter inch smaller around the border than an A7 card front, while the floral pattern was used for the oval.
Layered Perfection
Using liquid glue, I adhered the gold swirls onto the background plaid and the oval. This step requires a steady hand, but the result is worth it. The intricate details of the swirls really stand out against the patterned paper. I then adhered the background onto an A7 card base and placed the oval in the center using foam tape for added dimension.
Floral Flourish
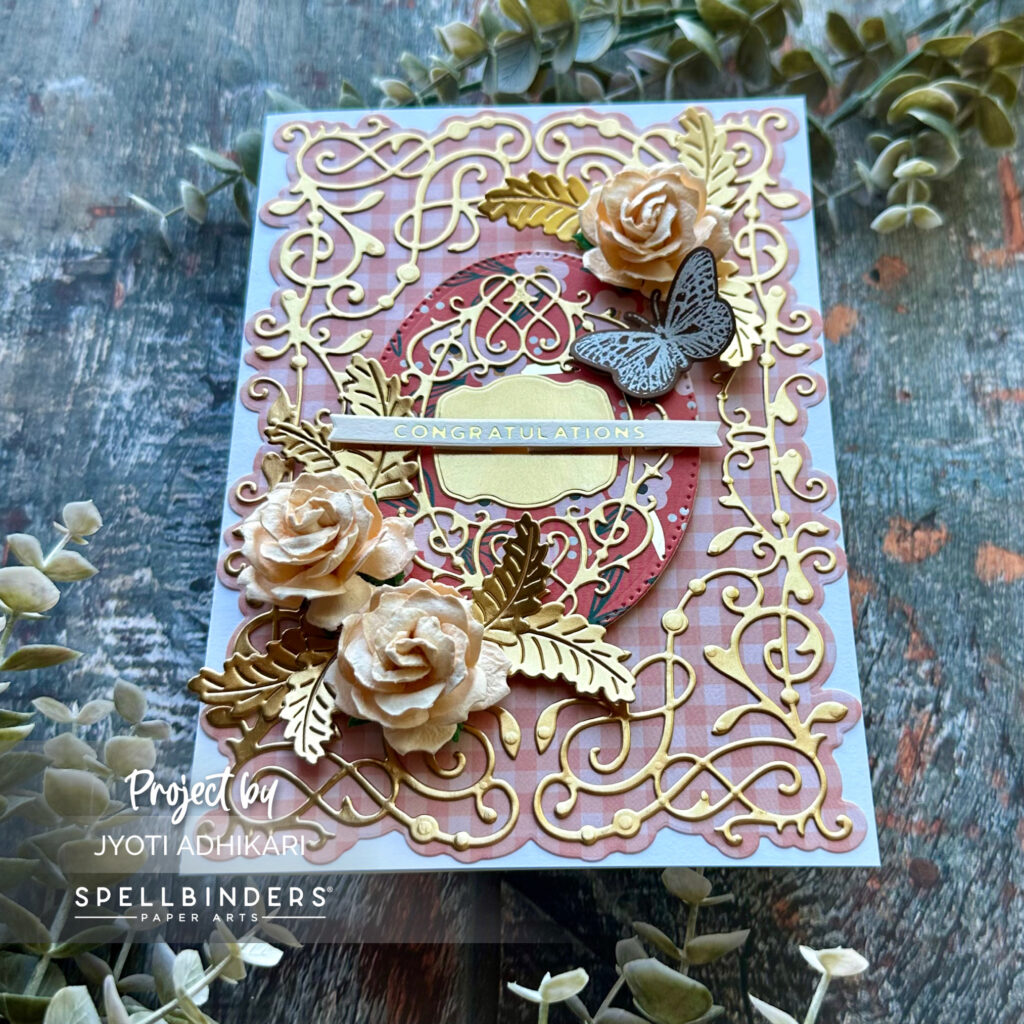
To decorate the card, I cut out some leaves from the gold metallic cardstock and used mulberry flowers from my stash. The combination of gold leaves and delicate flowers adds a rich, textured look to the card. I arranged them around the oval to frame the sentiment beautifully.

Finishing Touches
For the sentiment, I chose a gold-foiled phrase “Congratulations” cut into a strip and adhered it along the center of the oval using foam tape. This final touch completes the card, making it a perfect choice for a glamorous wedding celebration. Also for the inside of this card I added an envelope to insert some cash or gift card.

Sophisticated Thank You Card
Elegant Simplicity
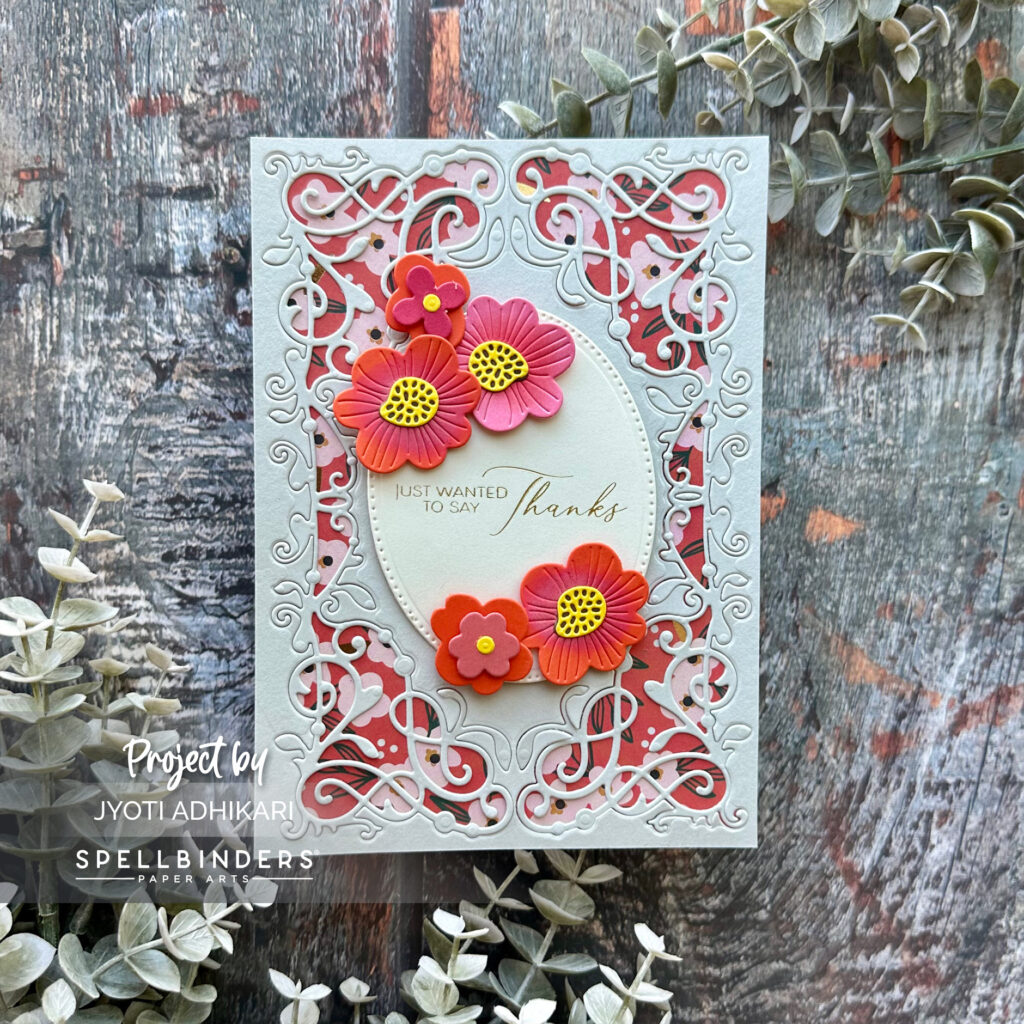
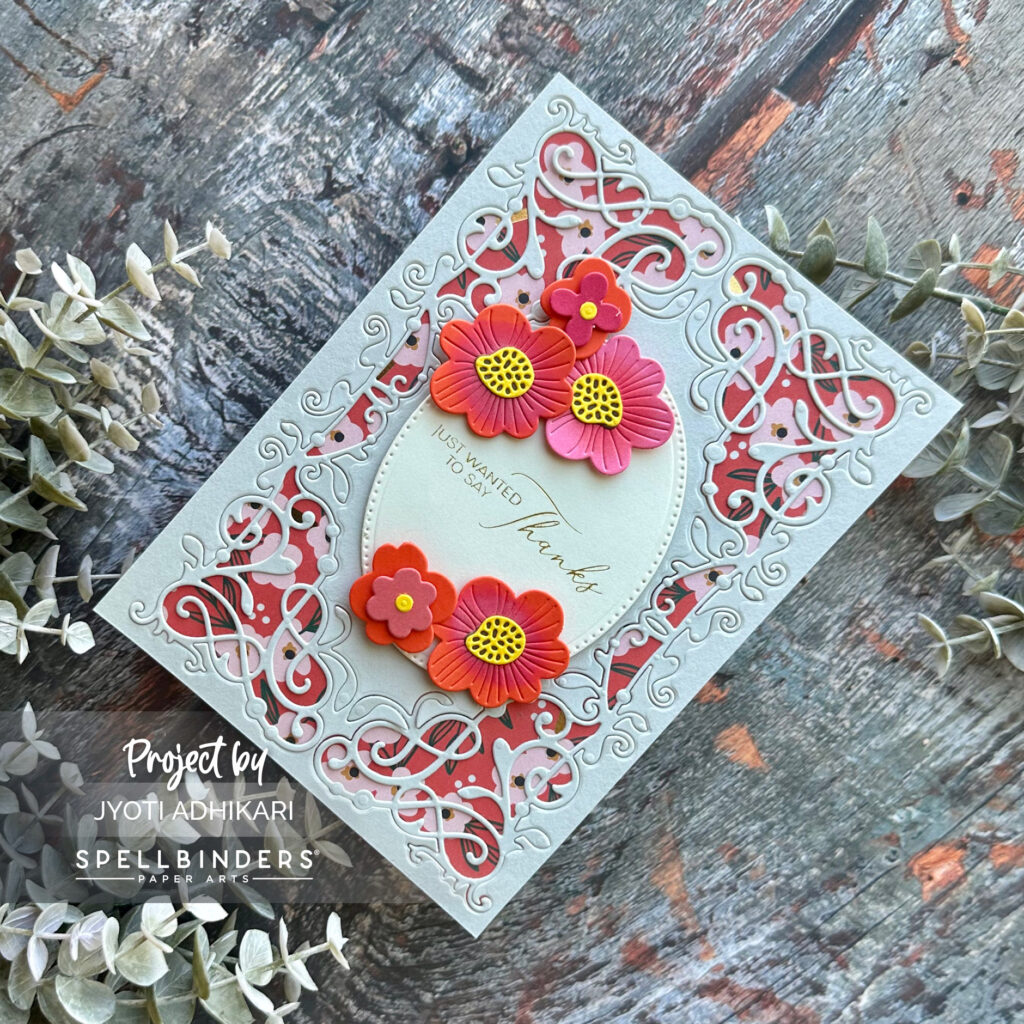
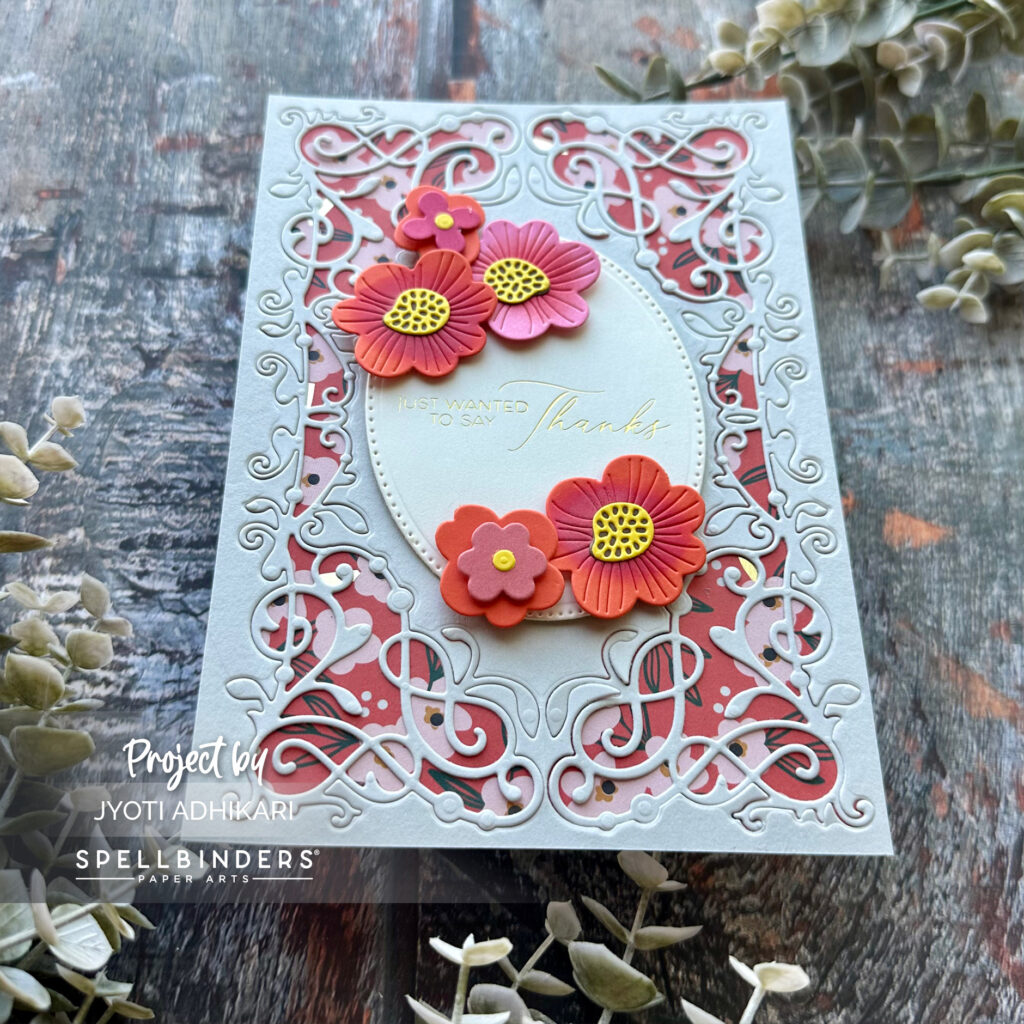
For the second card, I opted for a sophisticated look with a different technique using the same imeless 5×7 Cardfront Etched Die. This card demonstrates how versatile the die can be by achieving a completely different style compared to the first card.
Swirls and Background
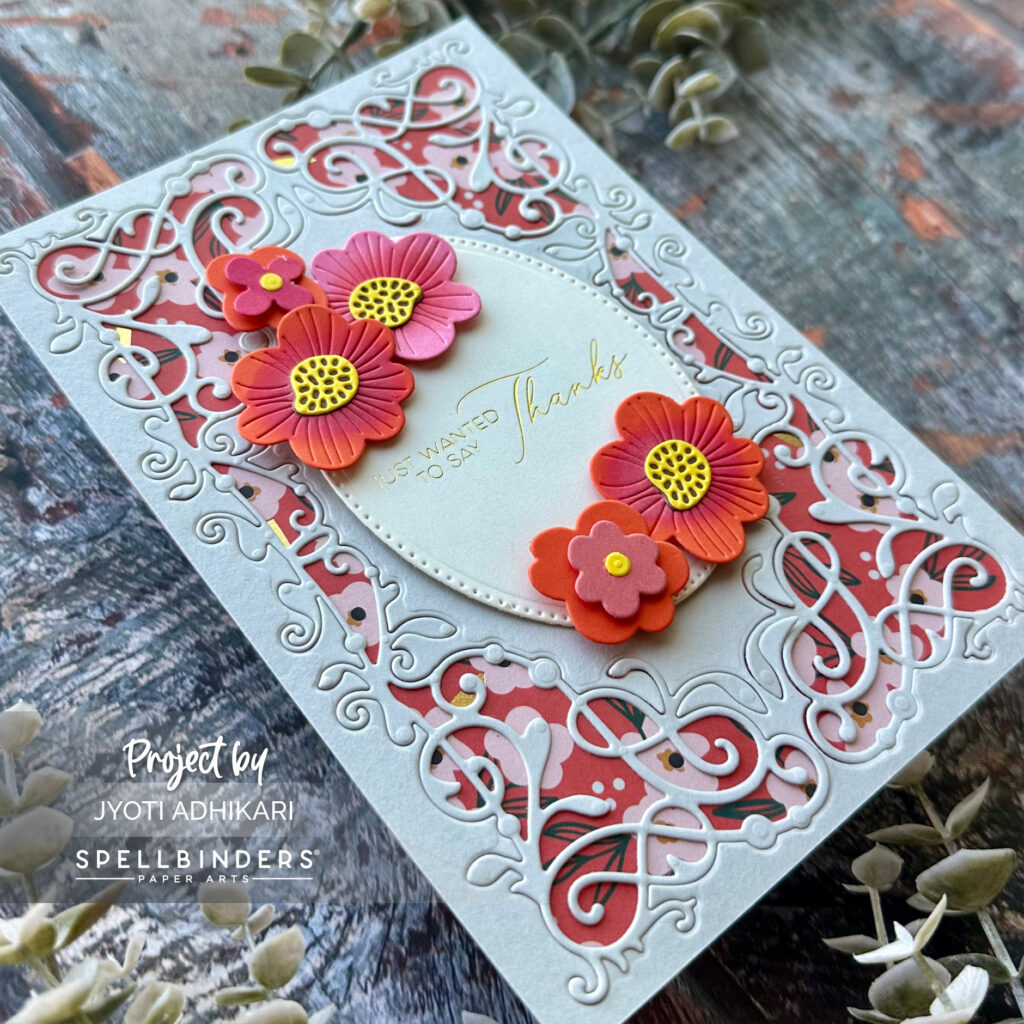
I cut out the swirls with Fog Cardstock but left the die-cut pieces in place, only removing the negative spaces inside of the design. This creates a beautiful, intricate pattern that stands out when layered over a floral patterned paper. The subtle contrast between the fog cardstock and the vibrant floral background is stunning.
Oval Sentiment
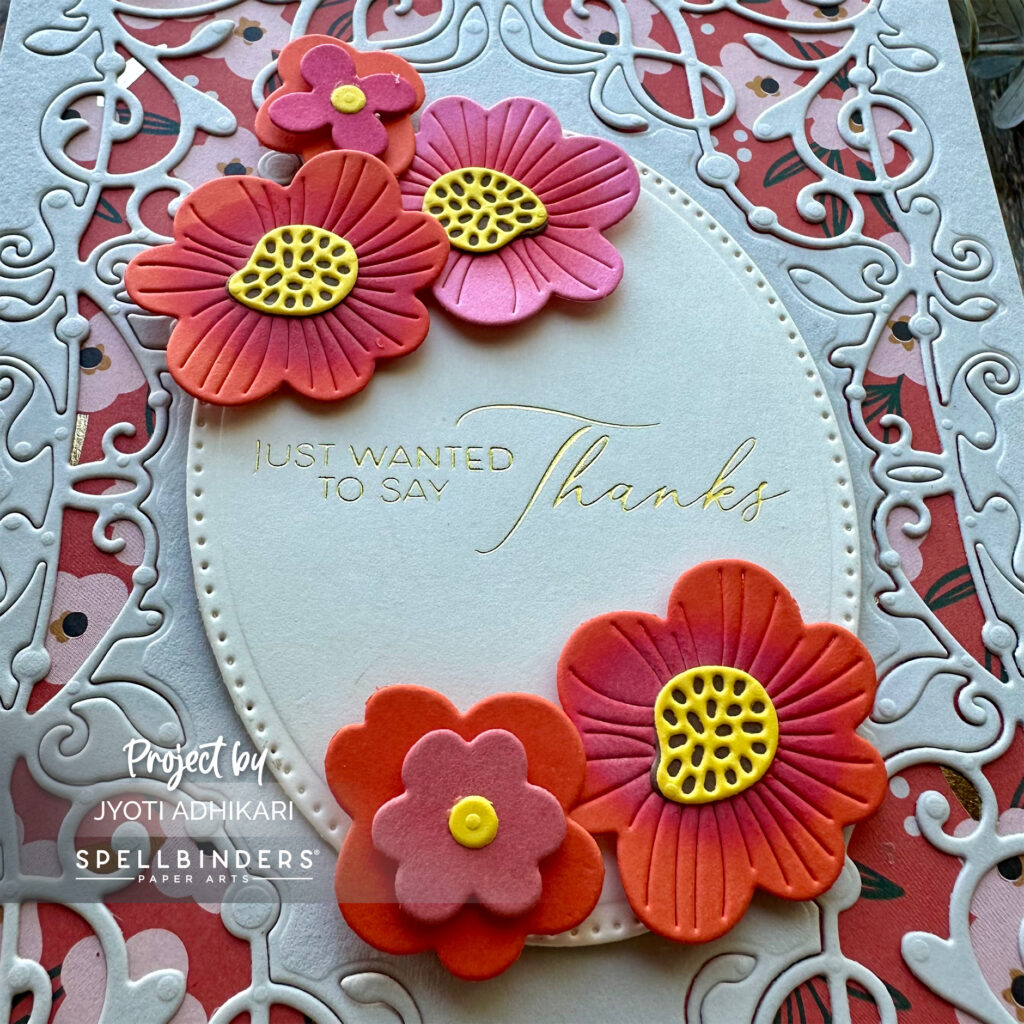
Next, I cut an oval from Barely Peach Cardstock and foiled a sentiment that says “Just wanted to say Thanks” using a press plate. I love how the foiled sentiment adds a touch of shine and sophistication to the card. Foiling is one of my favorite techniques to use with press plates.
Coordinating Flowers
To embellish this card, I used flowers I created from the Envelope Of Wonder die. The colors of the flowers match the floral patterned paper and contrast beautifully with the pale oval die-cut. Arranging the flowers around the sentiment adds a delicate, feminine touch.
Finishing Details
I adhered the floral patterned paper to an A7 card base, then layered the fog cardstock die-cut on top. The pale oval with the foiled sentiment was added in the center using foam tape for dimension. The sentiment is from New Beginnings Timeless Sentiments Press Plate. The final result is an elegant thank you card that showcases the timeless A7 die in a completely new light.
Versatile Birthday Card
A2 Card with A7 Die
For the third and final card, I wanted to show that the A7 card base die can also be used to create an A2 card. This versatility makes the die a great addition to any card maker’s collection.
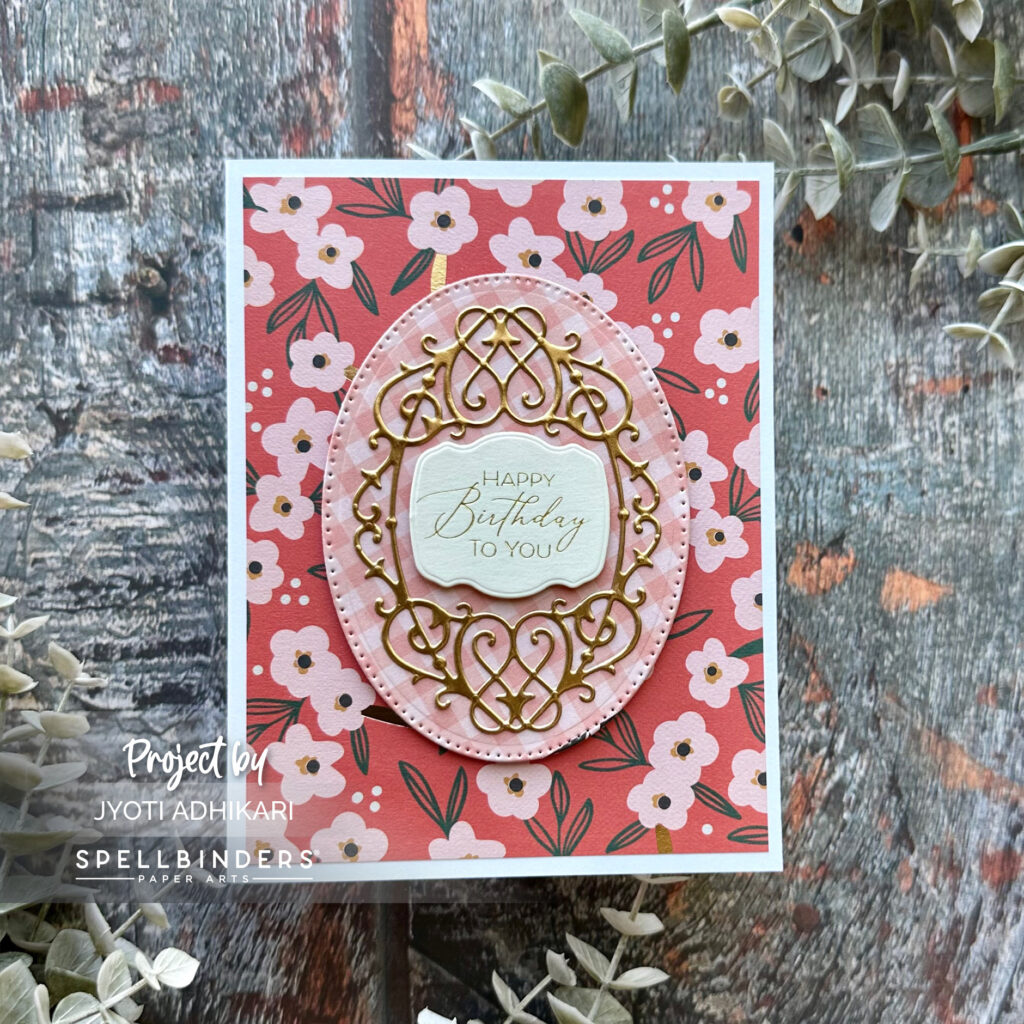
Floral Background
I began by cutting a floral patterned paper to be slightly smaller than an A2 card front. This ensures a neat border around the edges. The floral pattern provides a lovely background for the die-cut elements.
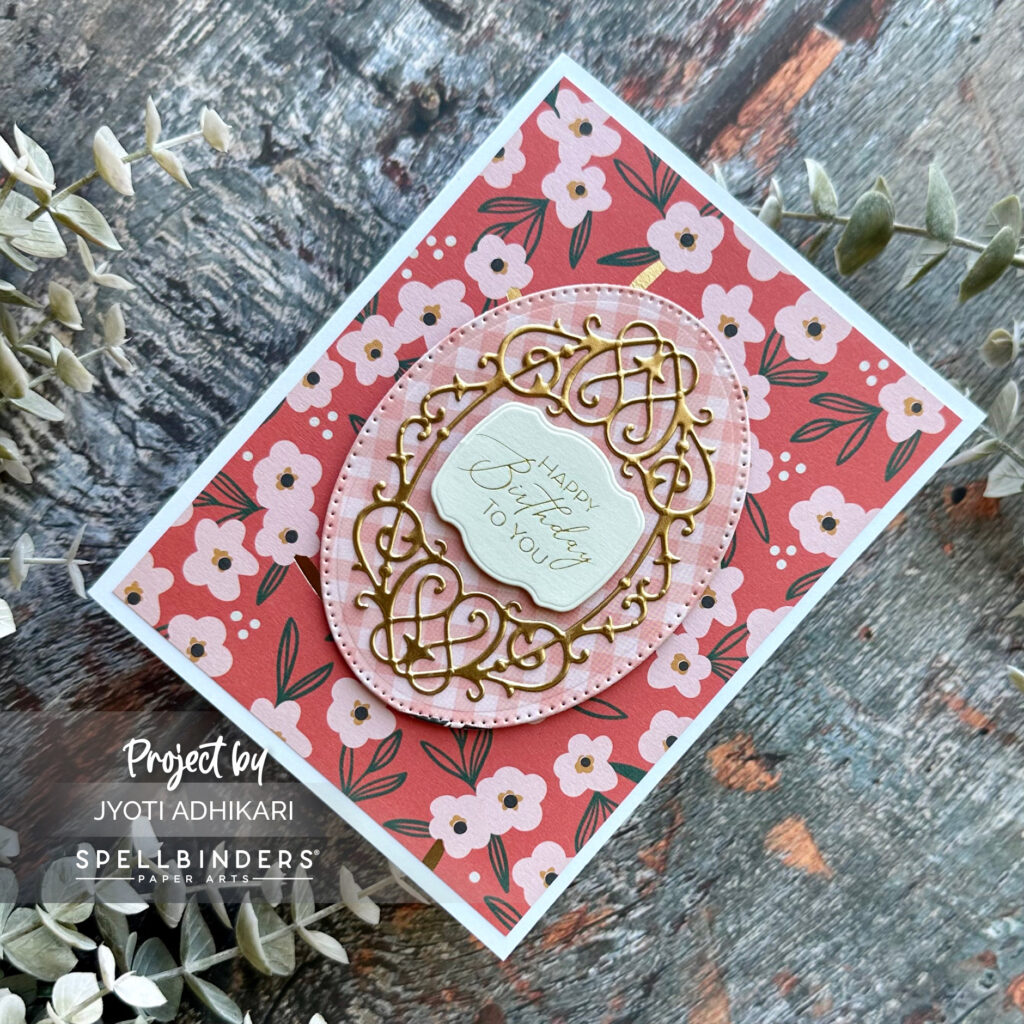
Plaid Oval
Using the A7 die, I cut an oval from plaid patterned paper. After adding the gold swirls to the oval, I used a small die to cut inside the oval, creating a perfect space for the sentiment. The combination of plaid and gold swirls is both charming and elegant.
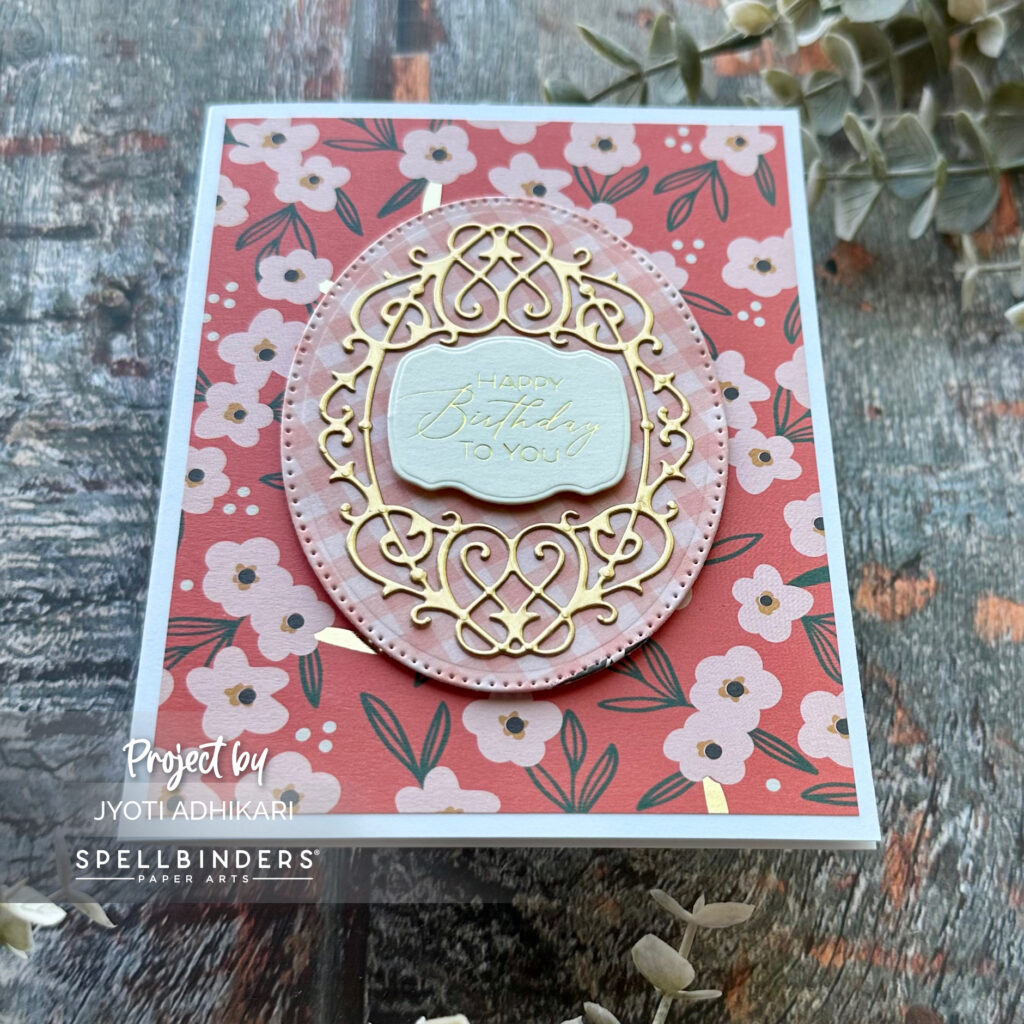
Sentiment Details
I foiled a sentiment that says “Happy birthday to you” on beige cardstock using Always You Timeless Sentiment Press Plate. This sentiment fit perfectly in the small die-cut space, adding a personalized touch to the card. I love how the foiling adds a bit of sparkle and sophistication.

Assembling the Card
I adhered the floral patterned paper to an A2 card base and placed the oval with the gold swirls in the center using foam tape for dimension. The foiled sentiment was added last, completing the card with a polished finish. This A2 card shows how you can creatively use the A7 die in various card sizes.

Conclusion
Creating these cards was a joy, and I hope they inspire you to explore the possibilities with the SB Timeless Collection. Each card showcases a different style and technique, demonstrating the versatility and elegance of these dies. Whether you’re crafting for a wedding, saying thank you, or celebrating a birthday, the SB Timeless Collection has everything you need to create stunning, personalized cards. Happy crafting!
Hugs,

 Timeless 5×7 Cardfront Die Shop at: SB | SSS |
 New Beginnings Timeless Sentiments Shop at: SB | SSS |
 Always You Timeles Sentiments Shop at: SB | SSS |