Welcome, fellow card-makers! Today, I’m excited to share a beautiful and elegant card project using the Spellbinders’ July 24 Stitching Die of the Month. This die features a delightful bow with stitching holes, perfect for adding a touch of handmade charm to your card-fronts. Follow along as I guide you through the steps to create this stunning card.
Die Cutting and Stitching
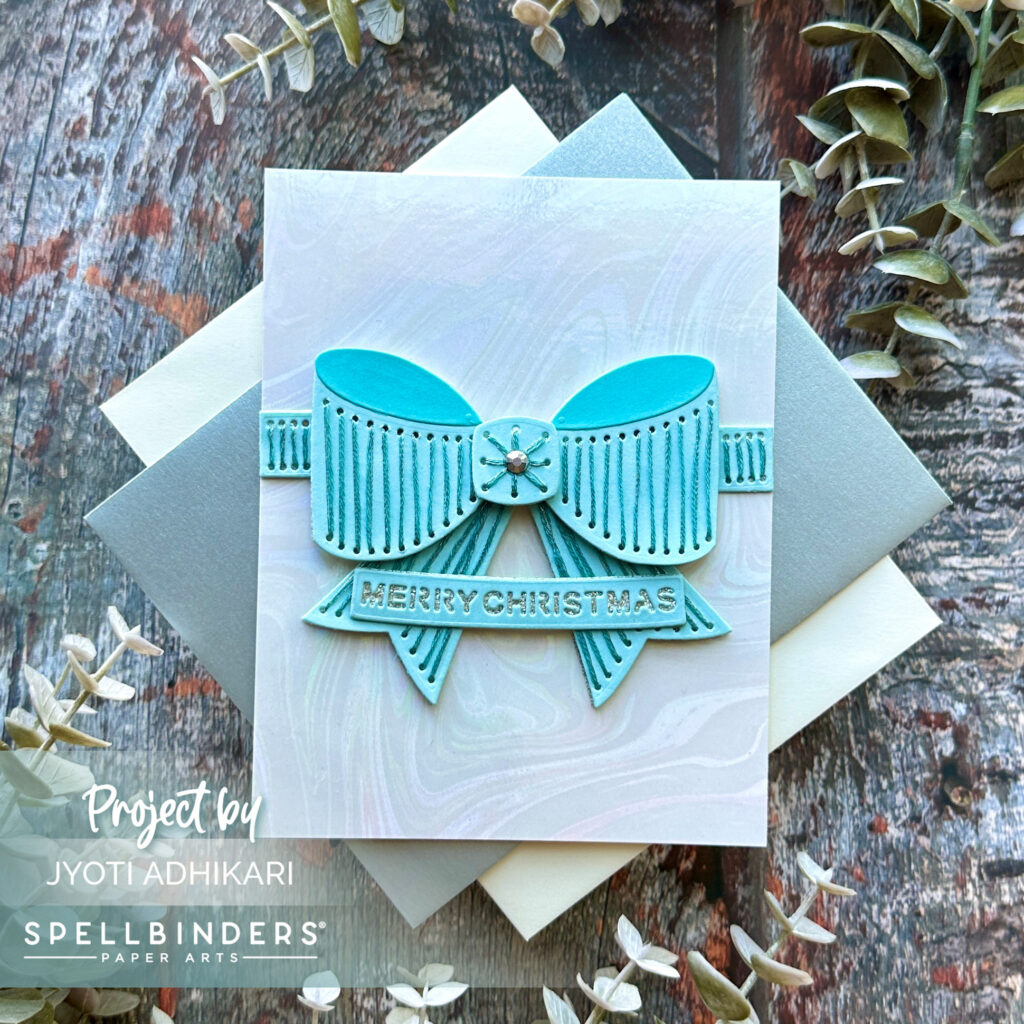
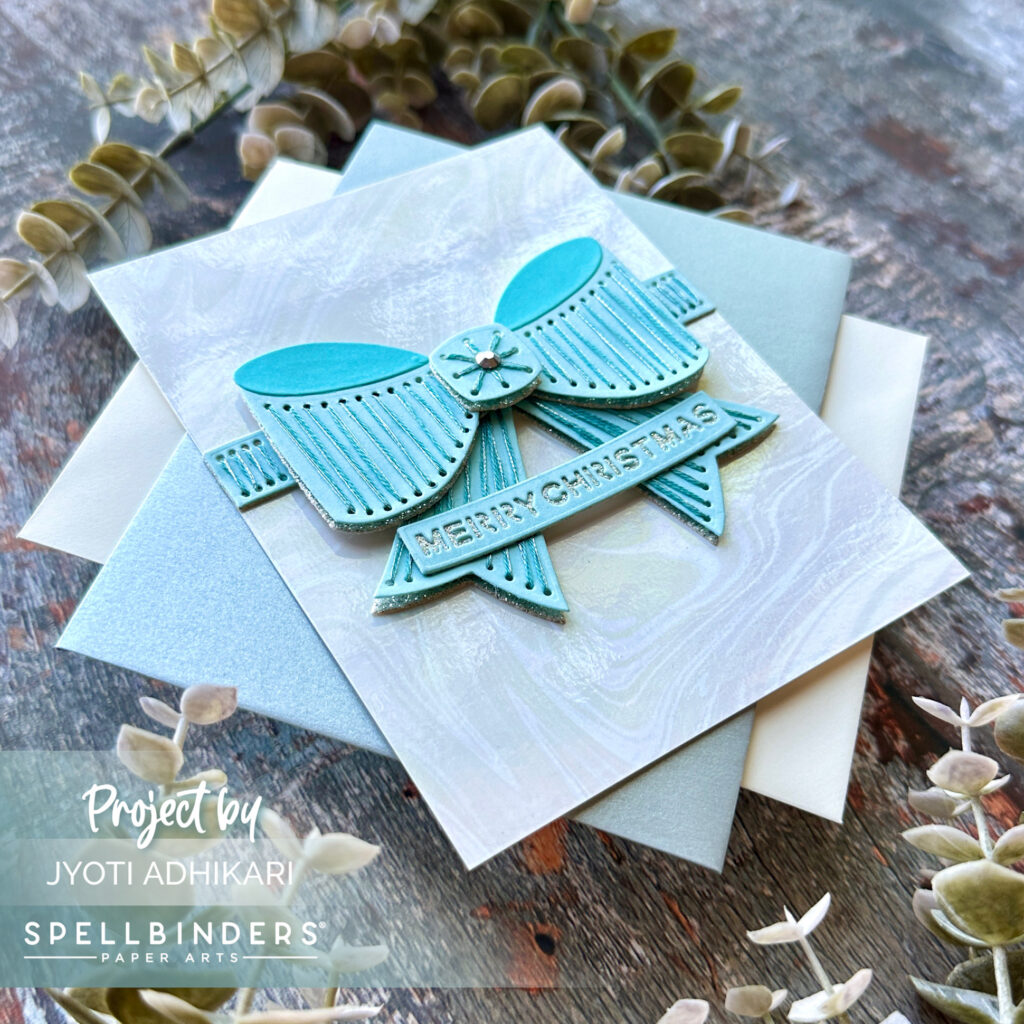
To begin, I cut out the bow pieces using light blue card-stock, ensuring that the color would provide a soft and calming background for the stitching. For the loop of the bow, I opted for a slightly darker shade of blue card-stock to add a bit of contrast and depth. The stitching process was both enjoyable and meditative; I used two strands of light blue embroidery floss combined with one strand of silver embroidery thread. This combination created a subtle tone-on-tone effect with a hint of shimmer, making the bow elegant without being overly flashy.
Creating the Background
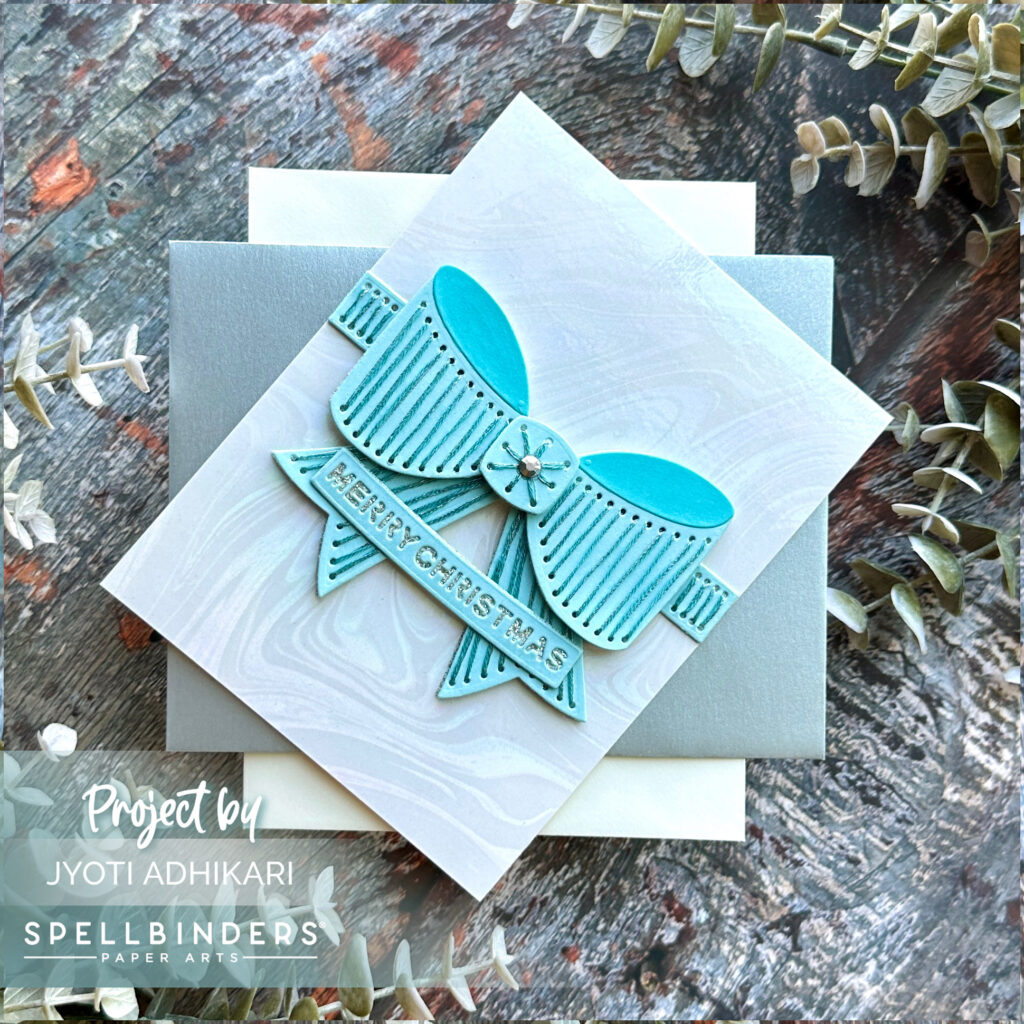
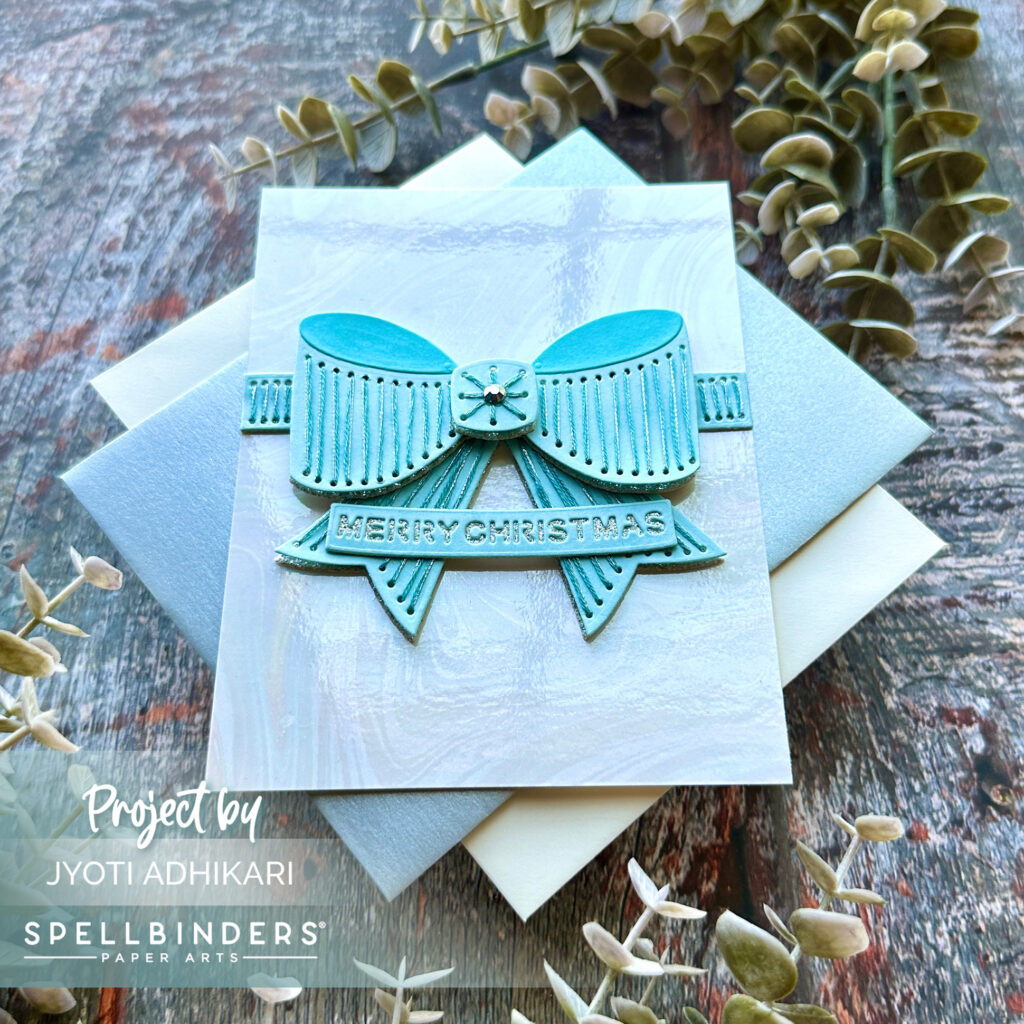
For the background, I wanted something that would complement the stitched bow without overpowering it. I selected a paper from Your Paper Insider, which is called White Lava Holographic Card-stock which is glossy with a marble-like effect. The subtlety of the marble pattern added a touch of sophistication to the card. I carefully cut this paper to fit the A2 card-front, ensuring that it would serve as a perfect backdrop for the stitched bow.
Crafting the Sentiment
Choosing the right sentiment for this card was crucial. I decided on the “Merry Christmas” sentiment from the Simon’s Snow Globe Die set. I cut out the letters using light blue card-stock, which matched the bow. To make the sentiment pop, I placed a silver shimmering card-stock behind the cutout letters. This shimmering card-stock complemented the silver thread used in the bow, creating a cohesive and festive look.
Assembling the Card
With all the pieces prepared, it was time to assemble the card. I started by adhering the marble-effect background paper onto an A2 card base using glue. Next, I placed the bow in the center of the card. For some parts of the bow, I used glue to keep them recessed, while for others, I used foam tape to add dimension. This created a dynamic and interesting focal point. I then positioned the sentiment on the bow towards the bottom, ensuring it stood out beautifully. To add a final touch of sparkle, I placed a silver gem in the center of the bow, completing the card.
And there you have it—a gorgeous stitched bow card perfect for the holiday season! I hope you enjoyed following along and feel inspired to create your own version. As an influencer and cardmaker for Spellbinders, I would love to see your creations. Don’t forget to tag me when you share your projects on social media. Happy crafting!

 Partly Cloudy Cardstock Shop at: SB |
 Waterfall Cardstock Shop at: SB |
 DMC metallic thread Shop at: SB |
 DMC Color Floss Bundle Cool 10 Pack Shop at: SB |