Hello crafty friends!
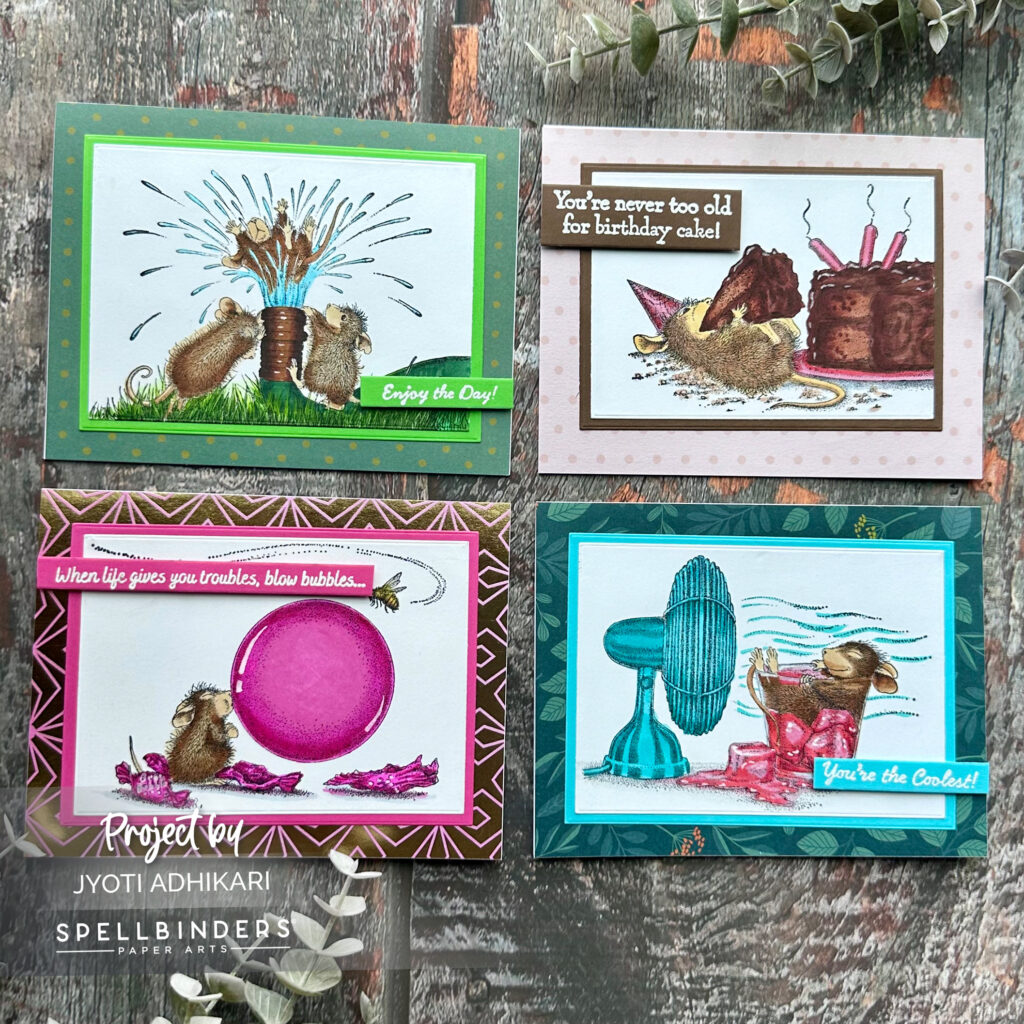
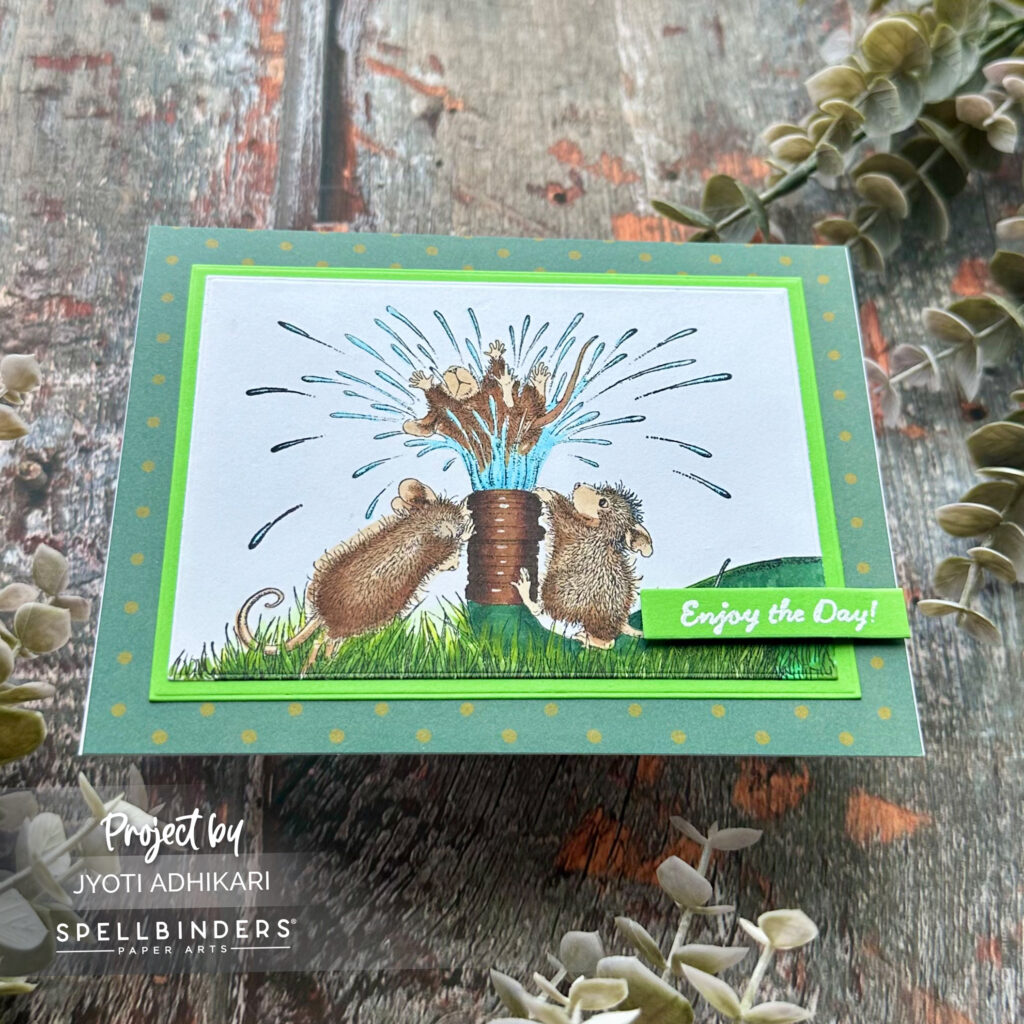
I’m excited to share my latest cardmaking adventure using stamps from the new “House Mouse Summer Fun” stamps. These adorable stamps are perfect for summer-themed projects, and I had a blast creating a set of four A2 cards. Here’s a step-by-step guide to my cardmaking process, which I hope will inspire you to create your own delightful designs.
Stamping and Coloring
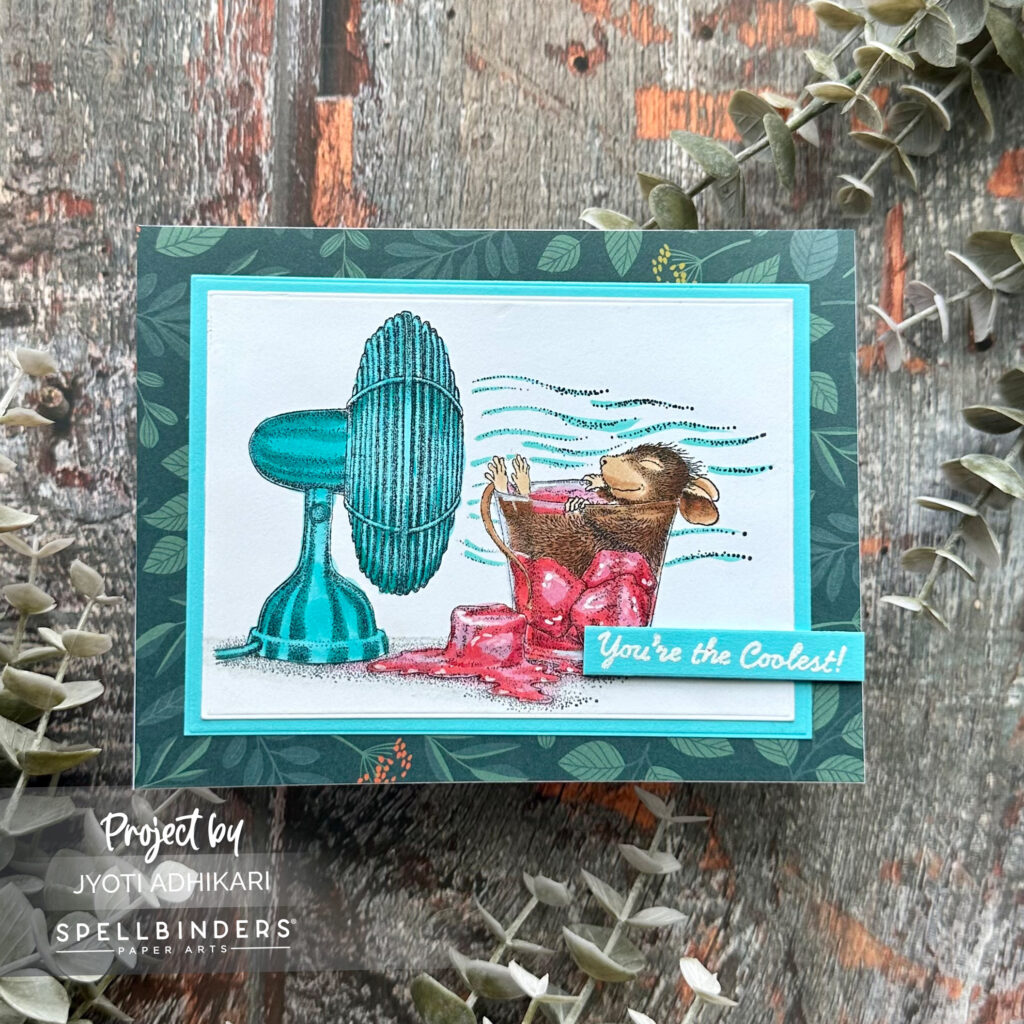
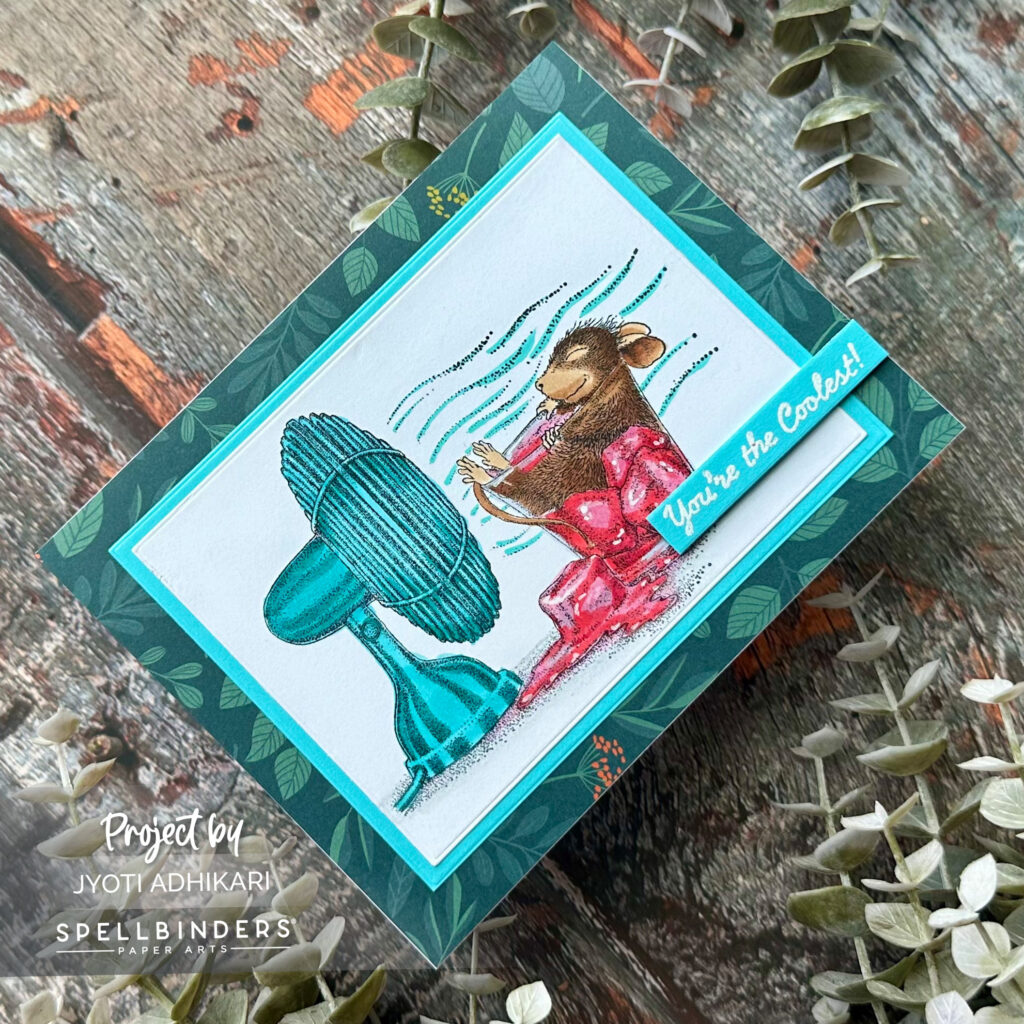
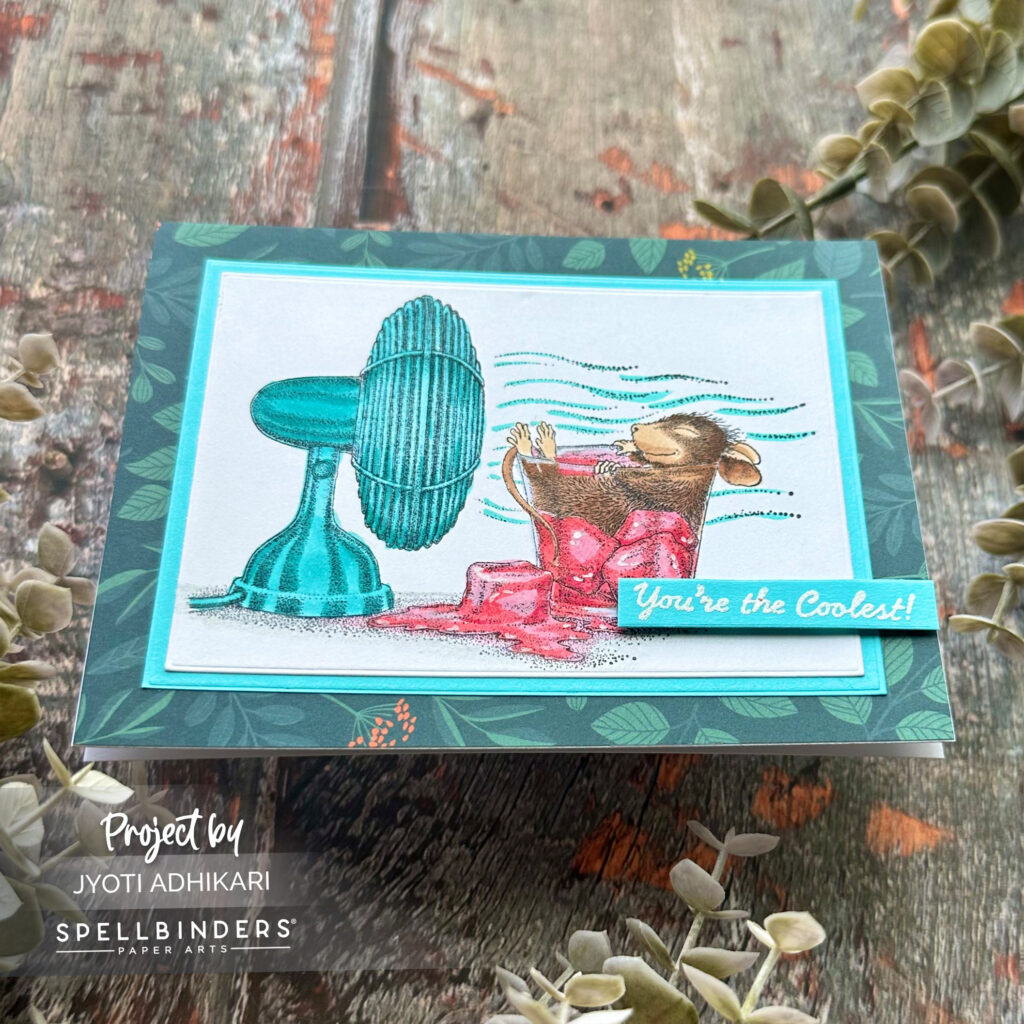
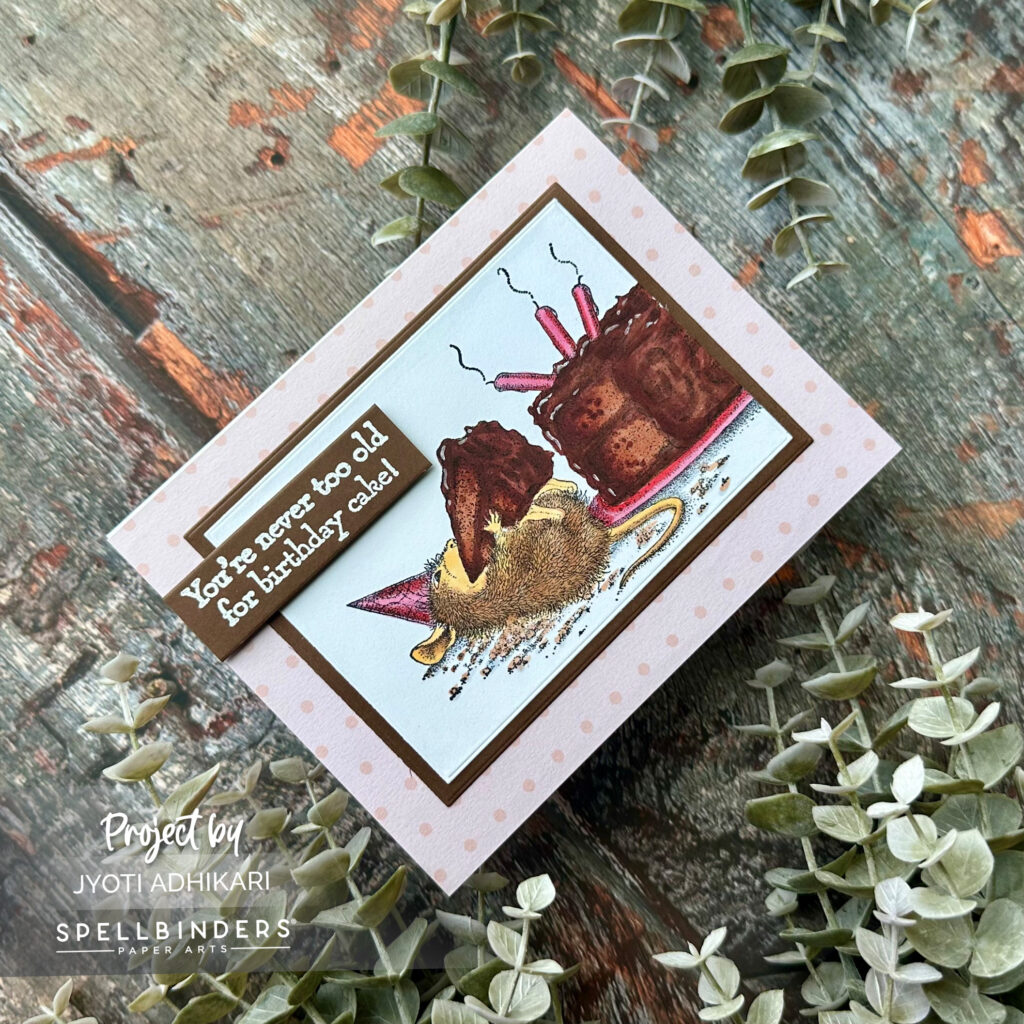
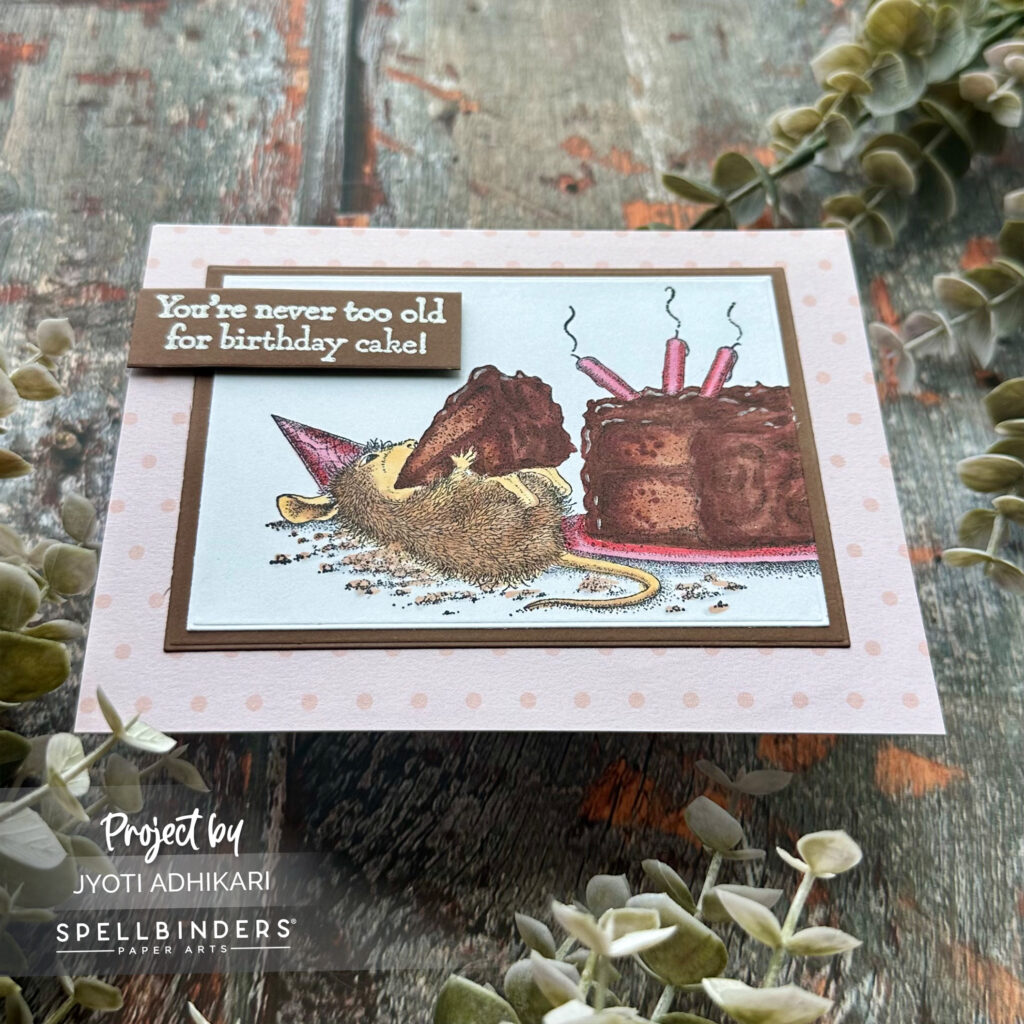
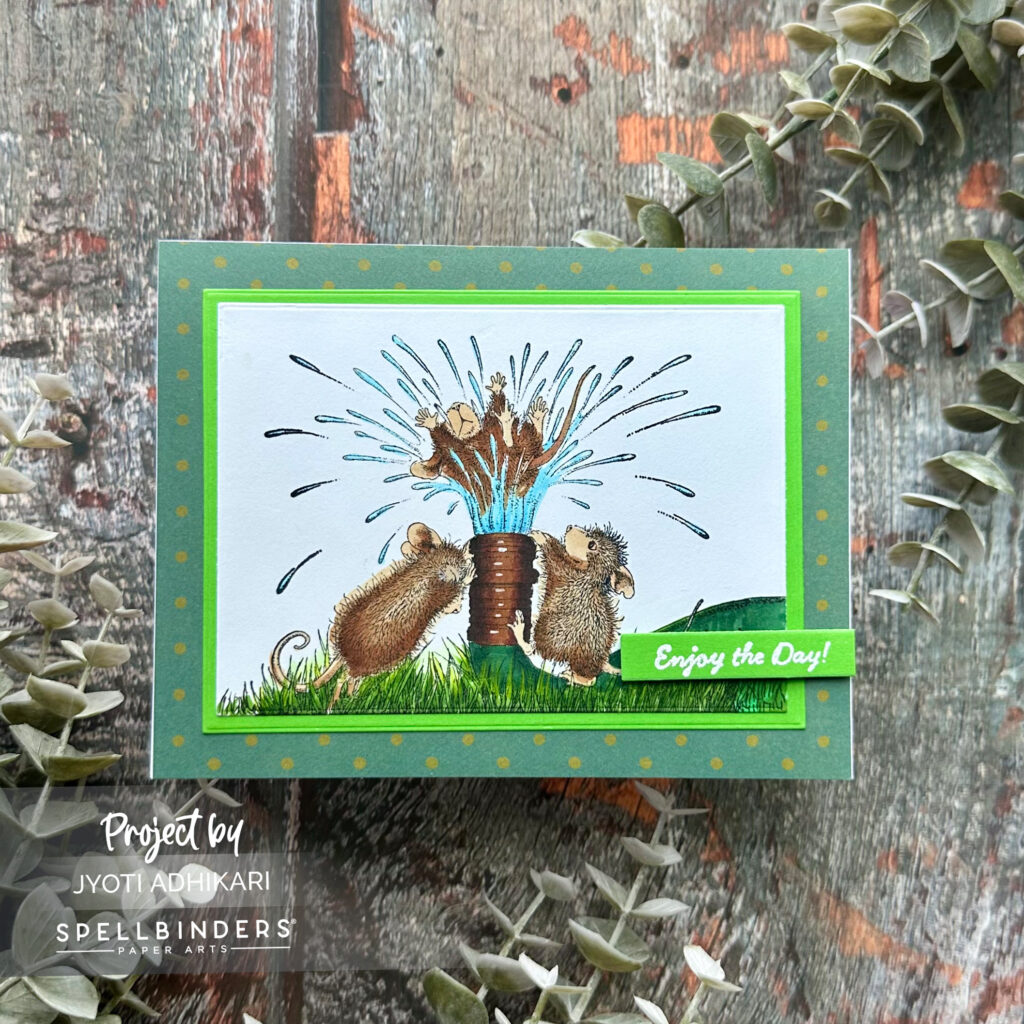
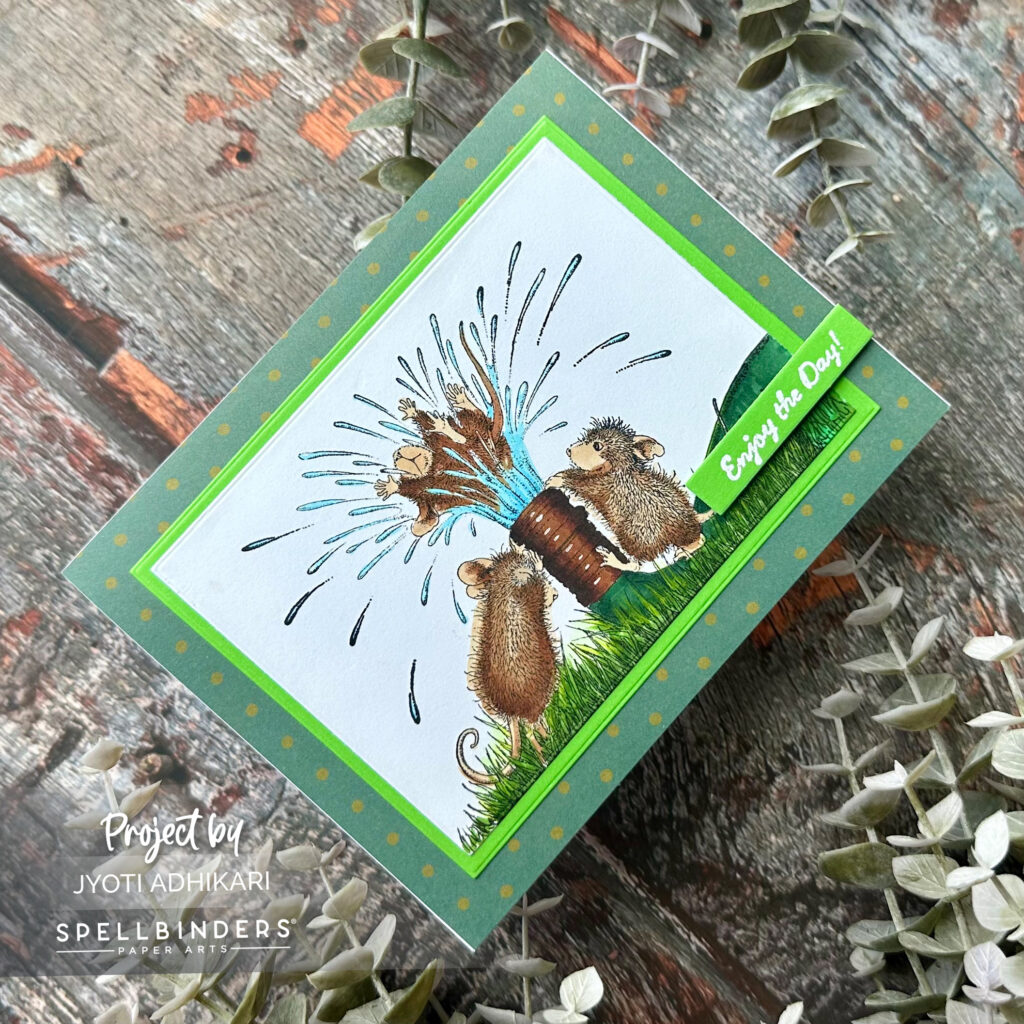
I started by stamping the House Mouse images on Neenah 80 lb cardstock panels. These stamps fill almost the entire A2 card front, providing a substantial image for coloring. Using my trusty COPIC markers, I brought these charming mice to life. The detailed shading provided by the stamps made the coloring process easy and enjoyable.
Cutting the Panels
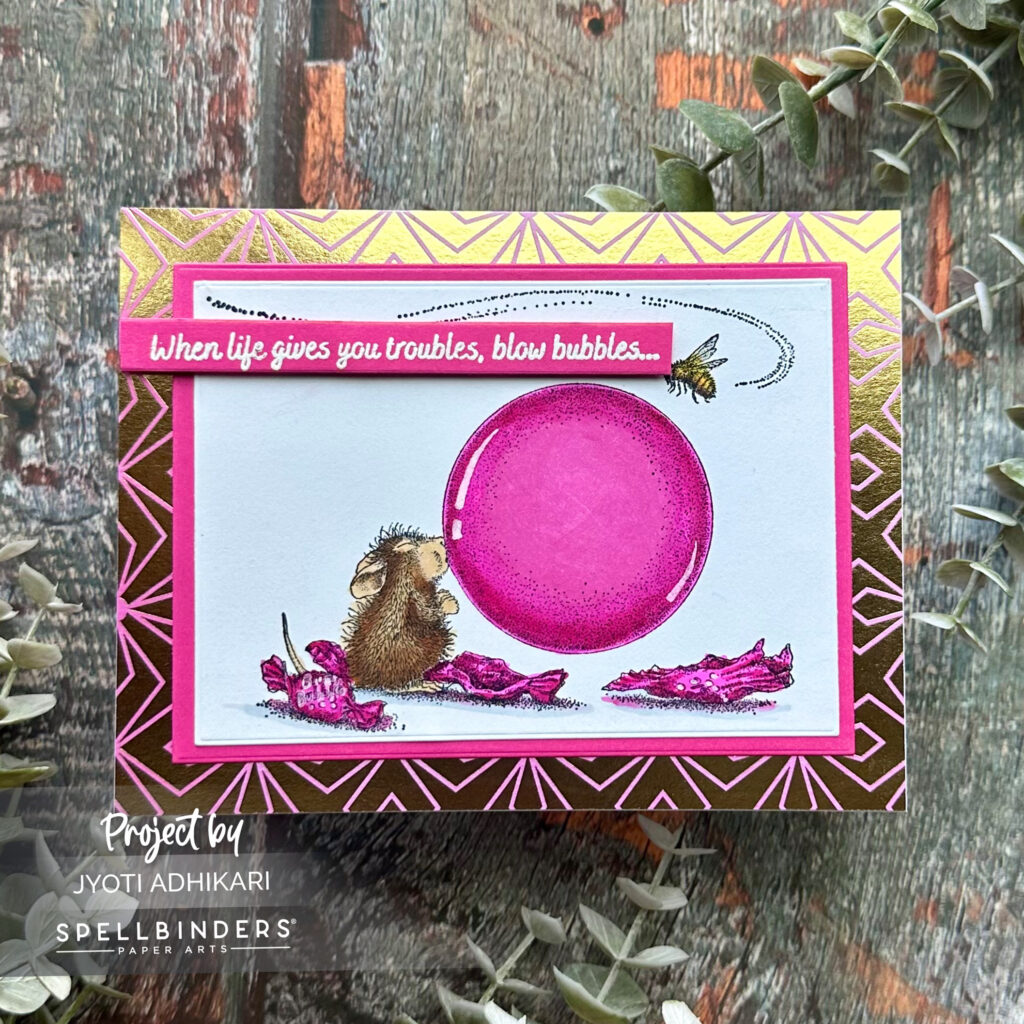
Once the coloring was complete, I used rectangle dies to cut out the images. I chose dies that are half an inch smaller on all sides than an A2 card front. This ensured that my colored panels would have a nicely matted appearance.
Creating the Mats
Next, I cut slightly larger panels from color cardstock that matched one of the colors in my images. This added a cohesive look and made the colored panels pop.
Selecting Patterned Paper
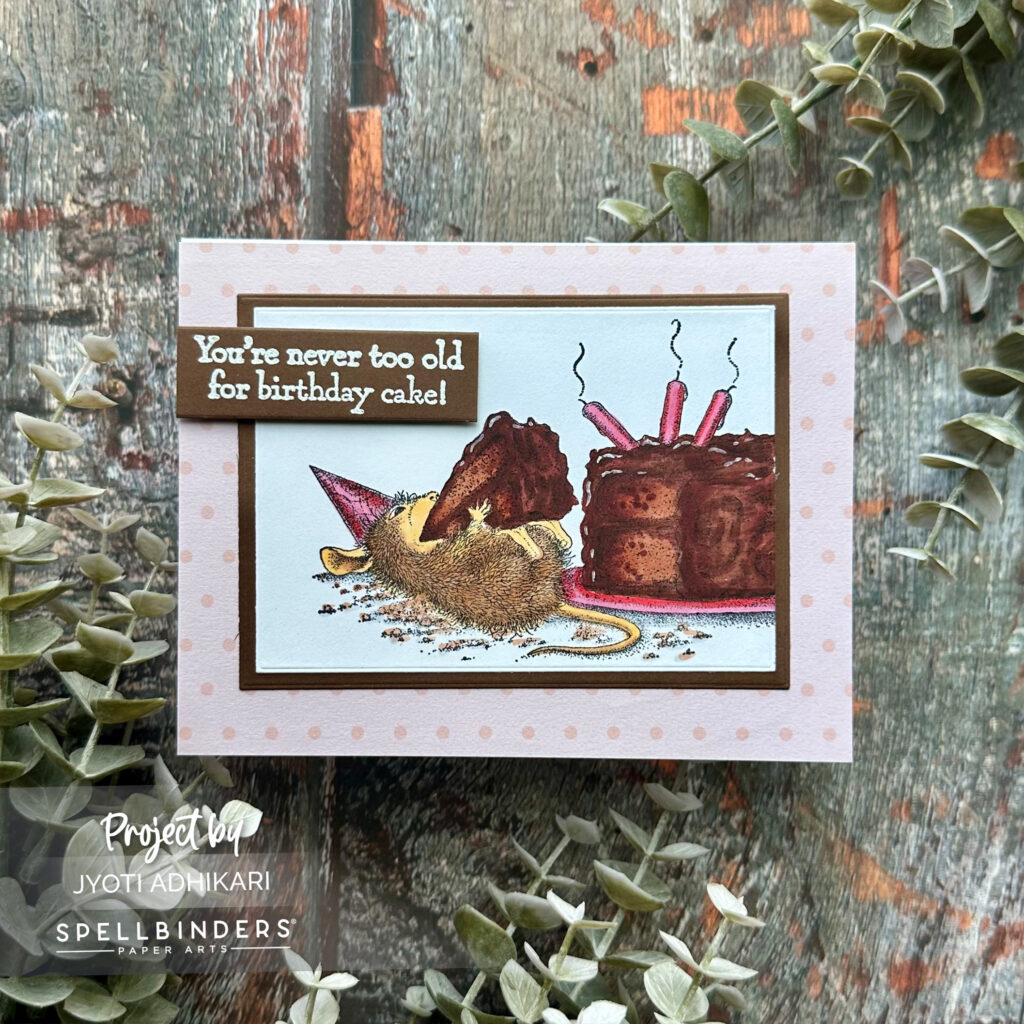
To complement my coloring, I picked patterned paper that either matched or contrasted with the colors I used. This added an extra layer of visual interest to the cards.
Assembling the Cards
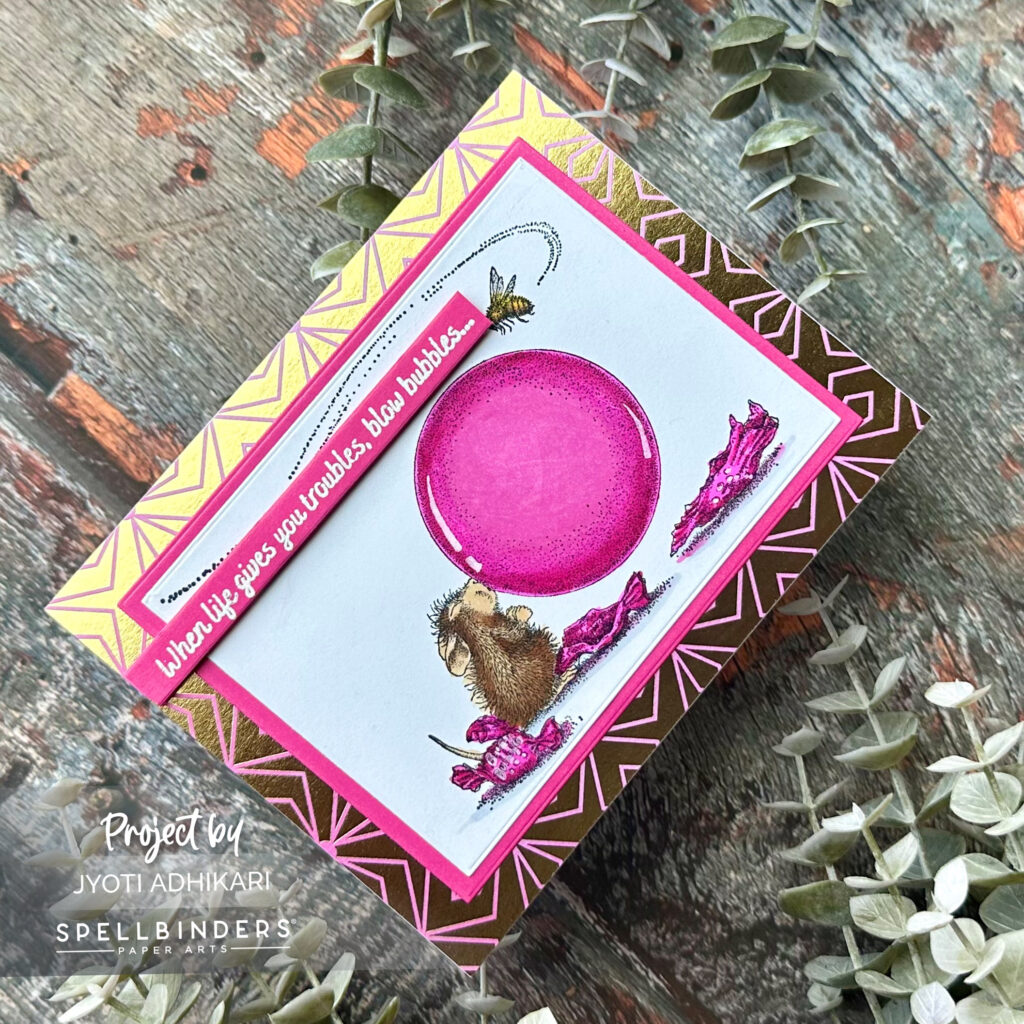
I adhered the patterned paper to the A2 card fronts, then aligned the matted colored panels in the center. The combination of the patterned paper and the colored images created a beautiful and balanced design.
Adding Sentiments
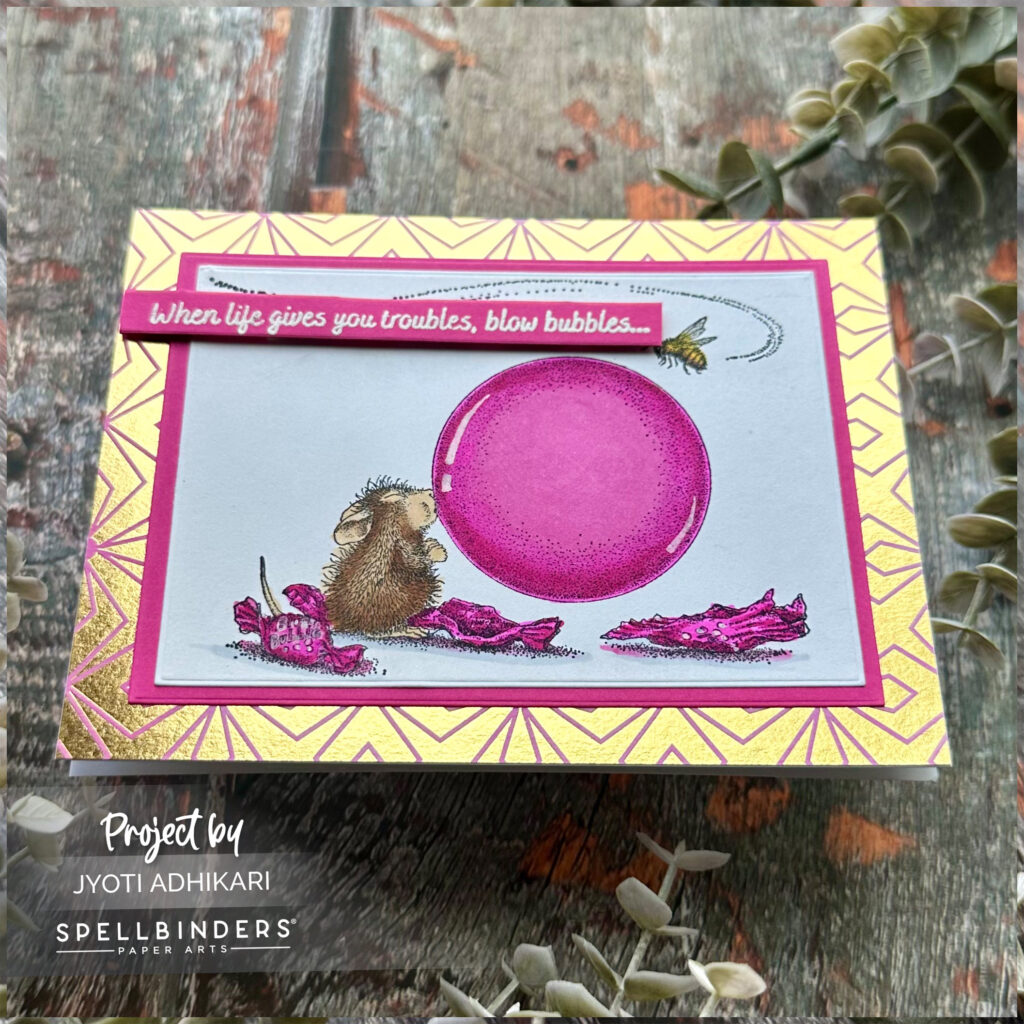
For the finishing touch, I stamped coordinating sentiments with white embossing powder on color card-stocks and cut them into strips. Using foam tape, I added the sentiments to each card, giving them a bit of dimension.
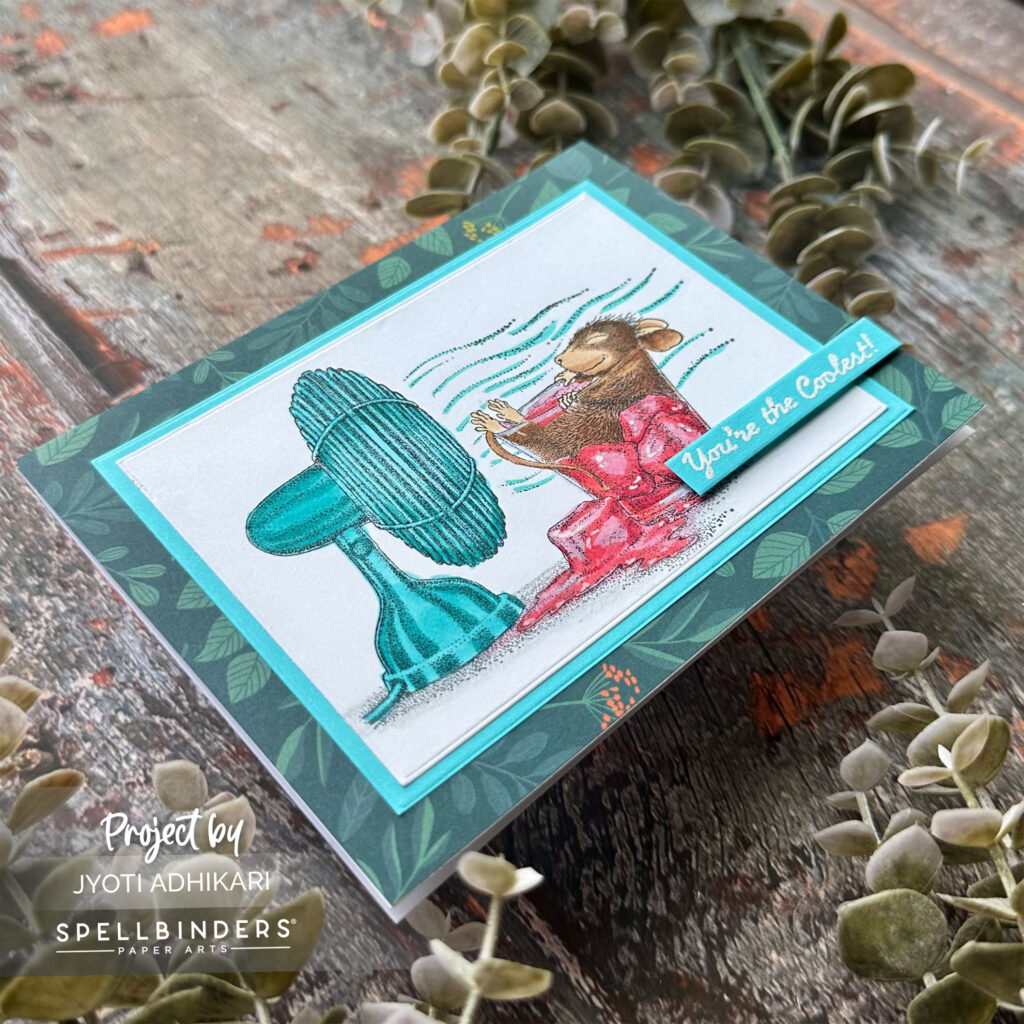
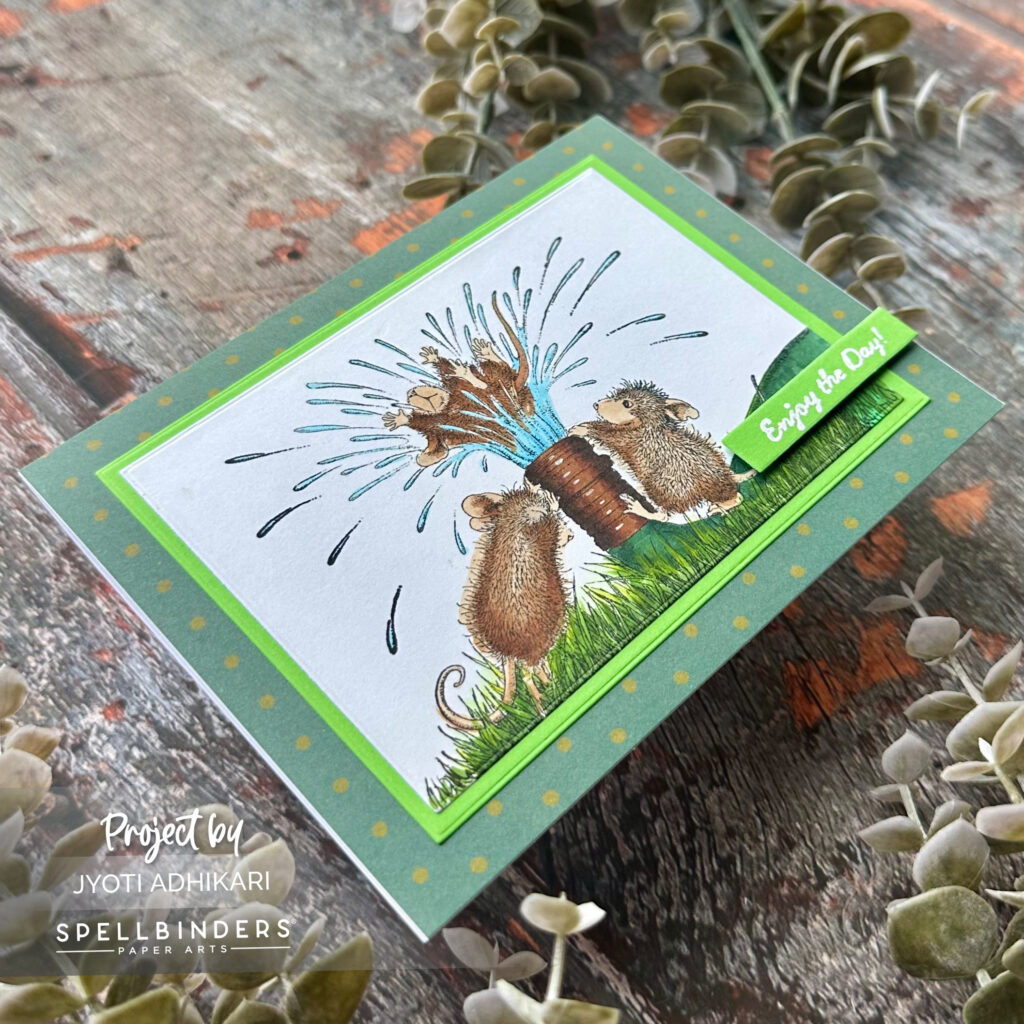
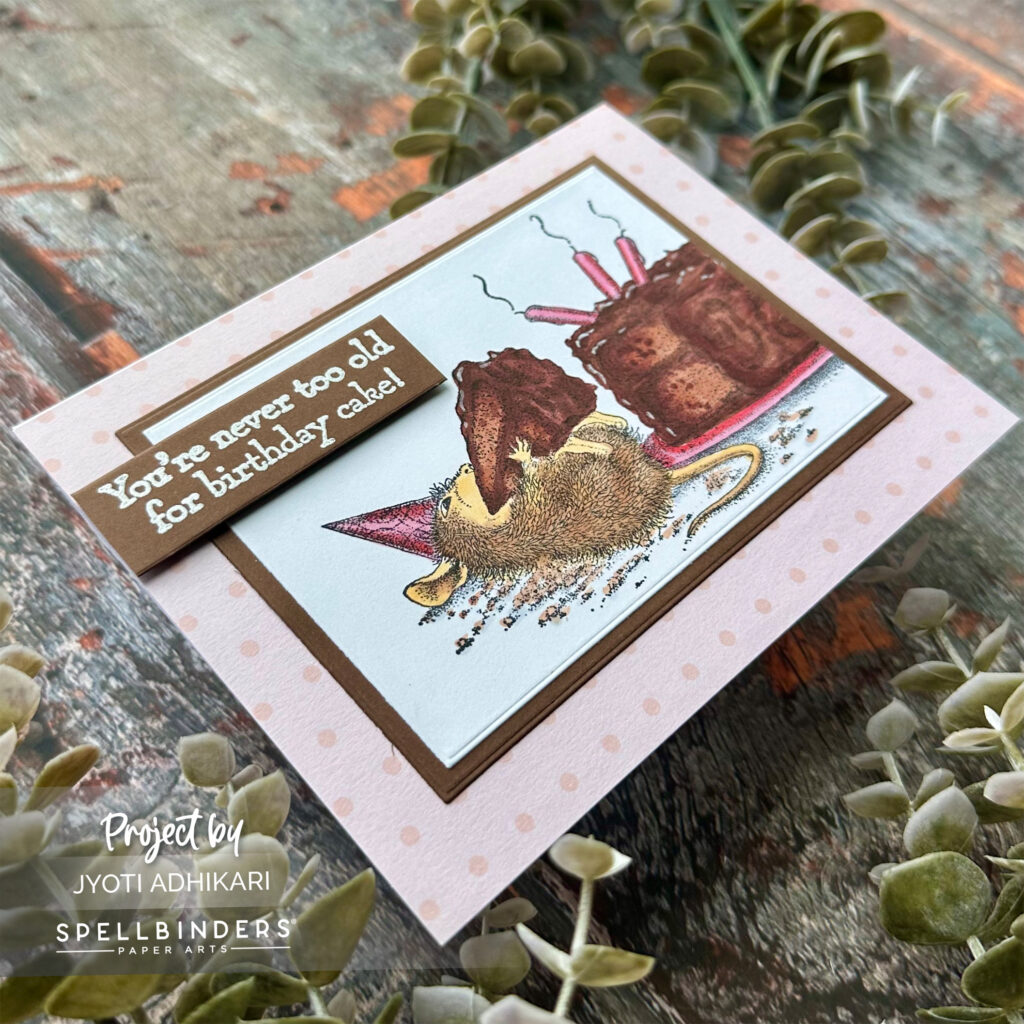
And there you have it! Four adorable House Mouse cards ready to send some summer cheer. These stamps are a joy to work with, and their pre-shaded designs make them perfect for quick and easy coloring.
I hope you enjoyed this detailed look at my cardmaking process. Happy crafting!
Until next time,
Hugs,

 Waterfun Cling Rubber Stamp Shop at: SB |
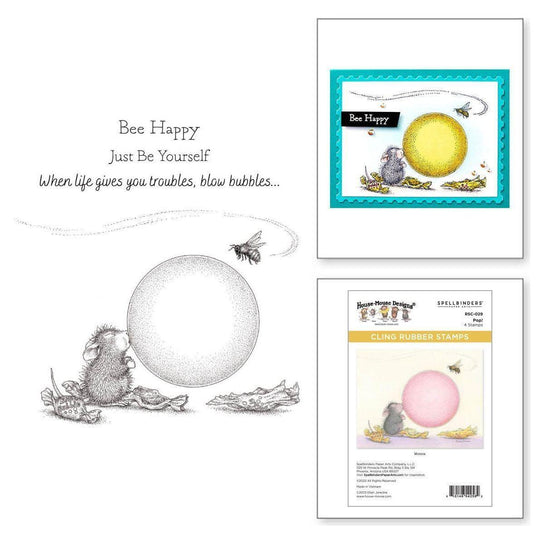 Pop Cling Rubber Stamp Shop at: SB |
 Sweet Birthday Cling Rubber Stamp Shop at: SB |
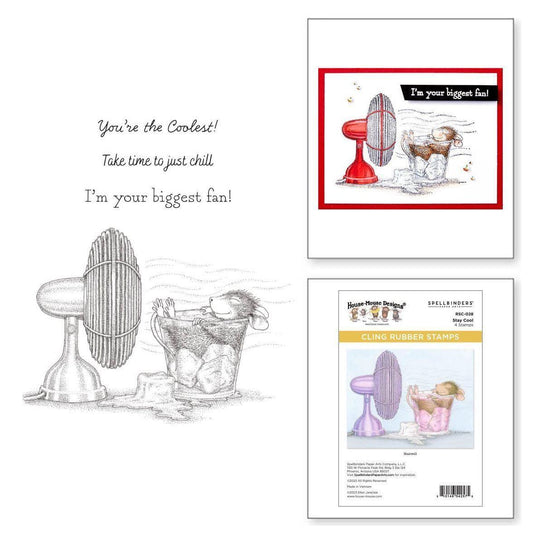 Stay Cool Cling Rubber Stamp Shop at: SB |