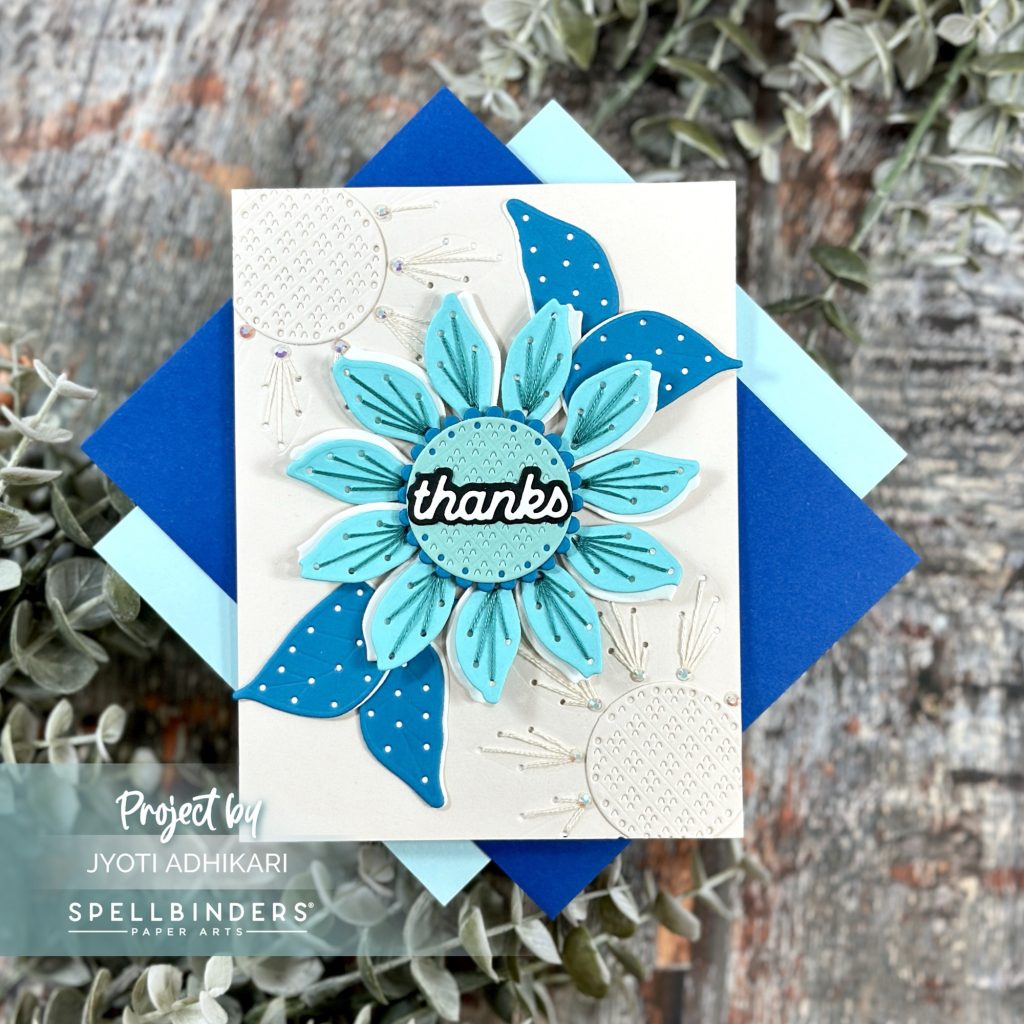
In this post, I’m excited to share the process behind a beautifully textured floral card created with the September 2024 Stitching Die of the Month. This die set features a sunflower-like flower that is perfectly sized to cover an A2 card front. I chose a serene blue color palette to highlight the flower and added subtle texture to the background. Let’s dive into the step-by-step process of bringing this card to life.
Choosing the Perfect Color Palette
To begin, I turned to the Sarah Renee Clark Color Cubes for inspiration. The color combination I chose was a blend of cool and soft tones. To match that, I picked cardstocks from Spellbinders and Recollection Cardstock from Michael’s. This harmonious palette set the tone for the entire card design.
Creating the Focal Flower
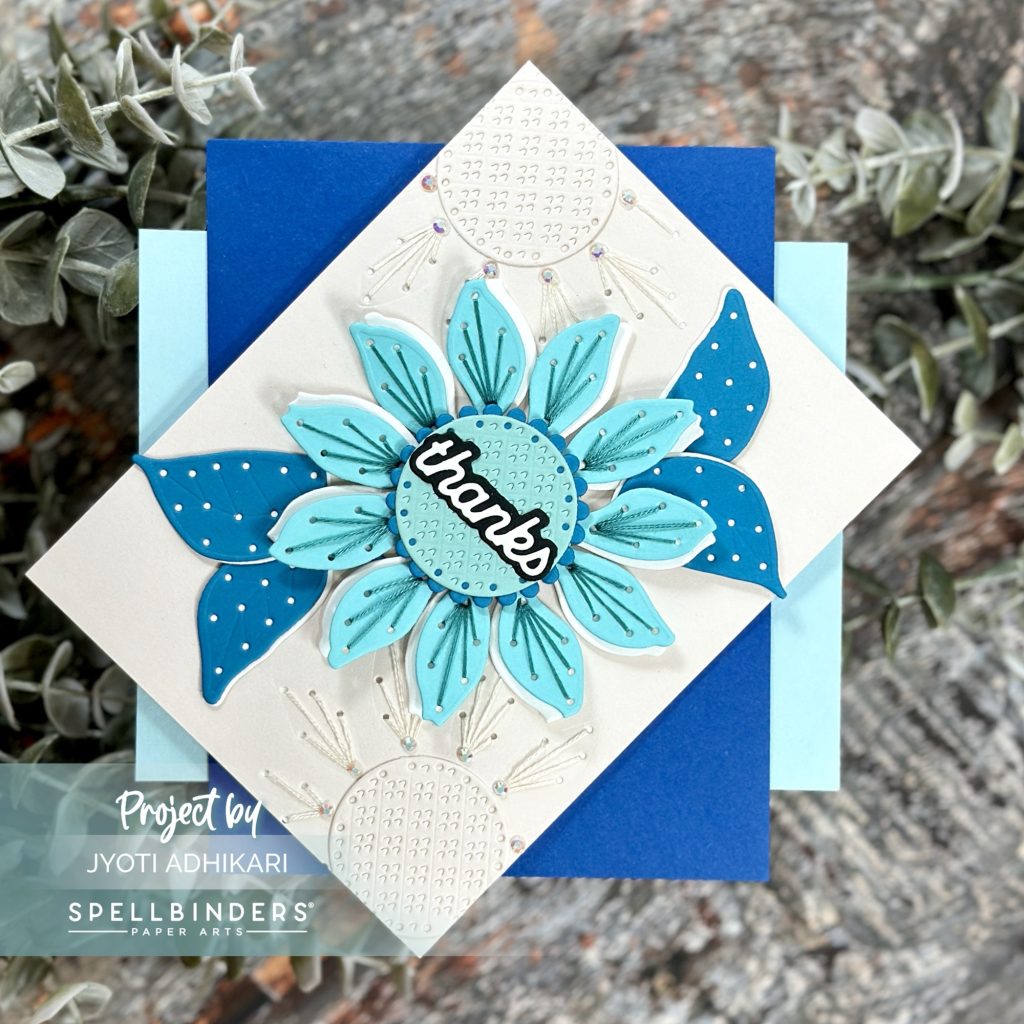
The focal point of this card is the large, stitched flower that takes center stage. I die-cut the flower from a blue cardstock, carefully stitching it with a matching embroidery thread to create a tone-on-tone effect. To add a bit of contrast, I die-cut a second flower from white cardstock. By offsetting the blue layer slightly on top of the white one, I allowed just a hint of white to peek through, giving the flower a subtle yet effective pop against the background.
Designing the Textured Background
For the background, I wanted to add texture without overshadowing the focal image. I opted to stitch on the background as well, using the inside part of the flower die to create stitching holes on a piece of Barely Peach cardstock. Positioning the stitched floral designs at each diagonal corner added interest while keeping the overall design balanced. The stitching was done with a peach-colored embroidery thread, and I added matching gems for a touch of sparkle. The center of the background flowers was created with the same Barely Peach cardstock, glued into place for added texturet.
Assembling the Card
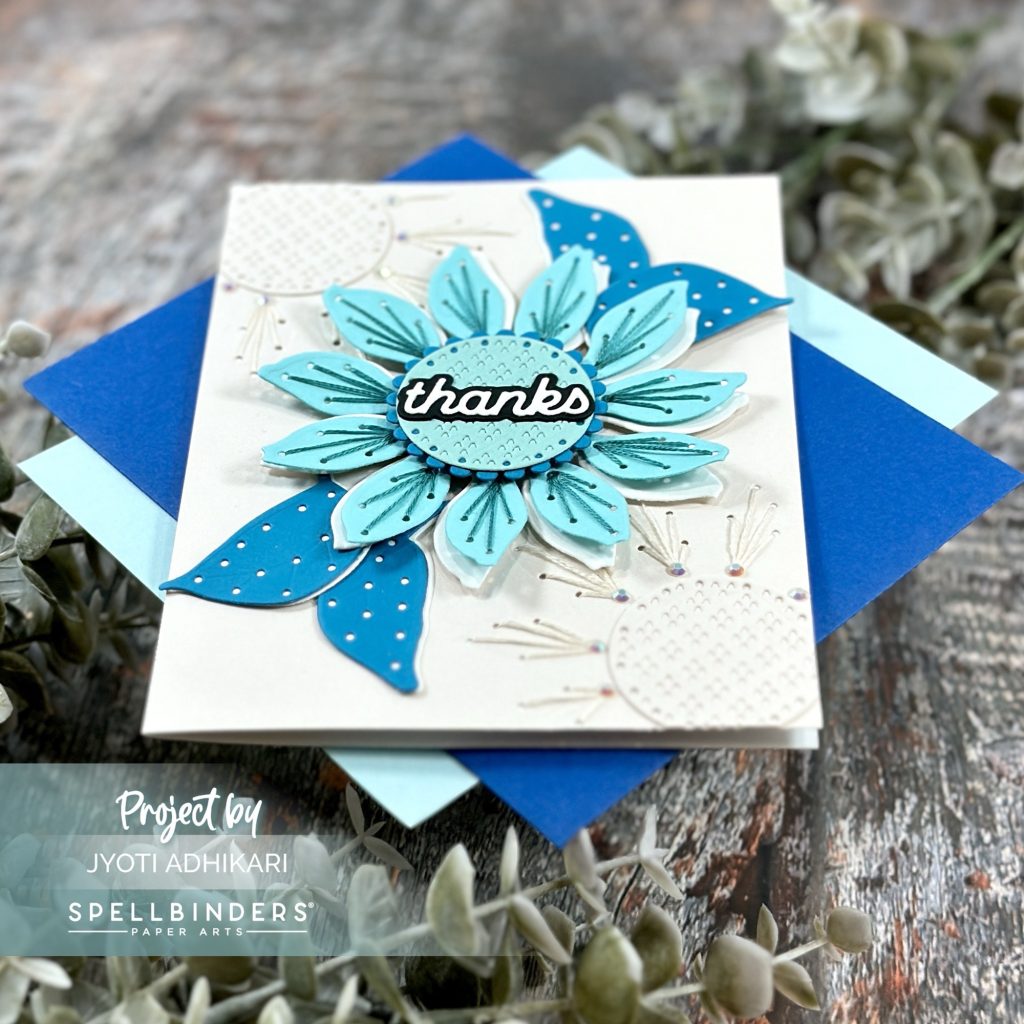
Once the background was complete, assembling the card was a straightforward process. I adhered the stitched background onto a card base, ensuring the delicate texture was fully displayed. I then placed the stitched focal flower with the sentiment “Thanks” (cut from white cardstock with a black shadow layer) in the center of the flower, ensuring it remained the main attraction.

Adding Finishing Touches
To complete the design, I added two blue leaves near the focal flower. Although I considered adding stitching details to the leaves, I ultimately decided to leave them as they were, to avoid overcomplicating the design. The result was a card that balances intricate stitching with a clean, elegant layout.
This project was a joy to create, combining detailed stitching with a refined color palette to produce a card that’s both textured and visually appealing. I hope this inspires you to explore the possibilities of the September 2024 Stitching Die of the Month in your own cardmaking projects!
Hugs,
